E
B
B
C D F
A
193
6.8 Installing Drive Unit (BDU310/350) 6.8 Installing Drive Unit (BDU310/350)
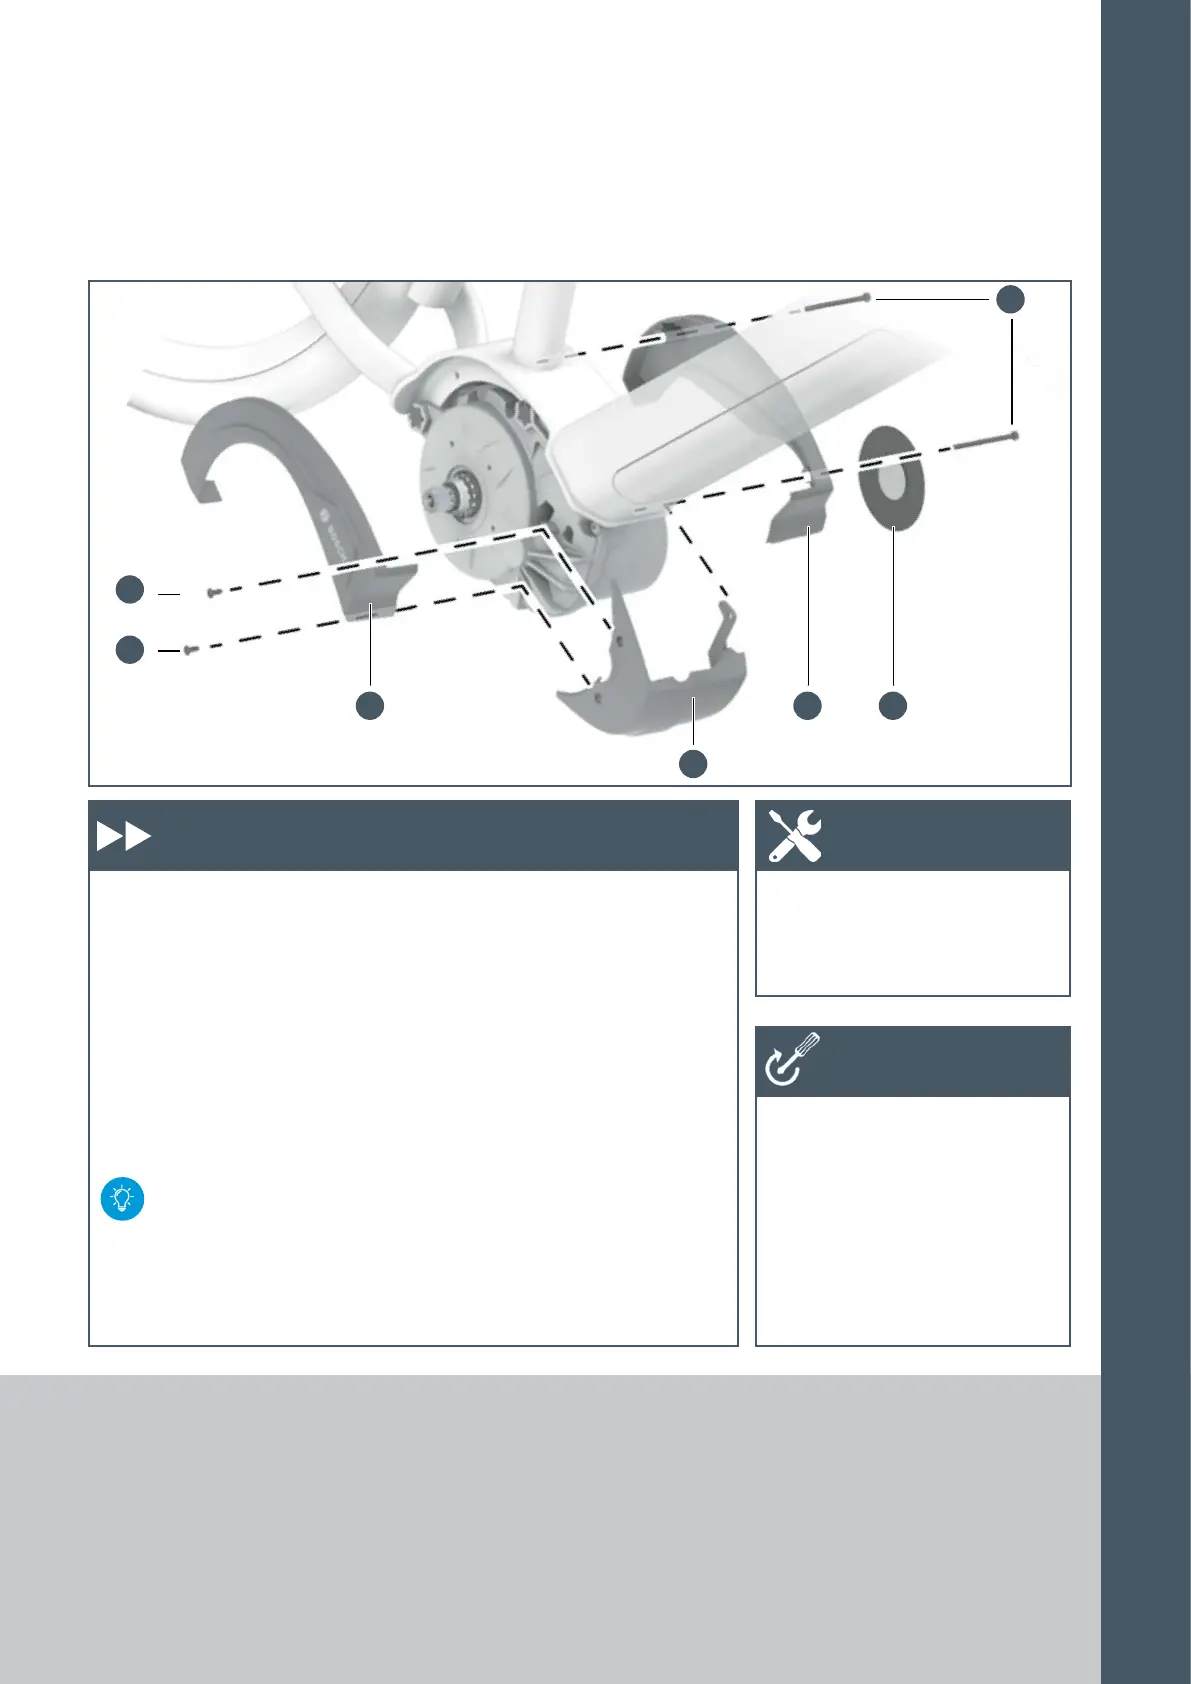
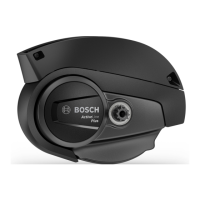
Installing the Active Line (BDU310) design cover
1. Place the front piece (A) on the
drive unit and screw onto the
housing using two M4 x 10
self-tapping screws (B).
2. Place the design cover (C, D)
on the drive unit and move into
position without pressure.
3. Screw on with two screws (E)
(M4 x 55).
If necessary, unscrew them
slightly and then screw them
in again using a torque of
1 Nm.
4. Only glue on the Bosch logo
cover (F) if absolutely neces-
sary.
– The gluing surface must be
clean and free of grease.
– Pay attention to the installa-
tion position: The BOSCH
lettering must be positioned
horizontally.
– Firmly press the cover on the
gluing surface for 10 seconds.
X Torx wrench T20
X Torque wrench
X Front piece on housing
– Initial assembly (self-tap-
ping): 3 Nm
– Subsequent installation:
2 Nm
X Design cover: 1 Nm
Work steps Tool
Tightening
torques
6
INSTALLATION/
REMOVAL





 To Next Page