1 689 975 233 2018-05-08| Robert Bosch GmbH
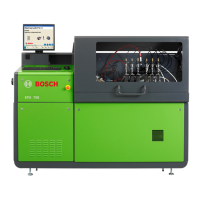
54 | EPS 708 | Repairen
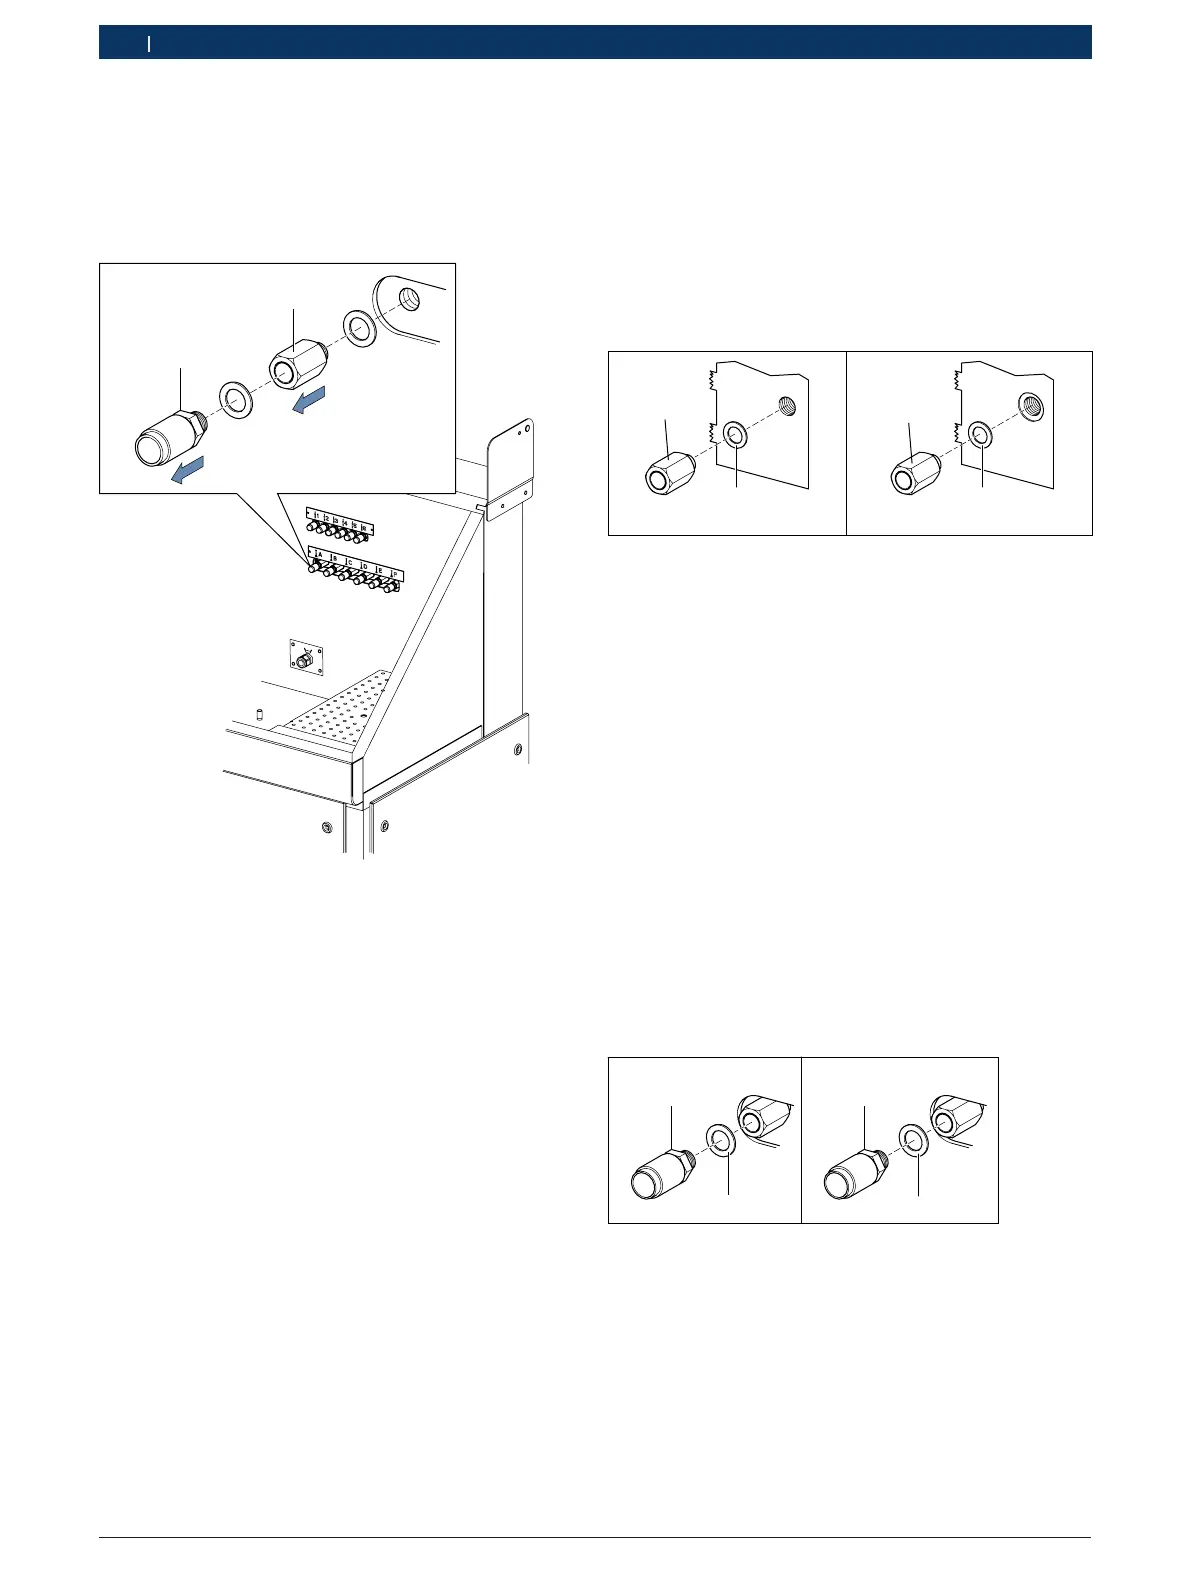
6. Remove the hose coupling (Fig. 92, item 1). When
loosening the hose coupling, hold the connection
fitting (Fig. 92, item 2) securely with a wrench. Do
not tighten the connection fitting further under any
circumstances.
7. Remove the connection fitting (Fig. 92, item 2).
1
2
Fig. 92: Removing the hose coupling
! Use the correct tightening torque (see Fig. 93) when
tightening the connection fitting. An incorrect tigh-
tening torque can damage the sealing ring or strip
the threads of the connection fitting. The tightening
torque depends on the sealing ring material (fiber
sealing ring or copper sealing ring). A copper sealing
ring can be used only if the hole in the valve body is
countersunk (spot faced).
1
2
max. 6 Nm
15 +2 Nm
458863-82_Pal
Fig. 93: Tightening torque
1 Fiber sealing ring 1 680 206 027 for valve body without counter-
sunk hole
2 Copper sealing ring 2 916 710 605 (A10 x 13.5 x 1) for valve
body with countersunk hole
8. Screw the connection fitting with sealing ring into
the valve body and tighten it. Observe the tightening
torque.
! Always use a new sealing ring when installing the
hose coupling. The new sealing ring must be made
of the same material (fiber or copper) as the one
just removed. If a sealing ring of a different material
is used, the connection will not be tight because of
an incorrect tightening torque or the sealing ring will
be damaged by the connection fitting. The tighte-
ning torque (see Fig. 94) depends on the sealing
ring material (fiber sealing ring or copper sealing
ring).
4588863-77_Pal
max. 6 Nm
15 +2 Nm
1
2
Fig. 94: Tightening torque
1 Fiber sealing ring
2 Copper sealing ring
9. Screw in and tighten the hose coupling with sealing
ring. Observe the tightening torque.