Page 59© 2002 Radionics
D6412/D4412 Installation Guide
45349D
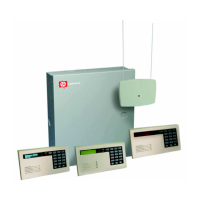
D6412/D4412
Installer’s Keypad & Installer Mode
13.3.7.3 Viewing/Removing RF ID Codes
To view or remove RF ID codes that have been added to the system, press [3] when “View or Remove RF ID?
Press 3.” scrolls across the display. The display will then scroll through the properly configured RF devices:
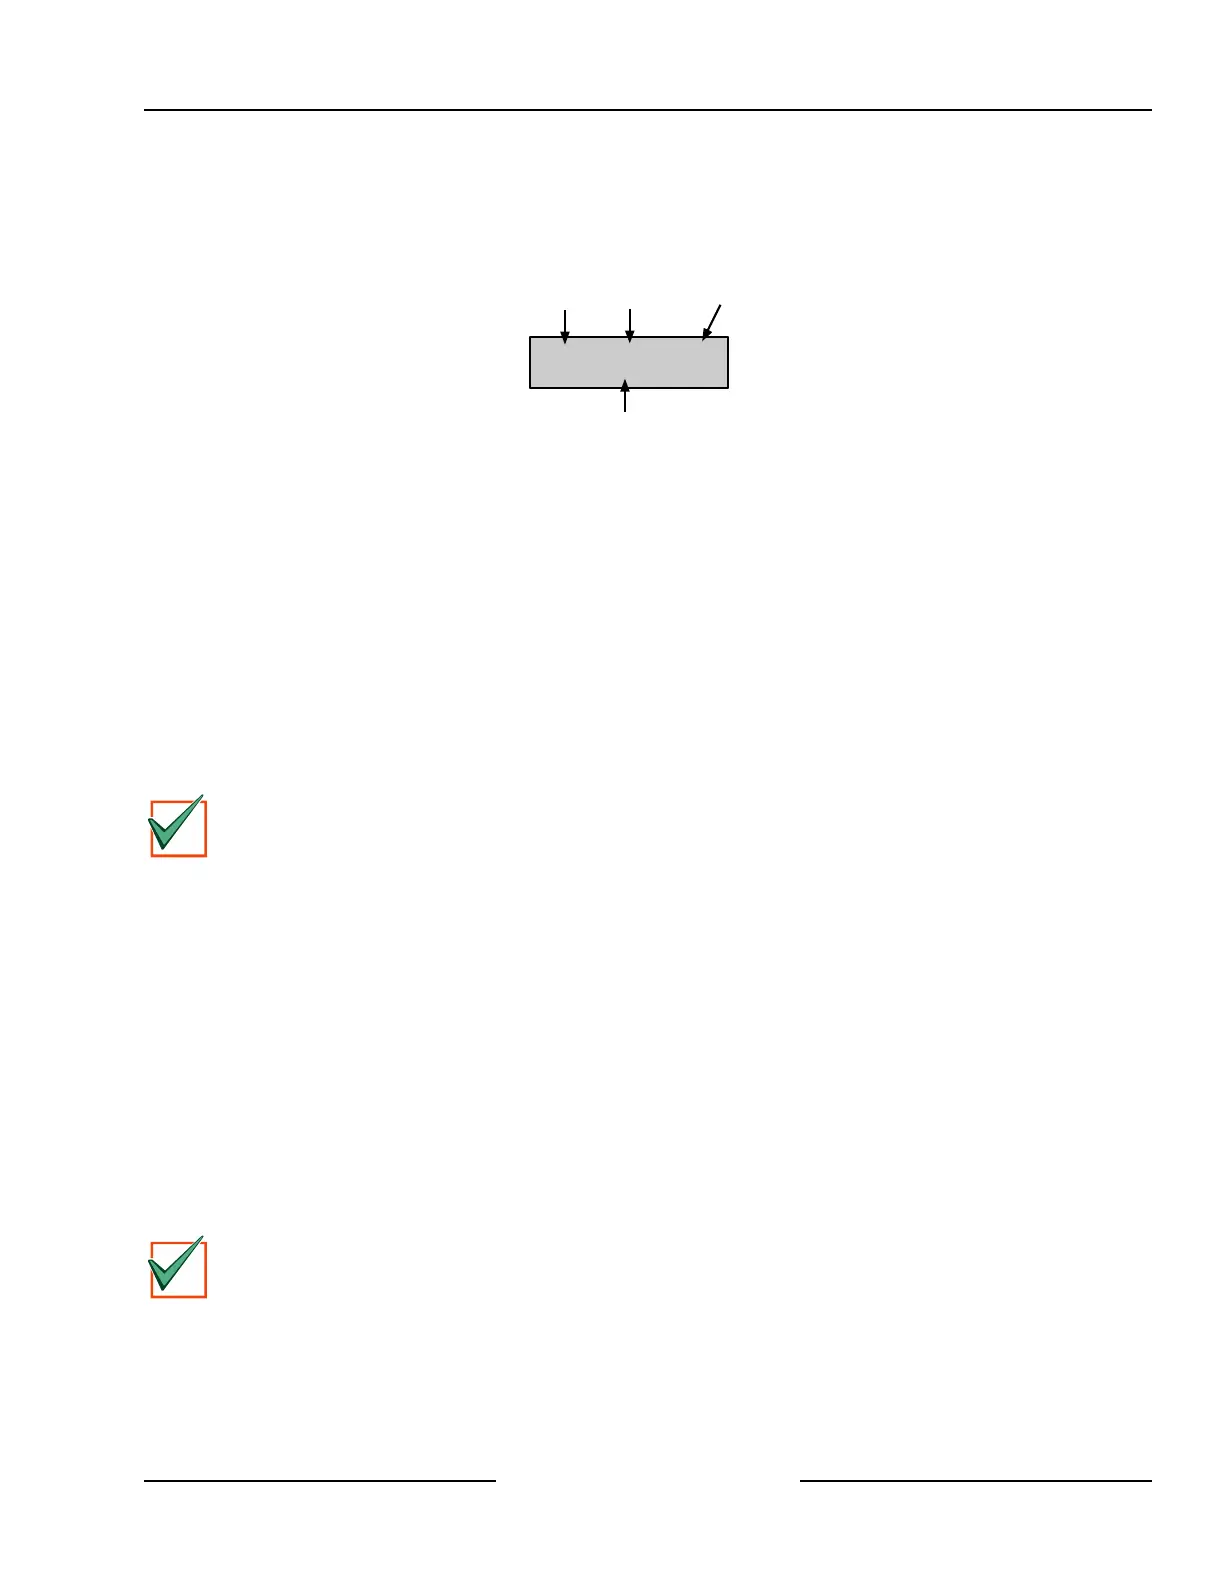
Loc9 A1 Pt9
ID: XXXXXXXXX
Location
Area
Point
Number
ID Code (see back of device)
Figure 50: RF ID Code Display
After each ID code is shown, the display will toggle to the following message before moving to the next ID code:
“To remove ID press 9*” (the number “9” represents the location number and is used as an example here and in
Figure 50).
To remove the ID code, press the number key(s) that corresponds with the location number (for this example,
[9]). Then press the [*] key. The display will then ask you to confirm your removal. Press the appropriate number
key(s) followed by the [*] key. The display will then show “Removed ID” on the first line with the location, area
and point numbers of the removed ID on the second line.
If you wish to remove additional ID codes, press [Cmd]. The scrolling list of RF devices will return. Press [Cmd]
again to return to the RF Menu when you have finished removing all ID codes. Pressing [Cmd] a third time will
return you to the main programming menu.
13.3.8 Press [8] for Keypad Program
Pressing [8] moves the system into keypad programming mode ONLY if the Installer Switch is closed (see
Figure 45).
IMPORTANT
Keypad programming must be enabled. The default setting enables keypad programming. See the
D6412/D4412 Program Entry Guide (P/N: 45351) for more information.
See Appendix E, Keypad Programming in the D6412/D4412 Program Entry Guide for complete instructions for
programming from the keypad.
13.3.9 Press [9] Program Key
The PK32 Programming Key functions much like a blank floppy disk and can be used to copy a system’s
programming to another system. This key can also be used as a backup in the event that the system’s
programming entries are lost.
To access the PK32 Programming Key Menu, press [9] from the main programming menu. This menu contains
the following selections:
• Key to Panel: Press [1] to send information from the Programming Key to the panel.
• Panel to Key: Press [2] to send information from the panel to the Programming Key.
• Check Key: Press [3] to perform a functional diagnostic on the Programming Key. The status LED on the
Programming Key will blink during the check. When the display shows “Check OK,” the Programming Key is
OK for use. Press [Cmd] to abort the check.
• Erase Key: Press [4] to erase the contents of the Programming Key.
IMPORTANT
A panel program stored on a PK32 key can only be used on like panel types (D6412 to D6412, D4412 to
D4412).