Disassembly / Assembly SpaceStation
3
SpaceStation, 1.0 gb 3- 21
1.0
3.10 Assembly / Installation
Assembly or installation of the modules and subsystems is done in
reverse order of disassembly. Special steps to be observed are de-
scribed hereafter in detail.
Only new cover caps are to be used.
Special Screws
Special screws for plastic housings are used in this unit. The
screws are not self-cutting but produce a thread in the plastic of
the housing through deformation when fitted in for the first time.
If the beginning of the thread is not engaged when the screw is
fitted, a new thread is produced and the old thread is destroyed
so that the security of the fixing can no longer be guaranteed.
Proceed as follows to fit the special screws:
1. Put the screw on the thread.
2. Rotate screw anti-clockwise (loosen) until a faint click can be
heard. This click is produced when the screw thread drops
into the existing thread.
3. Screw in the screw and tighten with the defined torque.
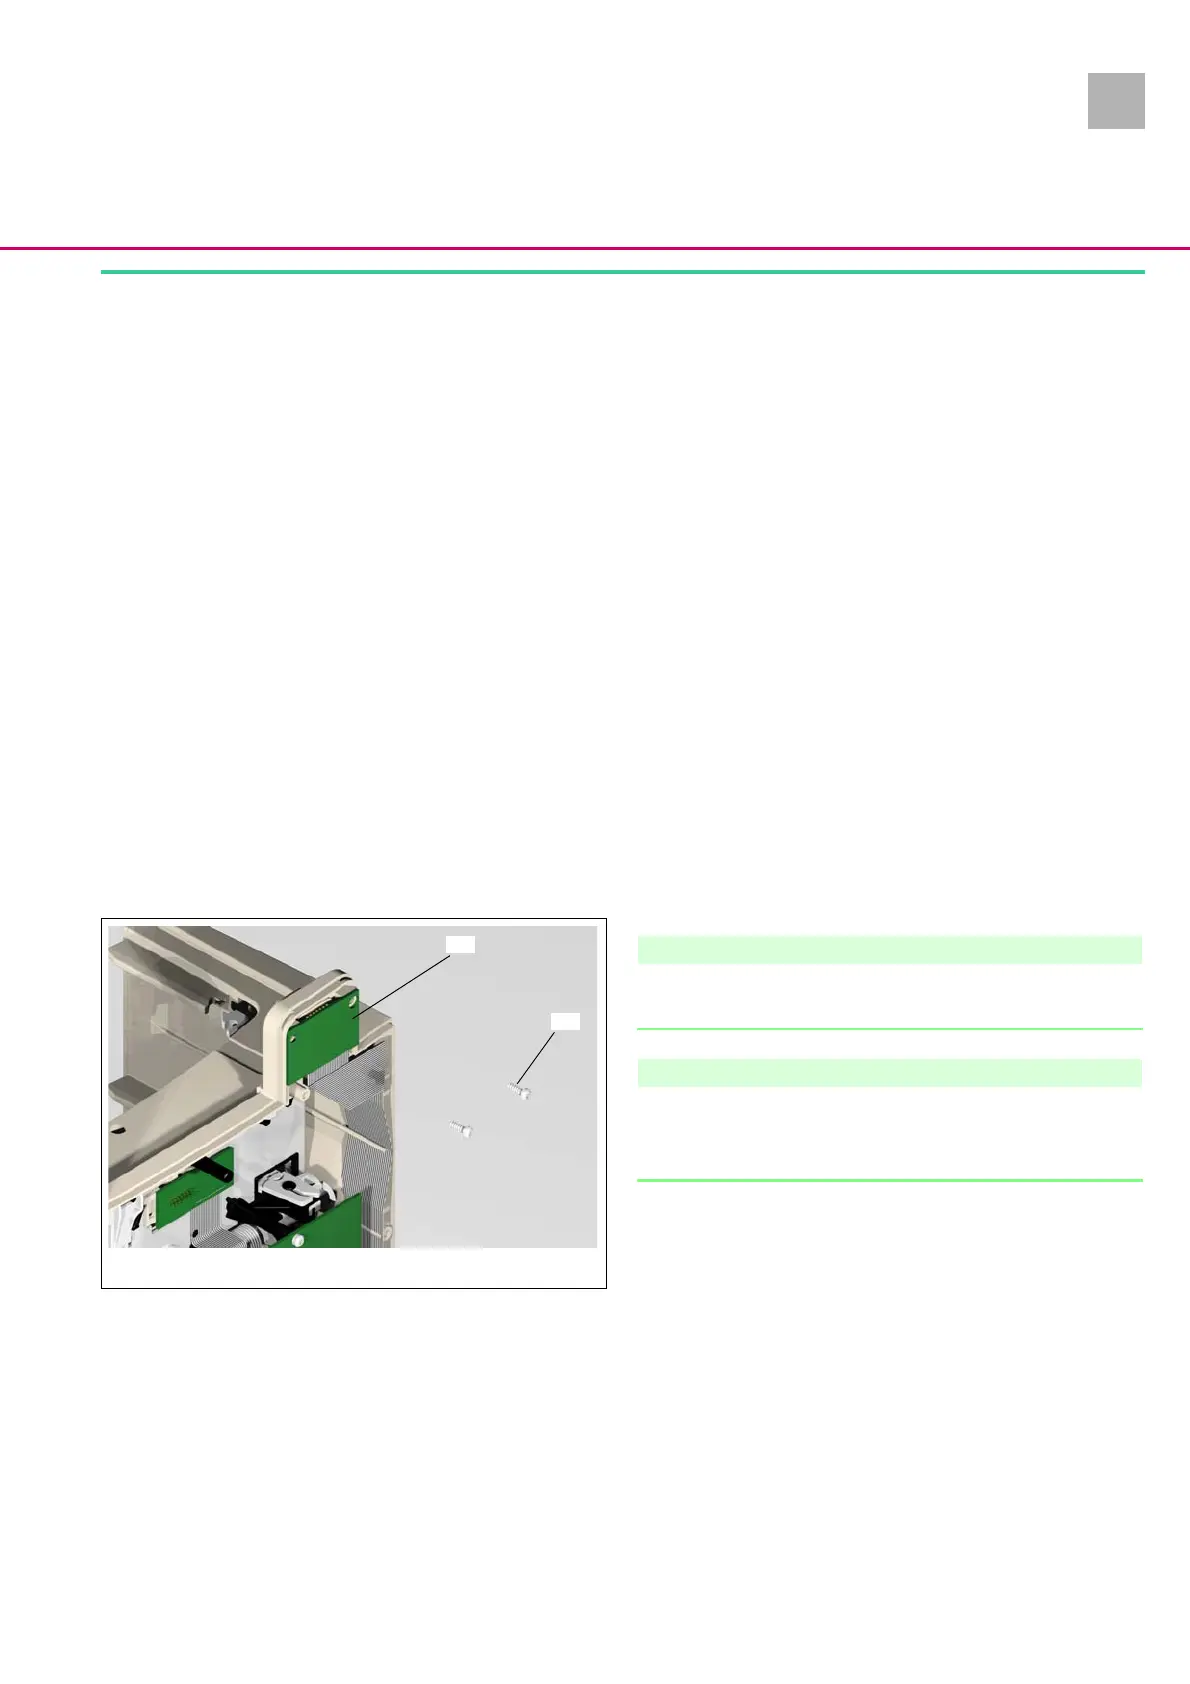
Interface Board / Module Lock
Note
Before the interface board is installed make sure that the two
housing feet are inserted in the housing.
Note
When installing the interface board observe the mounting se-
quence, i.e. first attach the interface board to the module lock and
then install the complete group in the housing.
1. Tighten the connector board screws with a torque of 0.25 to
0.05 Nm.
Abb.: 3 - 23
Legende zu Abb. 3 - 23:
ItemDesignation
1 Connector board F5
2 Screw EJOT 30x9 WN 5452 TORX 10IP A2
1
2