38
3.4.7 Calibration
After testing the extrusion, calibrate the starting point of the print job by determining the XY-offsets
for each print head and setting the zero position for the Z-axes.
3.4.7.1 Manual Calibration of a Single Print Head
There is no need to calibrate the XY-offsets between the different print heads when using only one
print head for the print job. Instead, only the zero position for the Z-axis needs to be set.
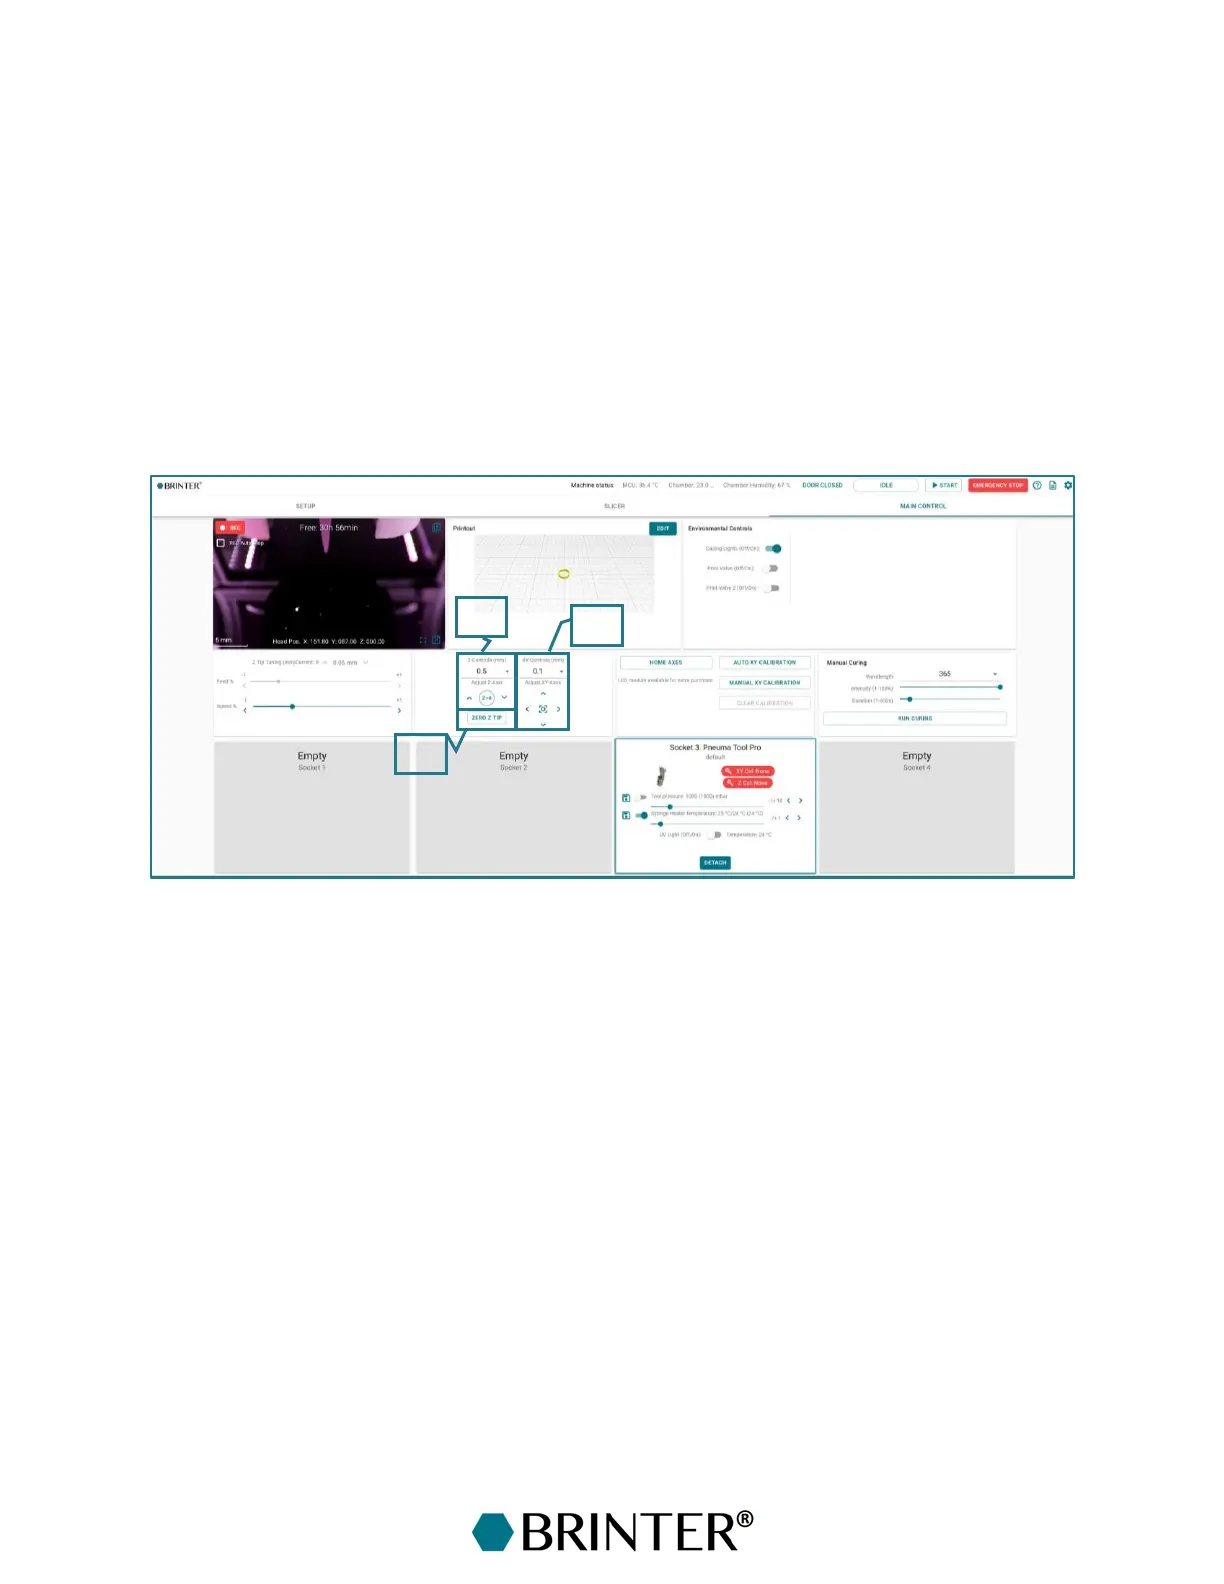
For manual Z-calibration of the needle, set the Z step size small enough, depending on the needle
length. Next, use the up and down arrows to move the needle closer to the print bed surface until the
needle tip touches the print bed surface. Do not leave a big gap between the needle and the surface,
as the G-code automatically adds the set layer height for the first layers. Finally, click the ZERO Z TIP
button to save the current needle position.
1. XY-controls – Choose the movement step size from the drop-down menu and use the X
(horizontal) and Y (vertical) arrows to move the print head to the location on the print bed
where you want to calibrate and print. Use a larger step size of 50 or 100 mm for longer
movements.
2. Z-control – Choose the movement step size from the drop-down menu and use the up and
down arrows to move the print head in the Z-direction.
3. Zero Z tip – Save the set Z-position.