53
6.2 Getting the Heated Print Bed Ready
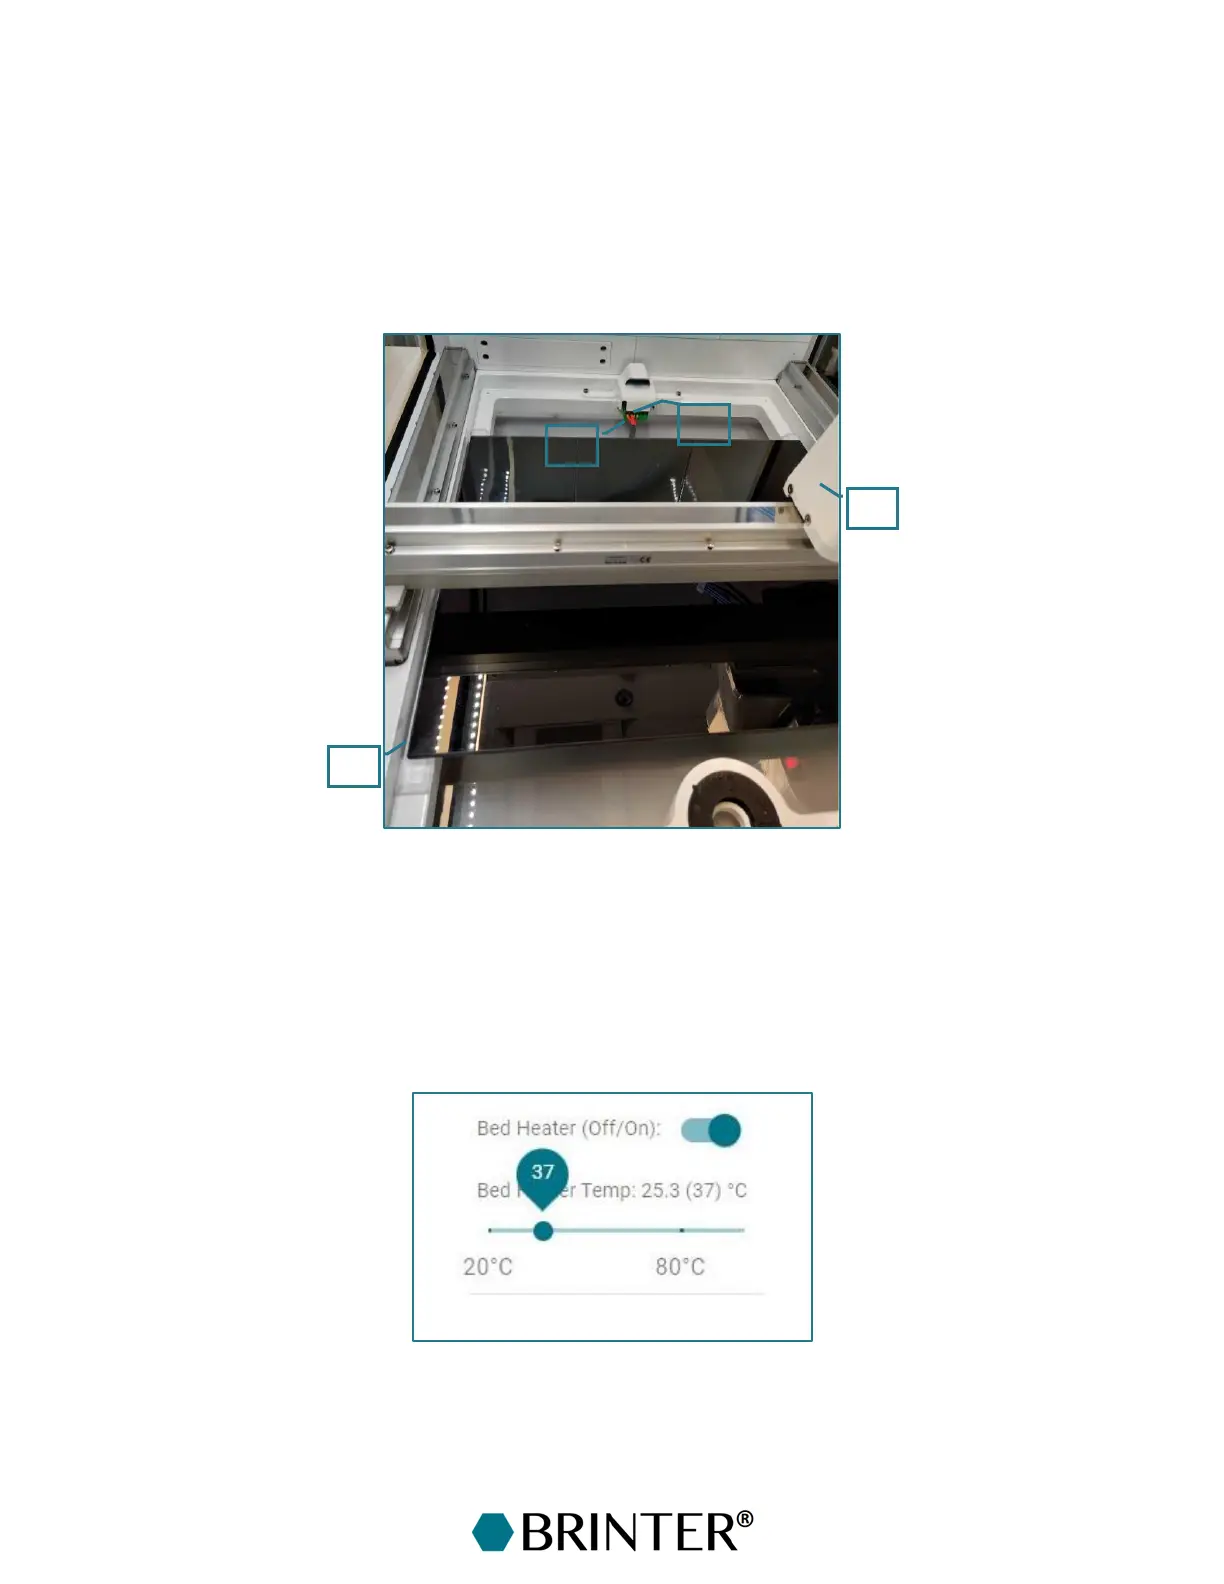
To install the heated print bed, make sure that the robotic arm with the print head is moved out of
the way by moving it next to the door in the right corner [1] or next to the back right corner. Next,
switch the power off from the Brinter
®
platform by unplugging the power cord. Slide the bed in its
place [2] and plug the power cord [3] into the socket [4] at the back end of the frame of the Brinter
®
.
Be careful not to pull from the power cord, only from the connector. Switch the power back onto the
Brinter
®
by plugging in the power cord.
6.3 Using the Heated Print Bed
The temperature of the heated print bed can be adjusted from +20 °C to +100 °C from the Main
control tab in the Brinter
®
software. First, turn on the heating function from the switch “Bed Heater
(Off/On)”. Next, set the target temperature with the slider underneath. The set temperature will be
shown in the brackets, and the current bed temperature is shown before the brackets.