17
5. Duration – Adjust the duration of the photocuring in seconds (0–600 s).
6. Run curing – Click to start the post-curing process.
7. See curing manual – Click to prompt a manual that helps to choose the correct curing
distance (the distance of the object from the light source).
8. Progress indicator – Shows that the disinfection process has started successfully.
3.4.3 Configuring the Print Head Settings
After the optional disinfection cycle:
Load the syringe barrel or several barrels with the bioink(s) by following the instructions given in the
Appendices for each specific print head. Brinter
®
One can use up to four print heads to print into the
same construct.
Mount the filled syringe barrel into the chosen print head by following the specific instructions given
in the Appendices.
Remember to connect the pressure connectors to the print heads securely.
Insert the print head(s) into the socket(s) on the Brinter
®
door. Brinter
®
software will then
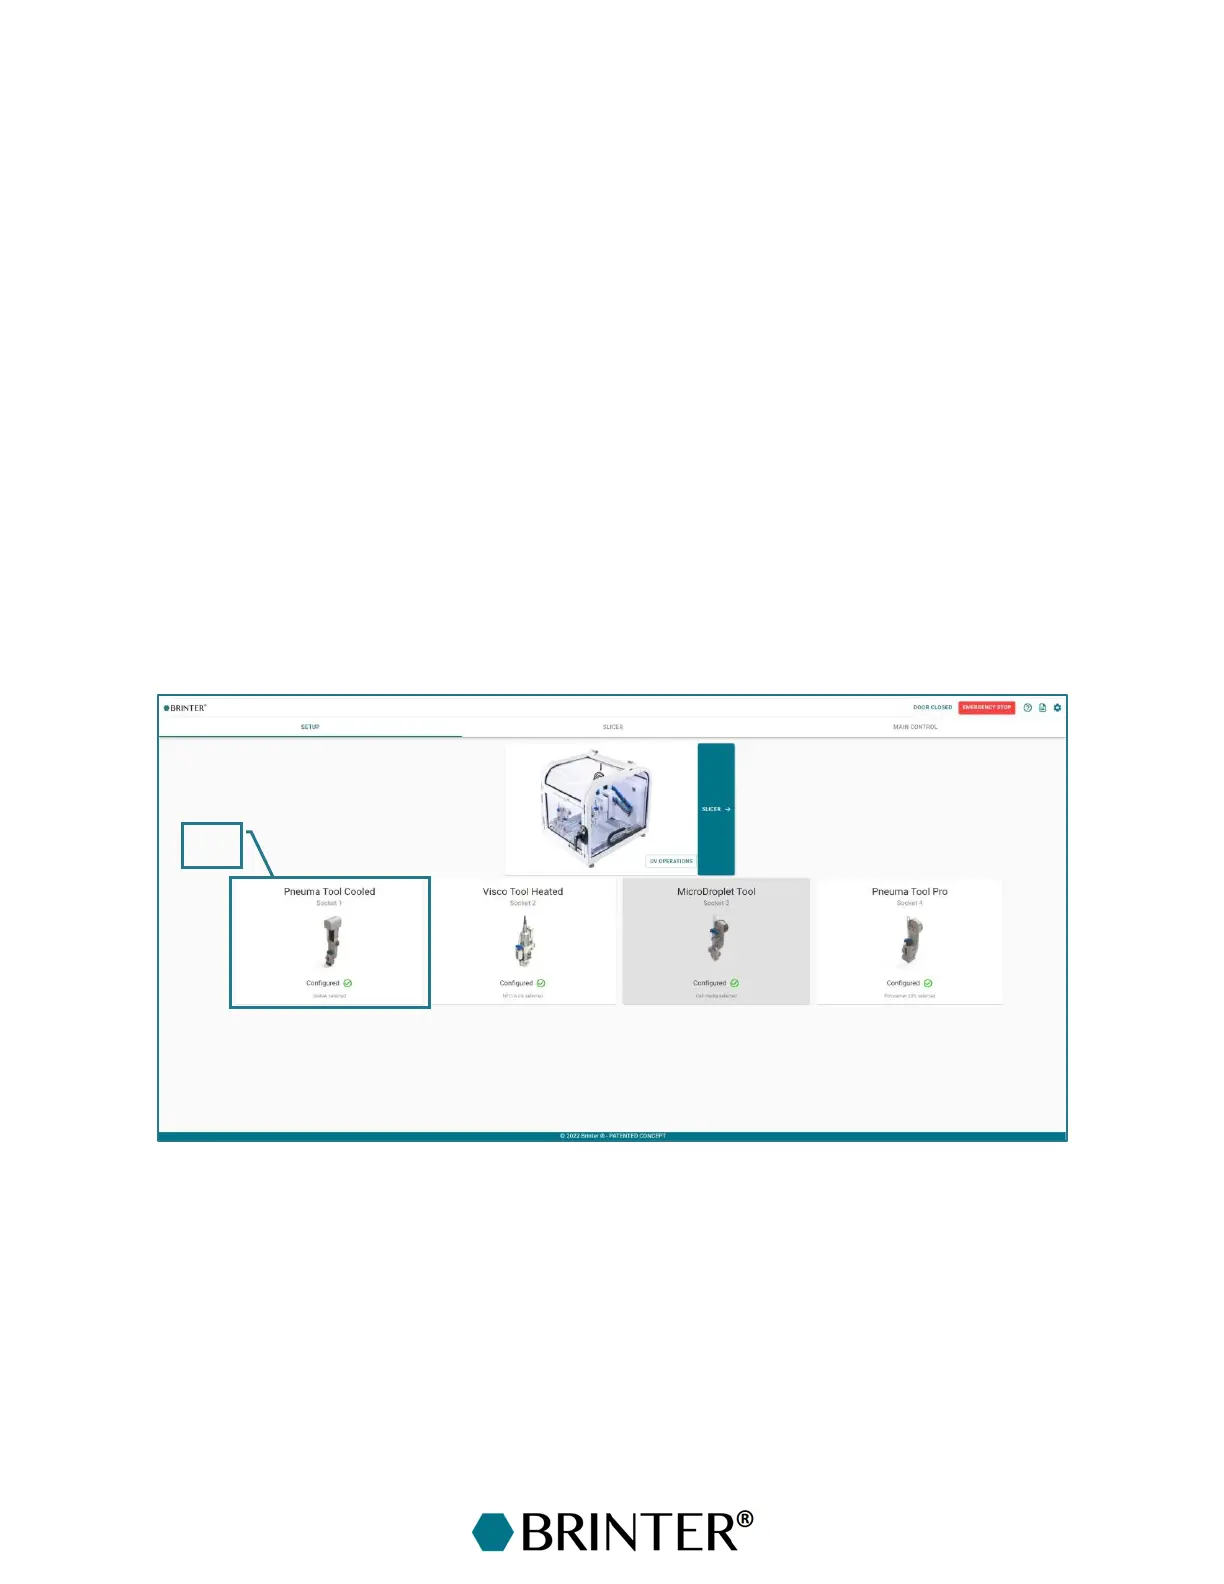
automatically identify via RFID tags, which print head(s) have been mounted.
1. Print head selection – Click the image of the print head to start configuring the printing
parameters. Configure at least one print head before proceeding to the Slicer tab.