76
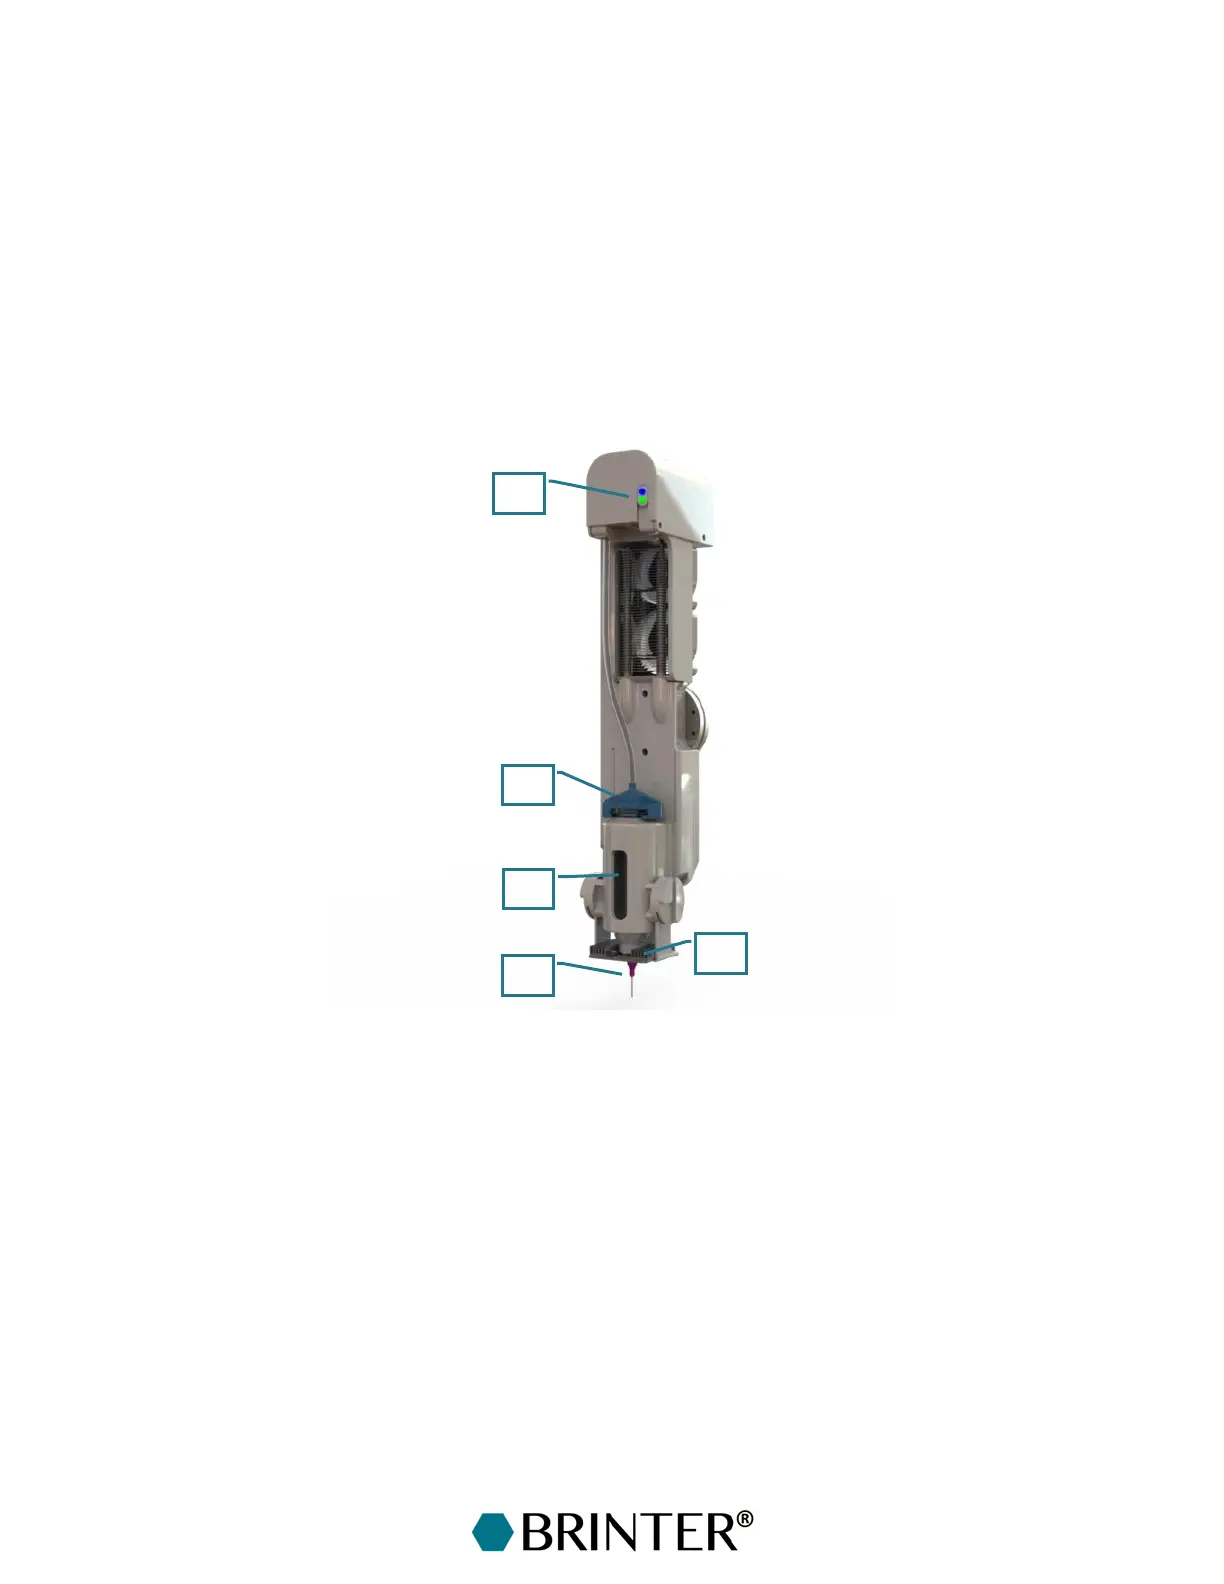
The three integrated photocuring LEDs are on a circuit board just underneath the syringe barrel holder
around the needle [5].
The Pneuma Tool Cooled is now ready for printing.
The lower green LED lights for a moment to indicate that the temperature setting has been received.
The upper blue LED is always on when the cooler is cooling [4].
If cooling of the material is needed, wait for the print head and material to reach the target
temperature before starting the print job. If 10 mL of gel material is at RT in the beginning, it will
take ~30 mins to reach the target temperature of 10 °C.
After printing, the Pneuma Tool Cooled can be cleaned easily by disposing of the syringe barrel and
the needle and rinsing the pressure connector.