3-37
Confidential
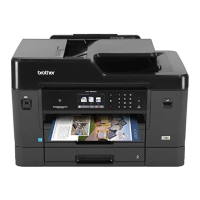
(10) Release the Lock of the connector and disconnect the Flat cable from the Carriage
PCB ASSY.
Fig. 3-7
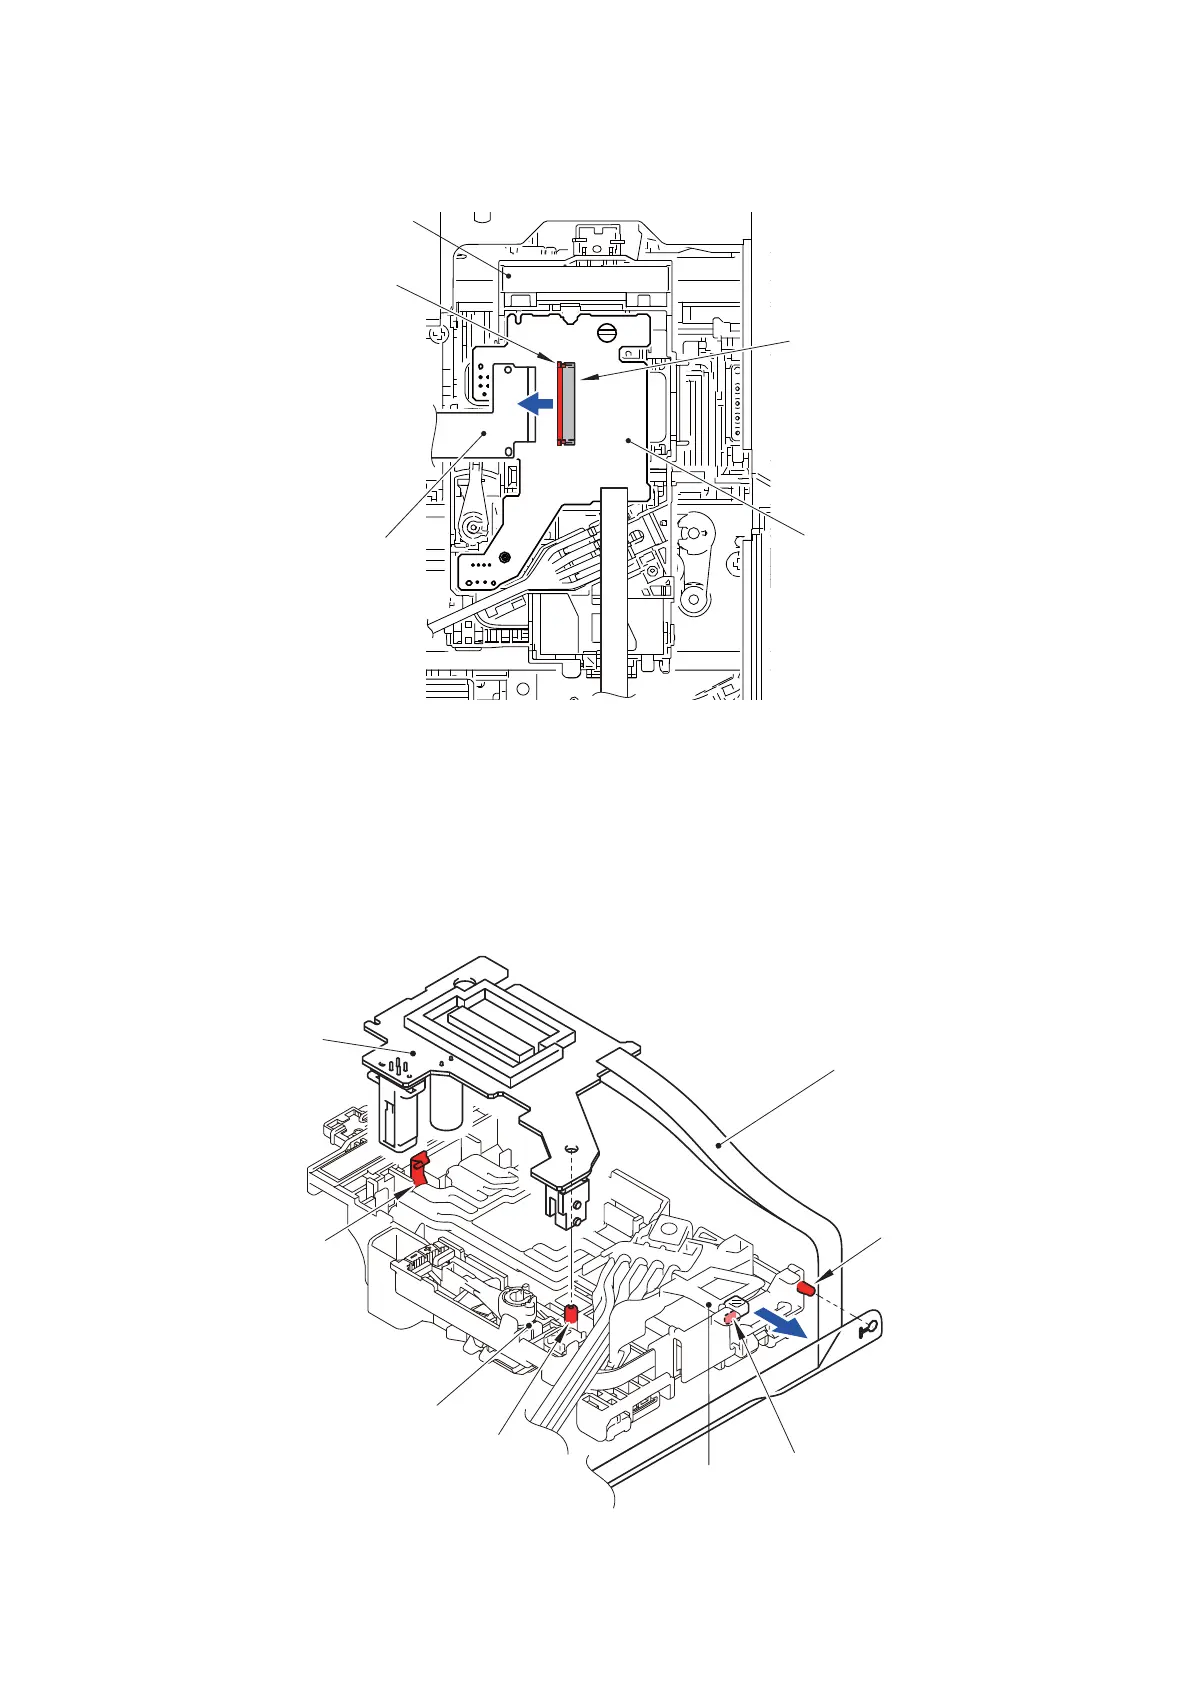
(11)Release the Lock spring which secures the Carriage PCB ASSY.
(12) Remove the Carriage PCB ASSY from the Head/carriage unit. Release the Hook
of the Tube binder and remove the Flat cable of the Carriage PCB ASSY from the
Boss of the Head/carriage unit.
Note: The Carriage PCB ASSY is not removed completely. Put the Carriage PCB
ASSY out of the way and perform work.
Fig. 3-8
Head/carriage unit
Carriage PCB ASSY
Connector
Lock
Flat cable
Head/carriage unit
Carriage PCB
ASSY
Tube binder
Lock spring
Boss
Boss
Flat cable of the
Carriage PCB ASSY
Hook
 Loading...