Adjusting the Printhead
6. Press ▲ or ▼ to select Manual , and then press the OK button.
A test pattern is printed for adjustment.
7. Press ▲ or ▼ to select D , and then press the OK button.
8. Press ▲ or ▼ to select D-1 , and then press the OK button.
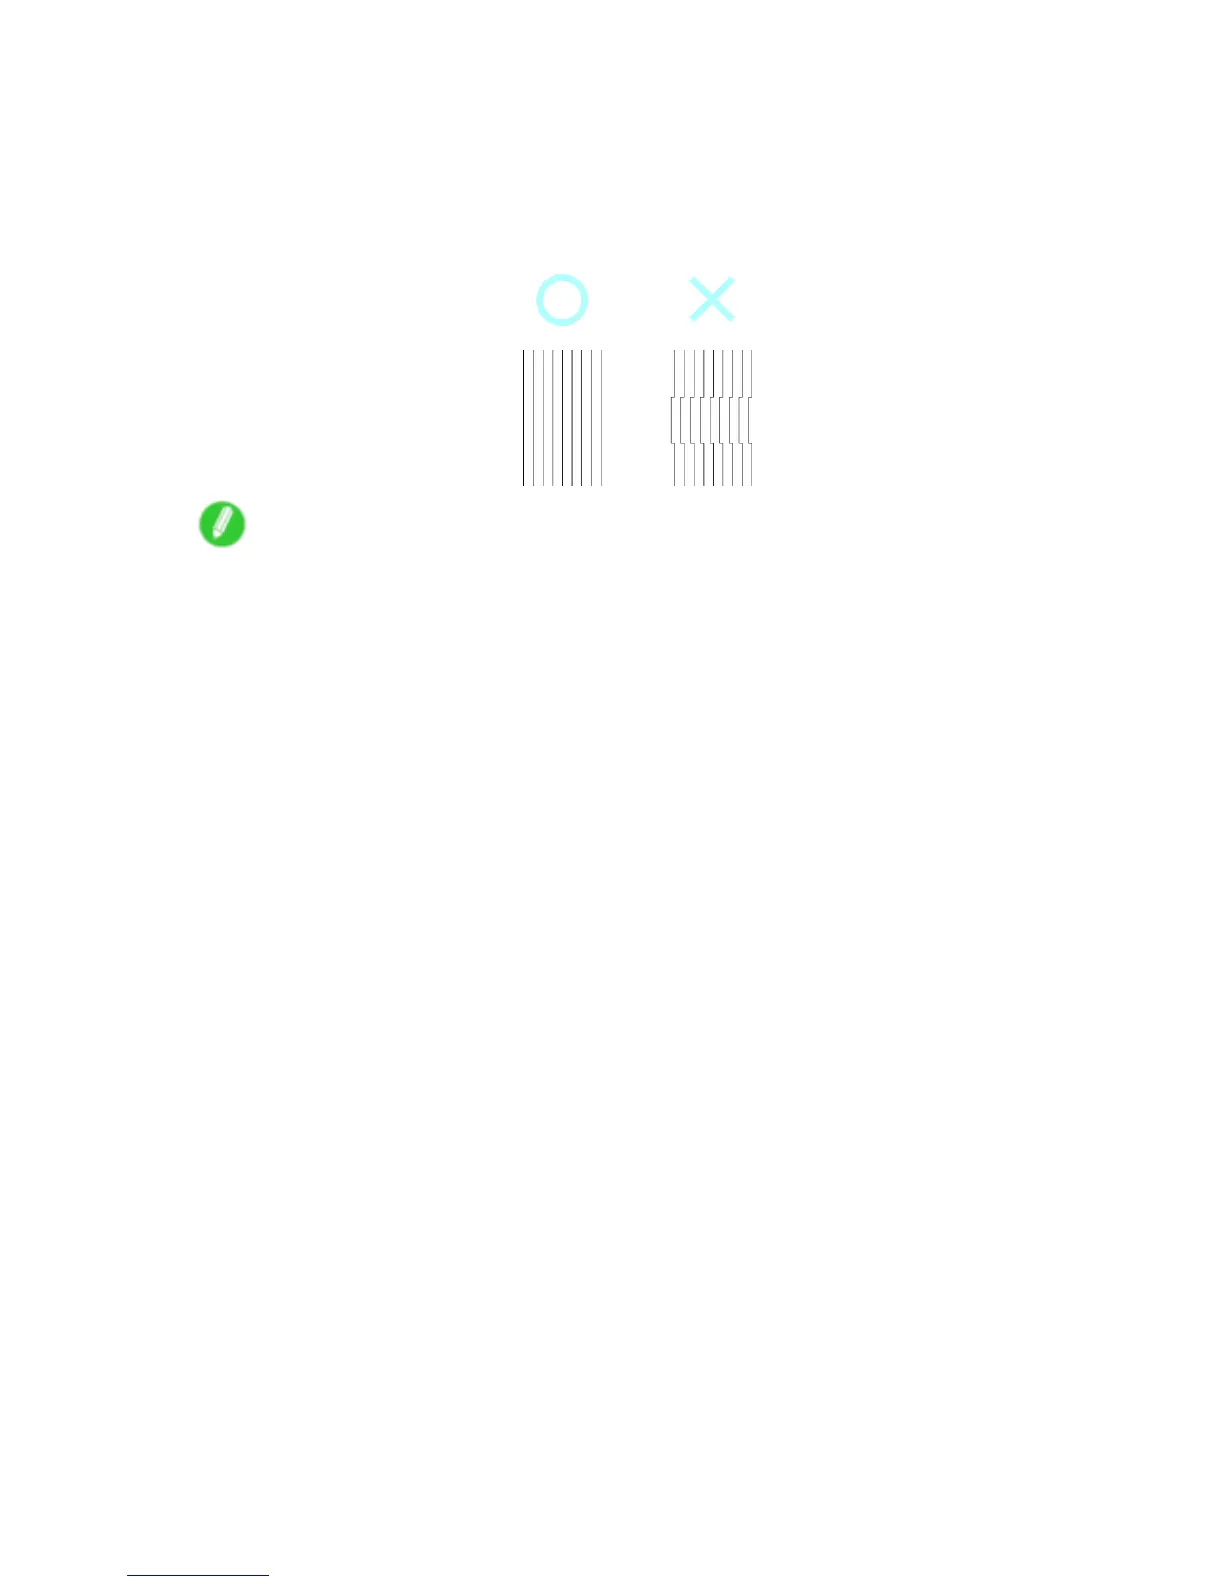
9. Examine adjustment test pattern D-1 and determine the number with straight lines.
Note
• If two patterns seem equally good and you cannot decide which one is better , choose an intermediate
value.
For example, choose 1 1 if you cannot decide whether pattern 10 or 12 is better .
10. Press ▲ or ▼ to select the pattern number you have decided, and then press the OK button.
1 1. Repeat steps 8-10 to specify the adjustment value for D-2 to D-5 and D-7 to D-1 1 .
12. Press the Back button.
13. Press ▲ or ▼ to select Register Setting , and then press the OK button.
14. Press ▲ or ▼ to select Y es , and then press the OK button.
The adjustment value is now registered, and adjustment is complete.
Adjustments for Better Print Quality 607

 Loading...