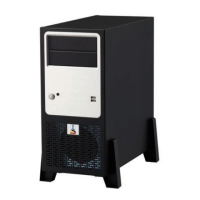
Replace the Hard Disk Drives
The
PRISMAsync is equipped with 3 x 250GB 3.5” SATA II HDD @ 7200rpm Hard Disk Drives. One
of the drives is used for the System software. The other 2 drives are for data. Please check the
table below for connections and purpose.
NOTE
When servicing components of the
PRISMAsync always wear a grounded strap around your
wrist, to avoid electrostatic discharge that will harm your equipment.
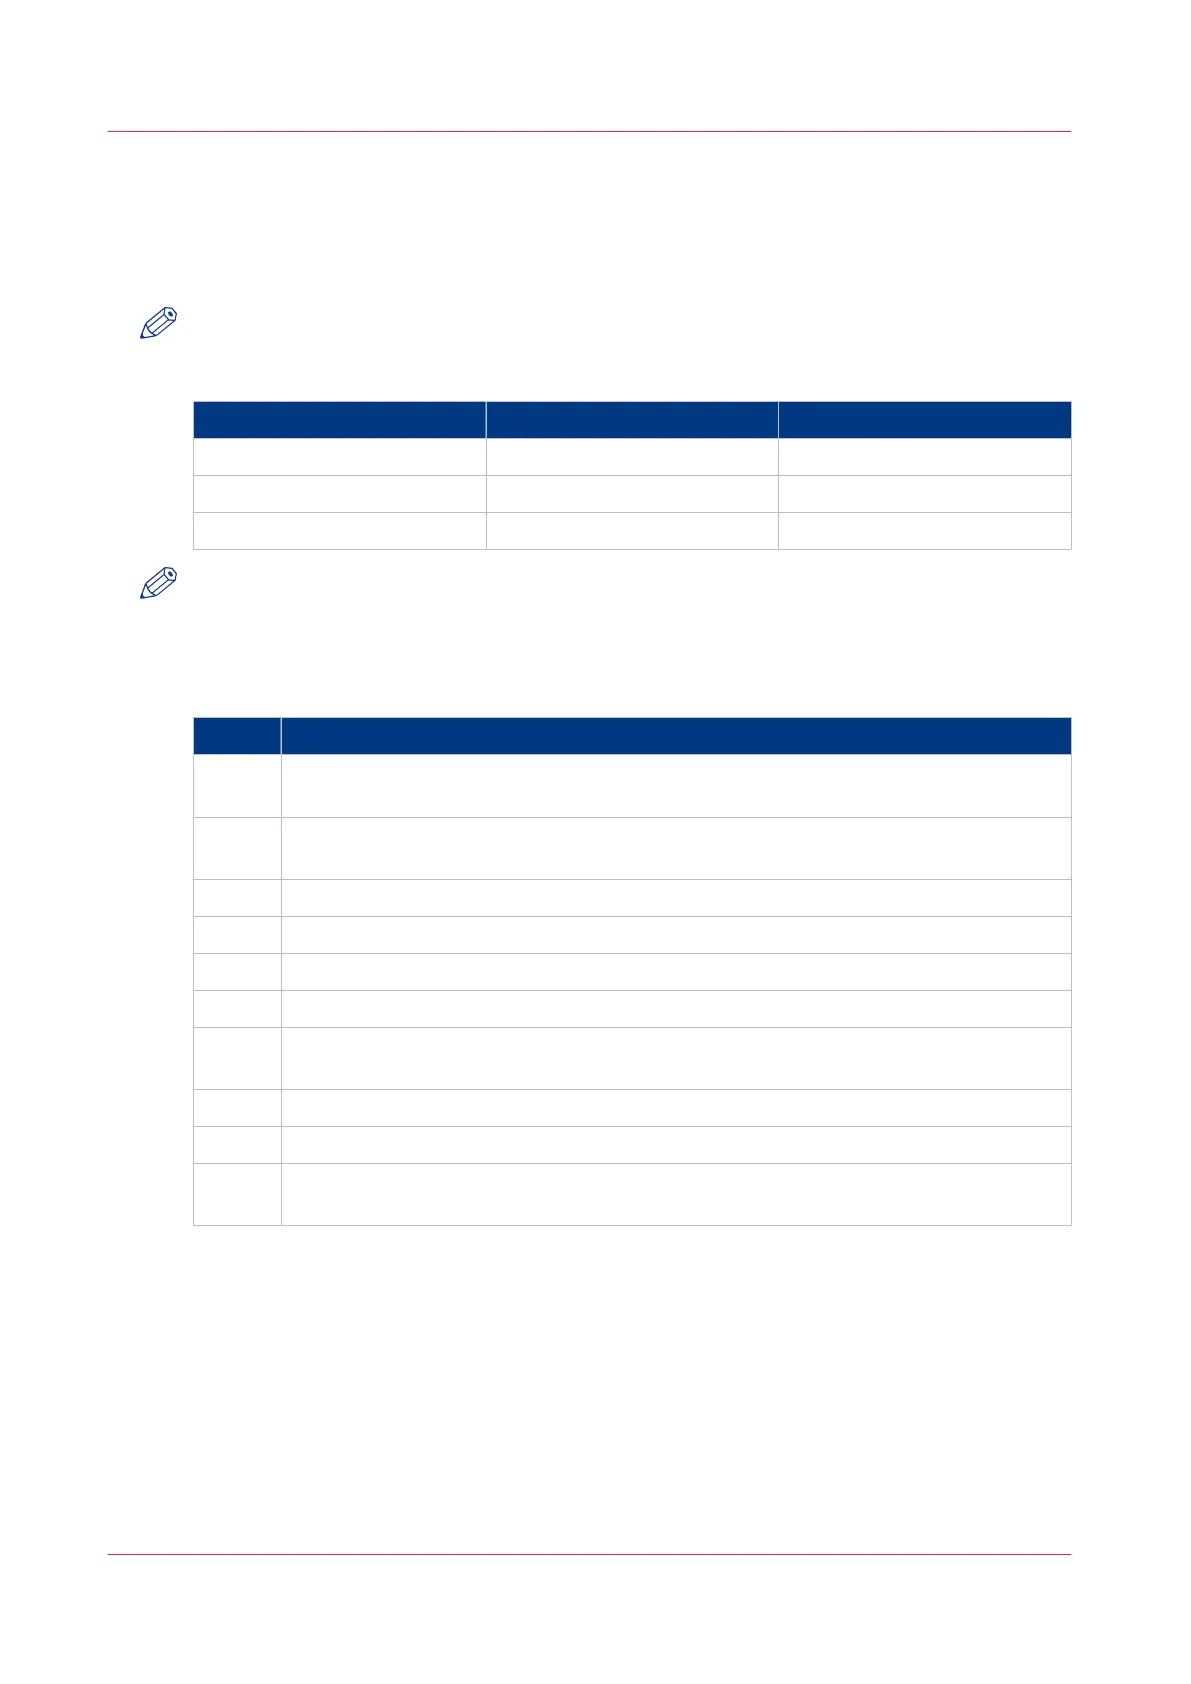
HDD # (position) Connector Purpose
0 (top) SATA J18 System disk
1 (middle) SATA J24 Data
2 (bottom) SATA J16 Data
NOTE
•
After replacement of the HDDs you will have to re-install the system software.
• Always exchange all 3 drives at once.
• The 2 data drives are Raid0 configured. This means that if 1 disk has crashed, all the data will
be lost.
Step Action
1
Remove side cover.
• Follow the instructions as described in
Access internal components
on page 67.
2
Disconnect the connectors.
•
Unplug the power and the SATA connectors on the HDD.
3
Remove the 2 screws on the front side.
4
Slide the HDD outward.
5
Insert the new HDD until it clicks into position.
6
Fasten the HDD with the 2 screws
7
Connect the connectors.
•
Plug the power and the SATA connector on the HDD.
8
Repeat steps 2 thru 7 for the other 2 HDDs
9
Re-install middle bracket and side cover.
10
Re-install the system software.
•
See
Re-installation of the system software
on page 100 .
Replace the Hard Disk Drives
74 Chapter 7 - Service procedures
PRISMAsync V3.2