8. Built-in Clock Set-up
The built-in clock has to be set up in advance if a calibration record is to be produced or
Clock-CAL function is to be used.
8.1 Date
1
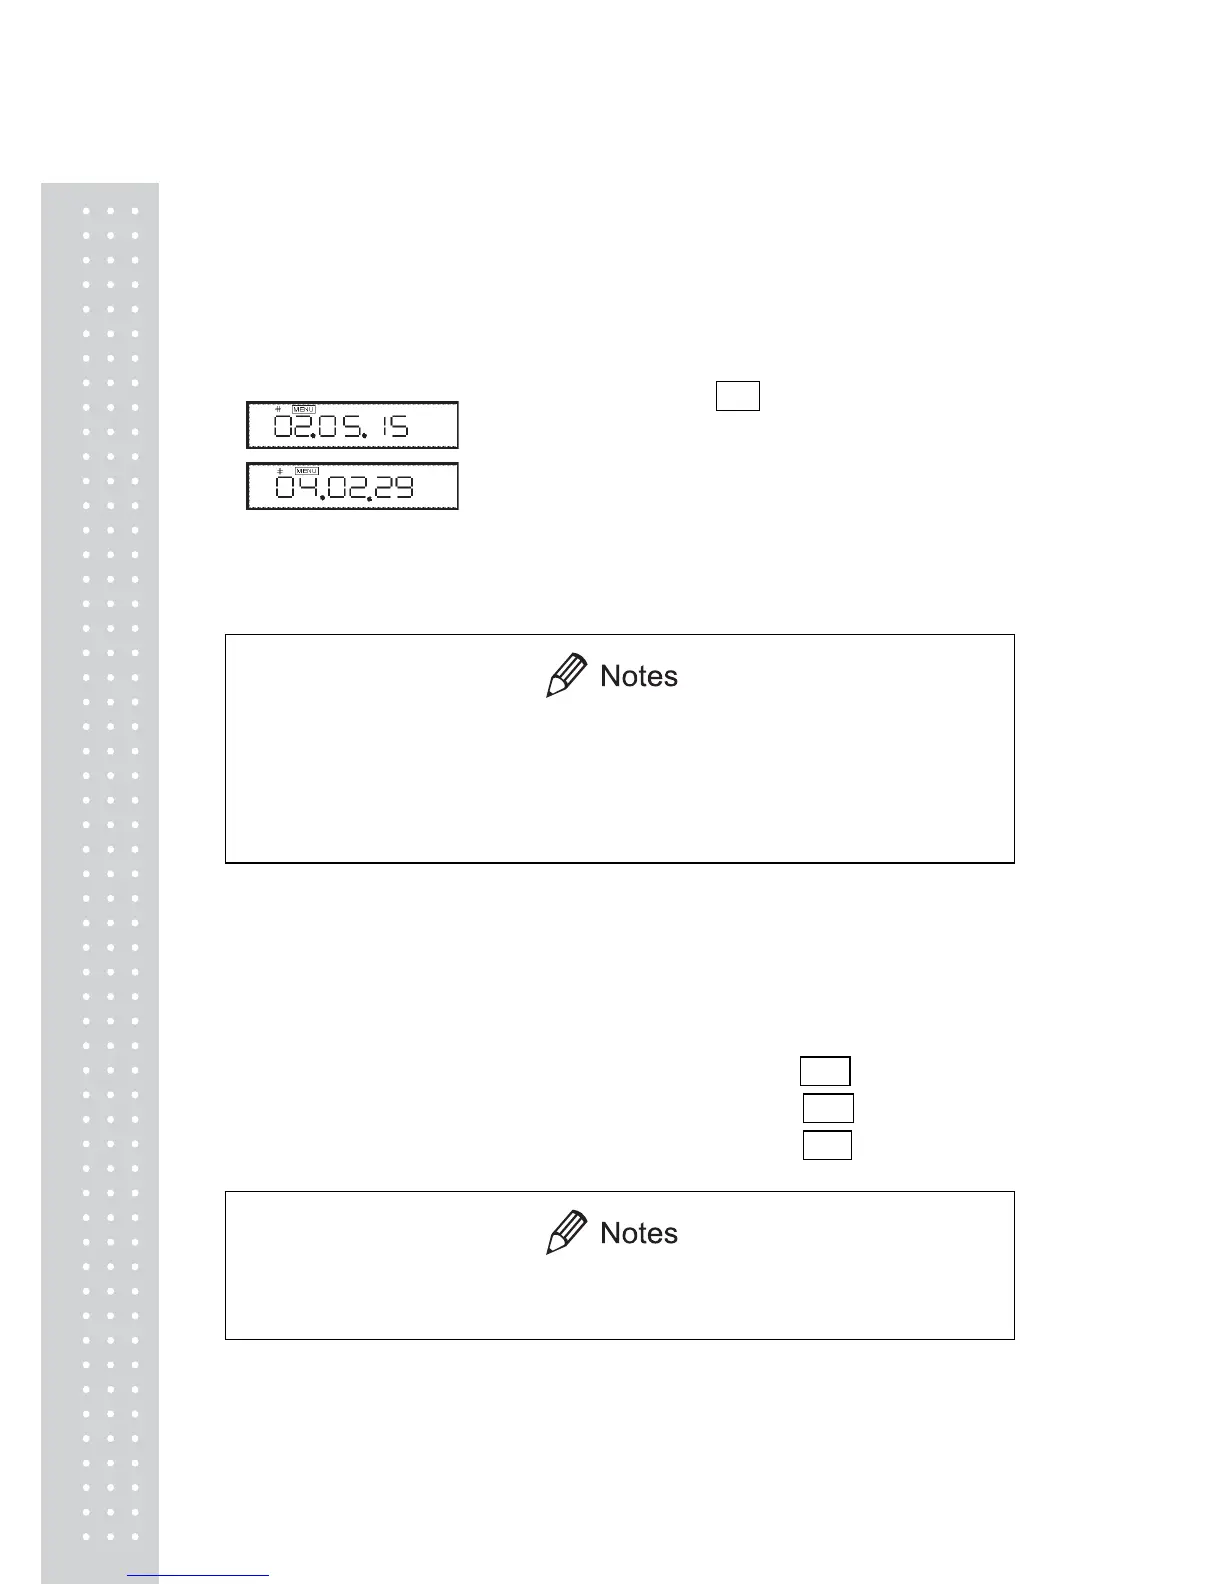
. Select menu item 63 and set the last two figures
of the year, month and day, using the [UNIT]
and [PRINT] keys.
Example:May 15th, 2002, set as “02.05.15”
Example:February 29th, 2004, set as “04.02.29”
(Example)
2. Then press the [O/T] key.
x The built-in clock corrects for the leap year automatically.
x The moment the [O/T] key is pressed to finish setting, seconds are set
to zero. If the is set after setting the time, the second value will be incorrect.
It is important to set the first and then the time, or to correct the seconds value using
the ± second correcting function described in section 8.3.
8.2 Date Output Style]
The order of the year, the month and the date in the external output can be selected from three styles.
The setting made here is not reflected on the display of the balance.
The setting made here is not reflected on the display of the balance.
To output in the YYYY-MM-DD order, select menu item 63a . [y.m.d]
To output in the DD-MM-YYYY order, select menu item 63b . [d.m.y]
To output in the MM-DD-YYYY order, select menu item 63c . [m.d.y]
The setting made here on “Date Output Style” will not be cleared with Menu reset
(See 7.5.2).
 Loading...