59
Although stability detection settings are optimized at default, they can be changed as
instructed in 11.3.2 and 11.3.3 depending on specific measurement requirements.
Functions that use stability detection
Auto Print (See 13.3), Auto Zero (See 13.4), Taring/Printing at Stability (See 13.6), Peak Hold
(See 14.3), Auto-Memory and Zeroing (See 14.5), Animal Weighing (See 14.6), Formulation
Mode (See 14.7).
Stability mark is an auxiliary device to inform measurement stability. The displayed
value may change while the stability symbol remains illuminated if the load is
changing slowly, or depending on the stability detection settings.
11.3.2 Stability Detection Band
This setting is effective on both stability mark illumination and on operations triggered by
stability detection.
The default setting is 1 count.
If stability detection band is “1 count”, the measurement is regarded to be stable when the
display has remained within one display count for a certain fixed length of time. If stability
detection band is “2 counts”, it is regarded to be stable when the display has remained within
two display counts. Selecting a larger stability detection band makes stability detection take
place before the display converges into 1 count.
Try a larger stability detection band when data output triggered by stability detection is
delayed due to environmental conditions of the installation site. Data output and auto zeroing
can then be made more efficiently.
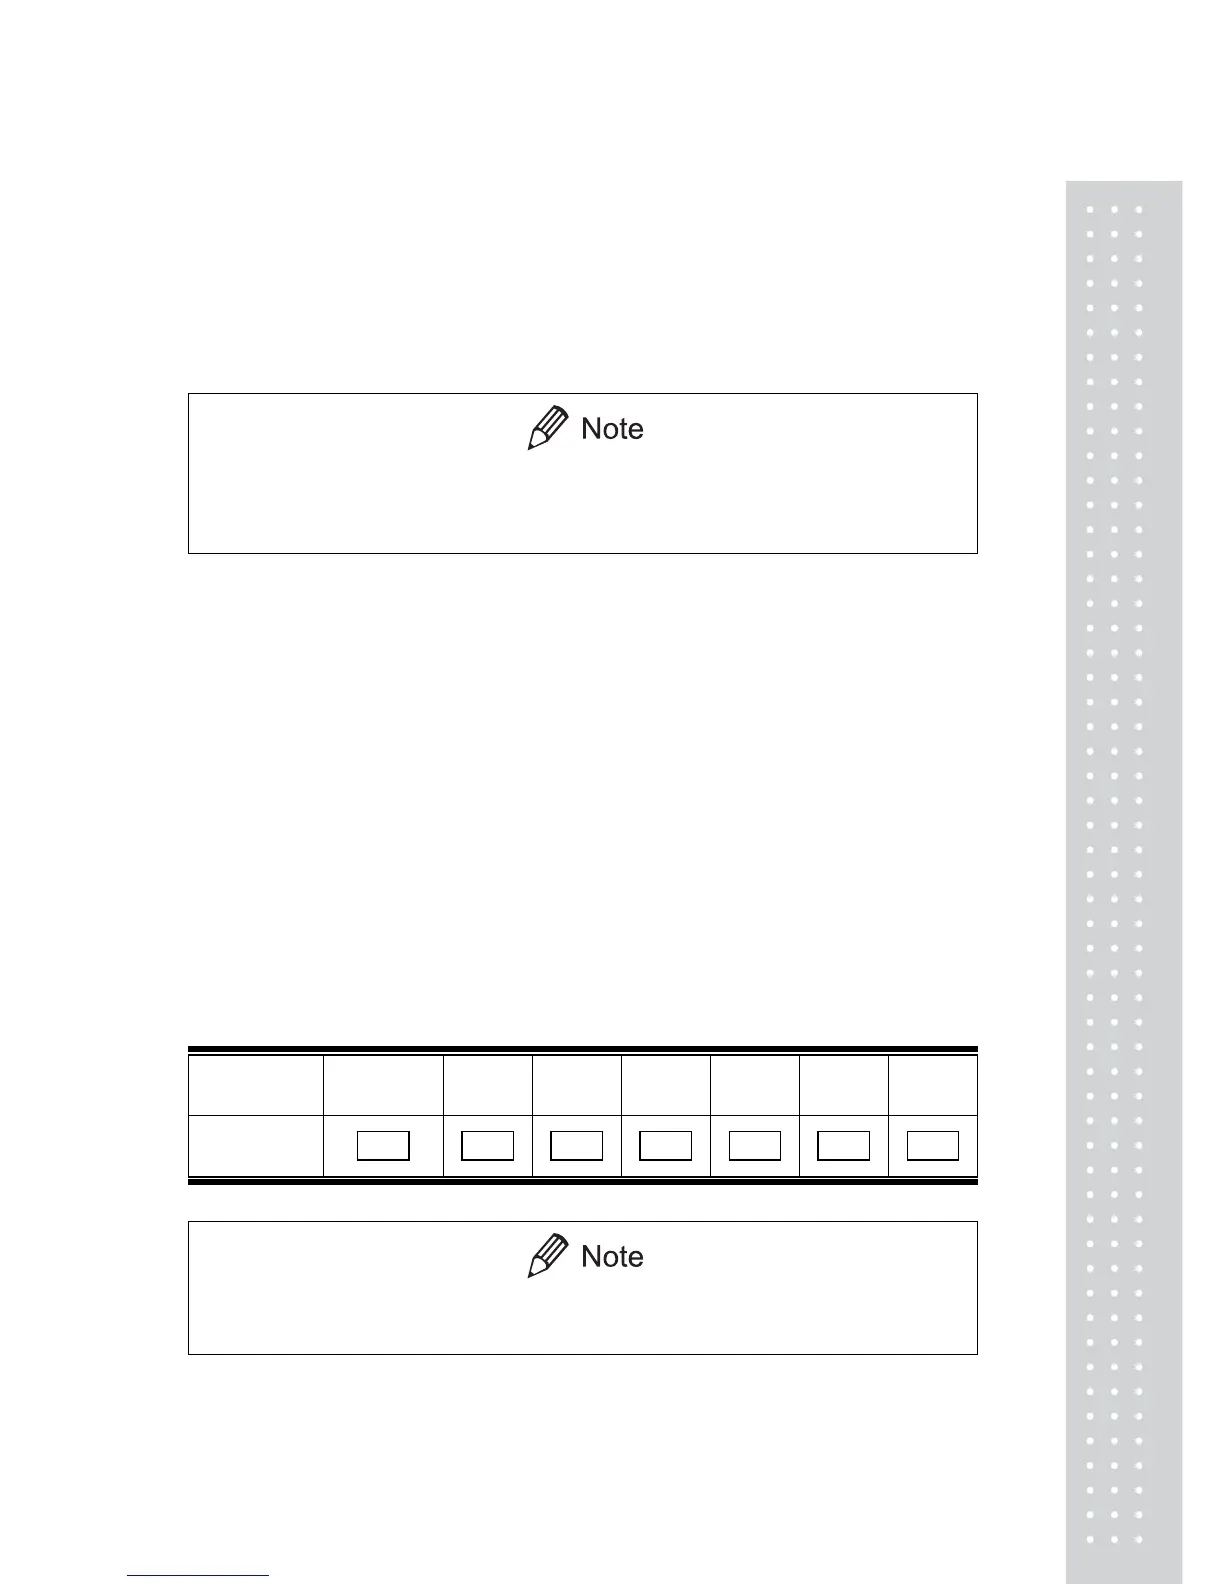
Stability
detection band
1 count
(default setting)
2 counts 4 counts 8 counts 16 counts 32 counts 64 counts
Menu item
number
27
28
29
31
32
33
34
Use “16 counts” to “64 counts” for Auto Print, Animal Weighing or other data-
utputting function under very unstable conditions only.
 Loading...