5-7
OPERATOR’S MANUAL PRO SERIES
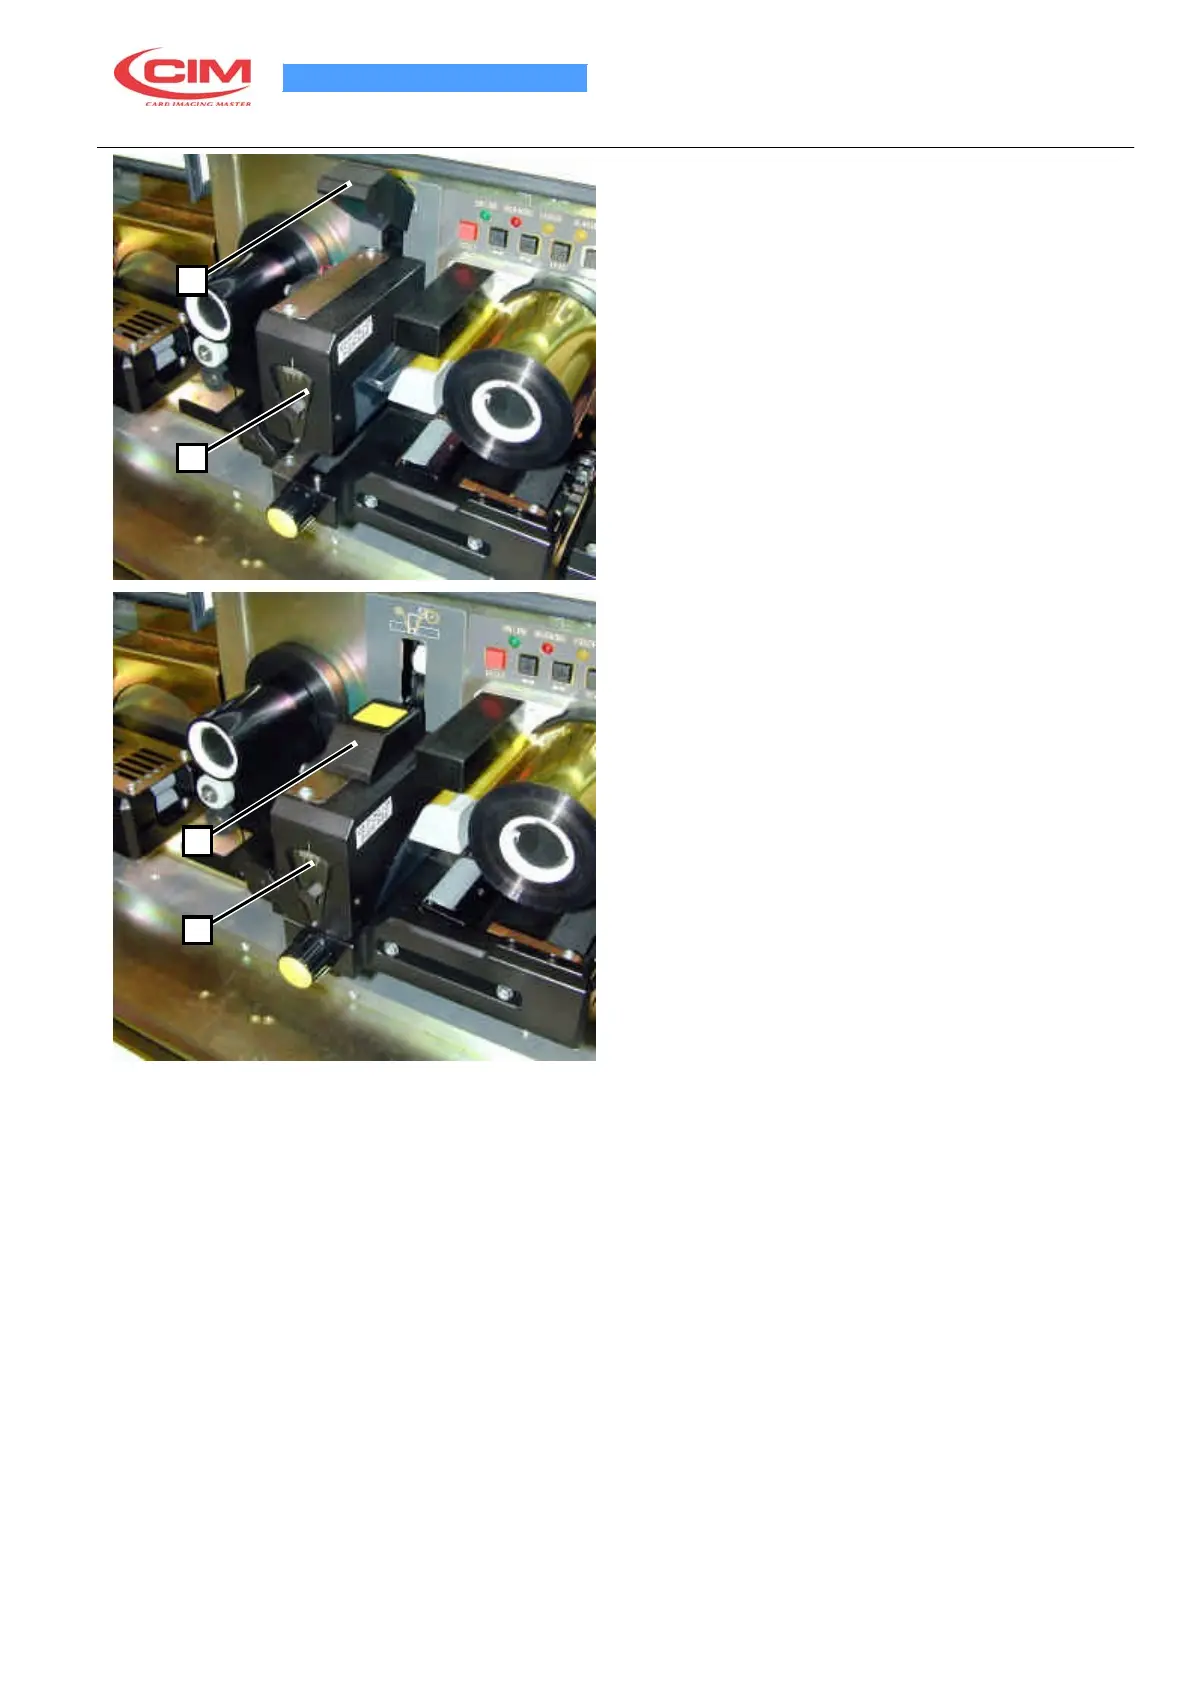
5 RIBBON REPLACEMENT AND ADJUSTMENTS
5.5 REPLACING THE PRINTING RIBBON
When the printing ribbon is finished, change it as
follows:
•
Lift the head (1) using the special lever (2) located
2
above it
•
Remove the old ribbon
•
Insert the new ribbon, placing the full holder on the
right side reel and passing the ribbon beneath the
head (1) and in the gap between the colour sensor
transmitter and receiver
1
• Lower the head (1) using the special lever (2)
•
Wind the ribbon until it is tight. To do this, use the
RIBBON key on the front printing module keypad.
•
Rotate it half a turn to tighten the ribbon and control
that there are no folds.
•
Lower the lever (2).
•
Check the ribbon cover the photo sensor (4).
2
1