Next click „OK” – profile was created. In the „Session Profile” window click now „Cancel” – we are going to
create a shortcut on the desktop, it will launch the Mach3 program with our configuration. Copy the
„Mach3 Loader” icon (CTRL+C, and next CTRL+V on the keyboard). Click this icon with right mouse button
and select “Properties”. On “General” tab enter any name e.g. “MyMillingMachine”, go to the „Shortcut” tab
and in the „Target element” enter:
C:\Mach3\Mach3.exe /p MyMillingMachine_400x250_CSMIO_IP
Type the special signs „/”and „\” carefully, in correct places. You can type any other name of course in-
stead of "MyMillingMachine..." but it must be identical as your profile name.
After all click „OK” and now, you can launch the program using the shortcut you have just created.
10.2 The first run
Before that you should connect Ethernet cable of the controller to a computer or plug it into a computer
network. You must switch the controller power ON at least 10 seconds earlier.
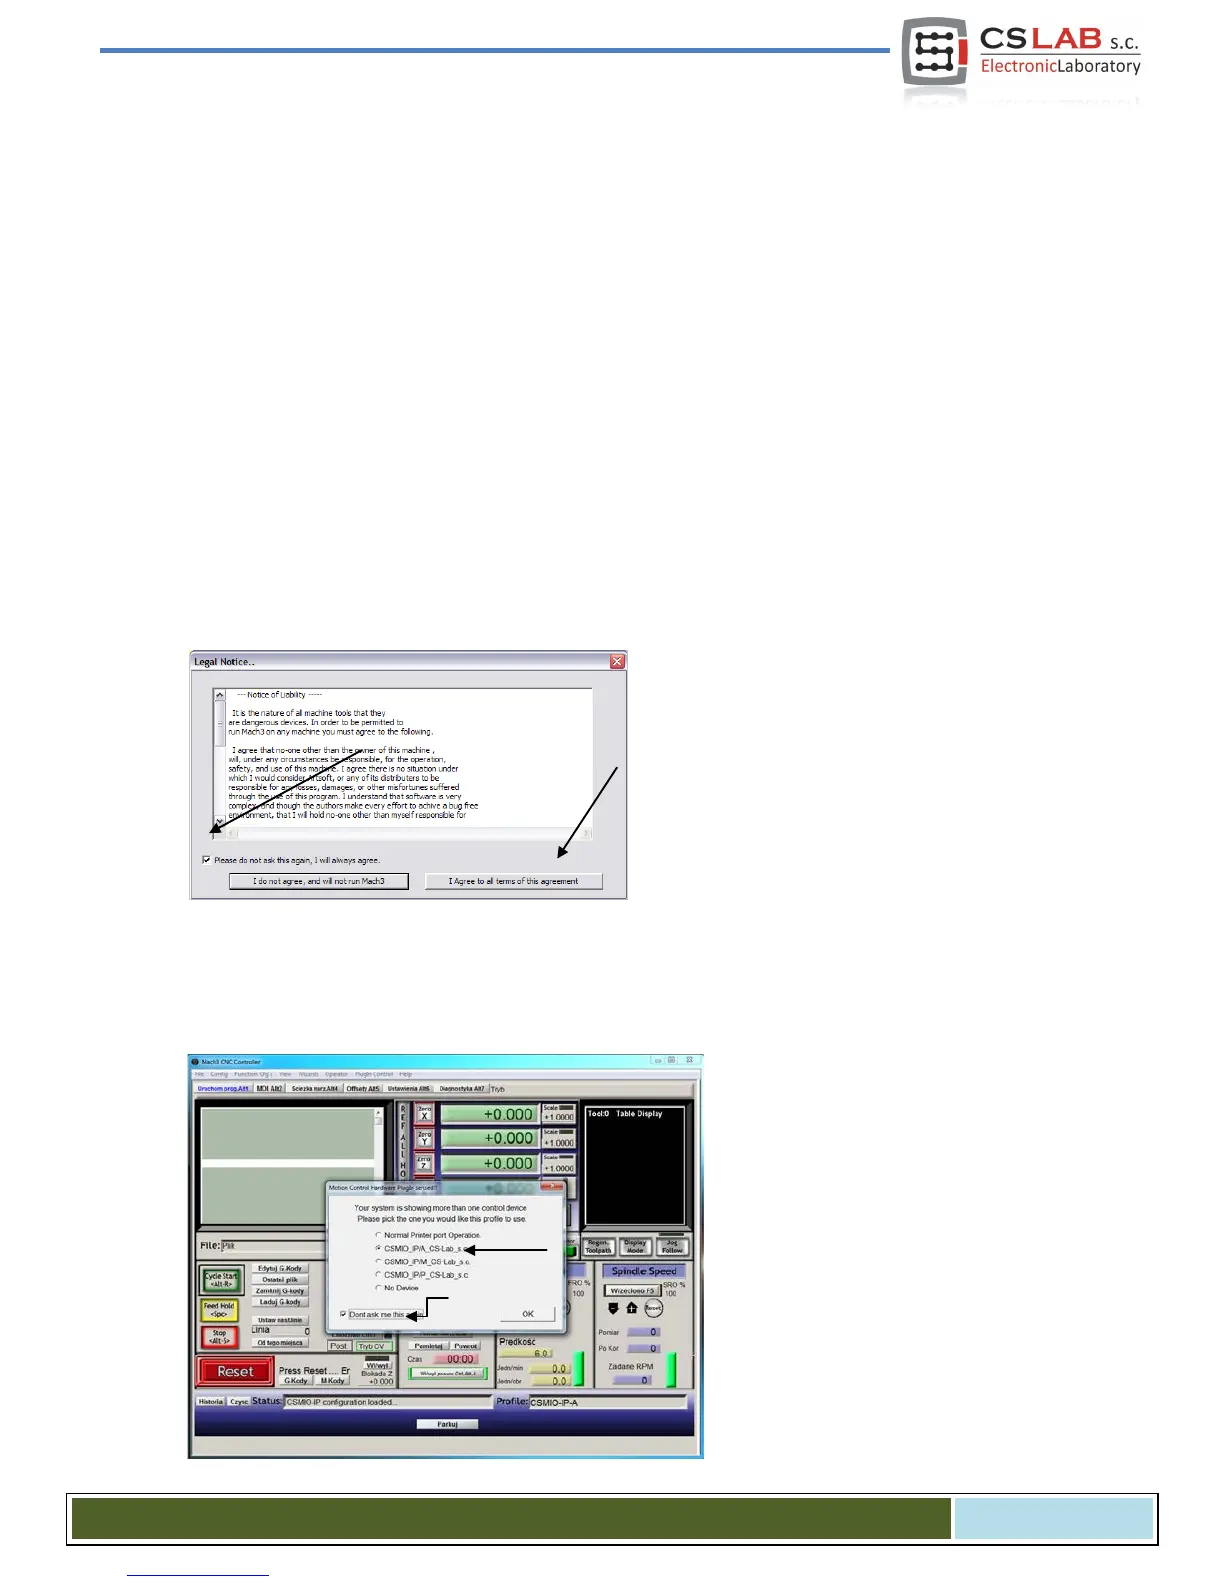
After you launch the program for the first time,
you will see the window of license approval.
You should fill in the check box and agree by
clicking the button as shown in the picture.
If plugin for CSMIO/IP-A was installed properly, as described in the chapter 9 - then there should this win-
dow appear:
Select motion controller type –
„CSMIO_IP/P” and fill in the check box:
„Don’t ask me again”, so Mach3 in this
configuration profile will always use
CSMIO/IP-A controller. Confirm your
selection with “OK".
CS- Lab s.c. – CSMIO/IP- A - CNC controller
Page 55