Service and Repair 59
Cat. No. 01029401
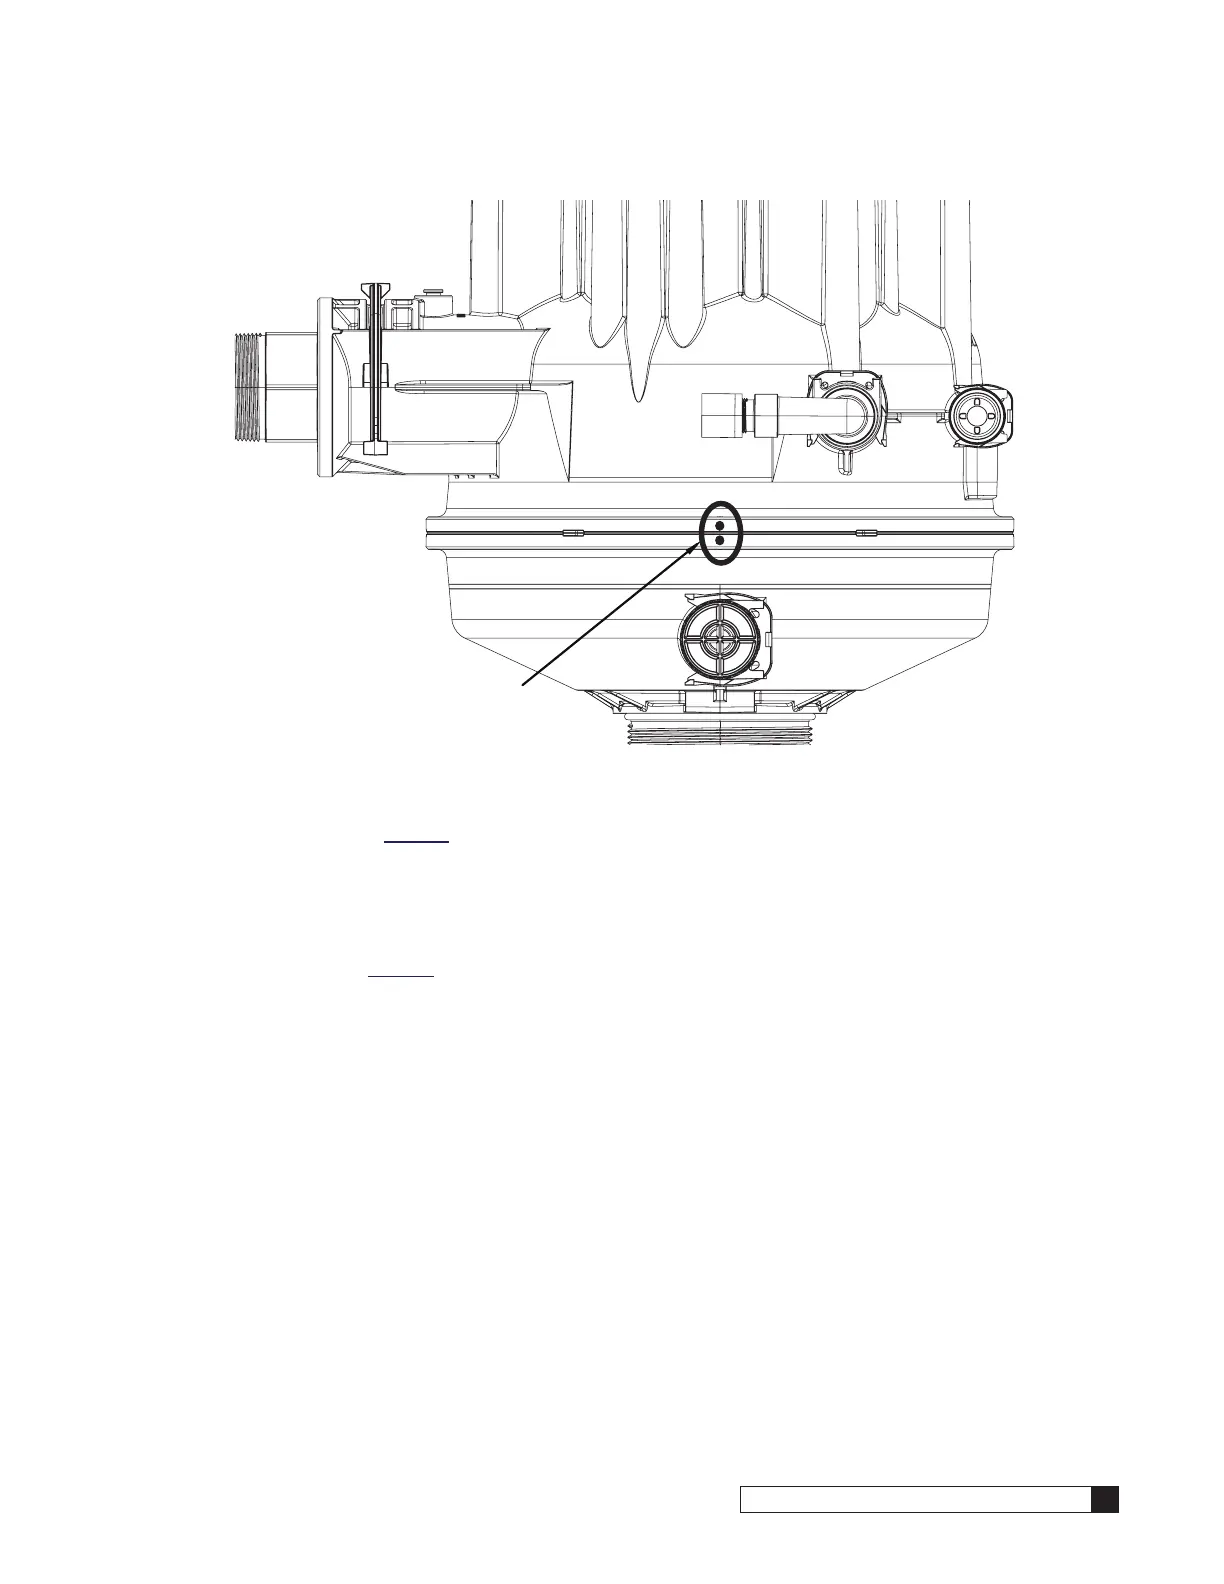
Figure 72.
4. Replace Clamp
5. Connect tubing (see page 20)
6. Reconnect to the valve; the pressure relief valve (PRV), vacuum breaker, drain adapter and plumbing adapter
7. Reattach the plumbing at the unions, if applicable
8. Attach plumbing adapter and drain adapter and unions, if applicable.
9. Repressurize unit (page 43). Check for leaks around the Top Manifold, Clamp and to the drain.
10. Reassemble the GBE Controller and wiring after checking the valve body for leaks.
3. Line up the valve body with the tank
adapter.

 Loading...


