Local Configurations 42
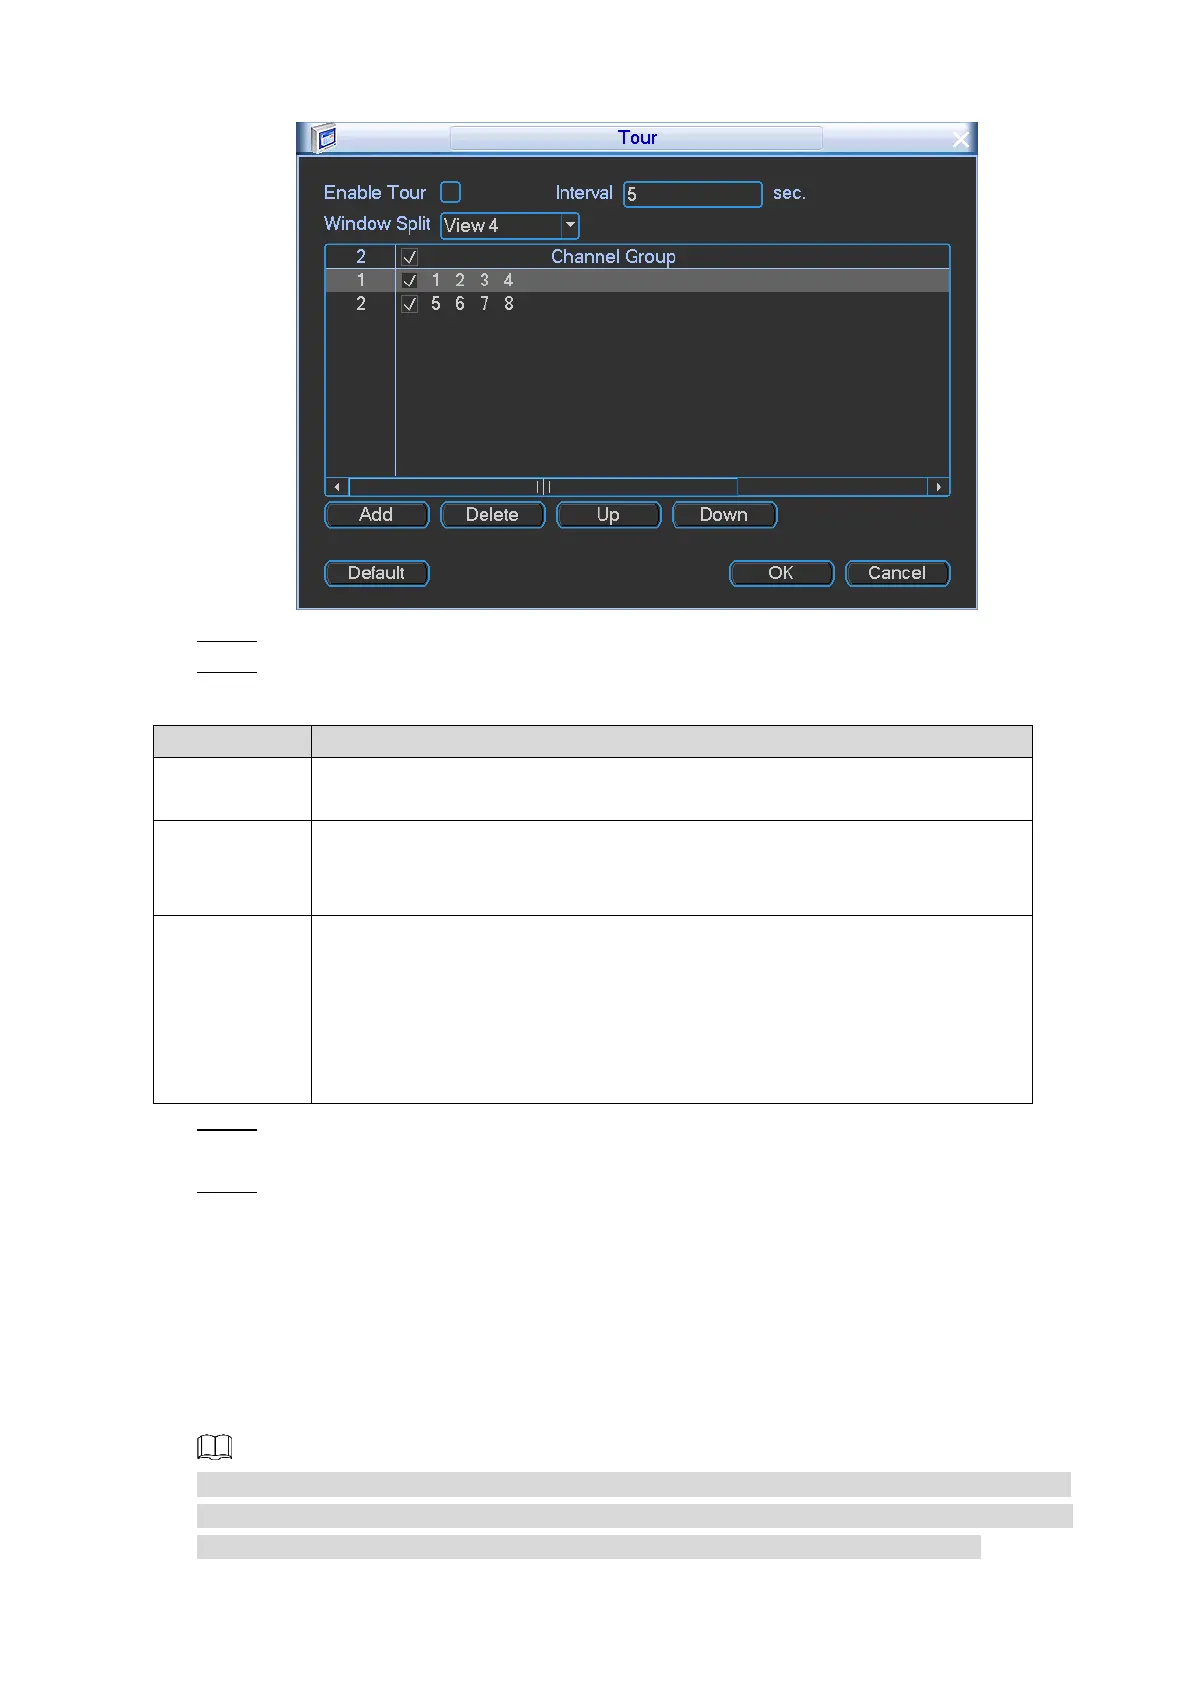
Tour Figure 4-23
Select the Enable Tour check box. Step 3
Configure the parameters. For details, see Table 4-9. Step 4
Table 4-9 Tour settings parameters description
Configure the time for the channel groups display in turn. The default is 5
seconds.
In the Window Split list, select View 1, View 4, View 8, or View 9. If you
select View 1, the channel window displays one by one. If you select other
multi-channel views, the configured channel groups play in turn.
Display all channel groups under the current window split mode.
Click Add to add a channel group.
Select the check box of any channel group, and then click Delete to
delete the channel group.
Select the check box of any channel group, and then click Up or Down
to adjust the position of channel group.
Click Save. Step 5
The DISPLAY interface is displayed.
Click OK. Step 6
4.2.1.4.3 Configuring Zero-Channel Settings
You can configure the encode mode, resolution, frame rate, bite rate, and overlay information
for zero-channel view. You can view several video sources on one channel only on the web end.
After zero-channel encode function is enabled, the system simultaneously starts recording
based on the parameters configured on this interface, such as compression, resolution, frame
rate, bit rate, and split mode.
The recorded video files are saved in the customized HDD, which if full, the files will overwrite
the old ones automatically. SD card is regarded as customized storage disk, and you can also
set HDD as customized disk. For details, see "4.3.7.1 Configuring HDD Information."
 Loading...