10
Chapter 2 Basic Functions and Operational Flow
2.2 Steps in Writing Robot Programs
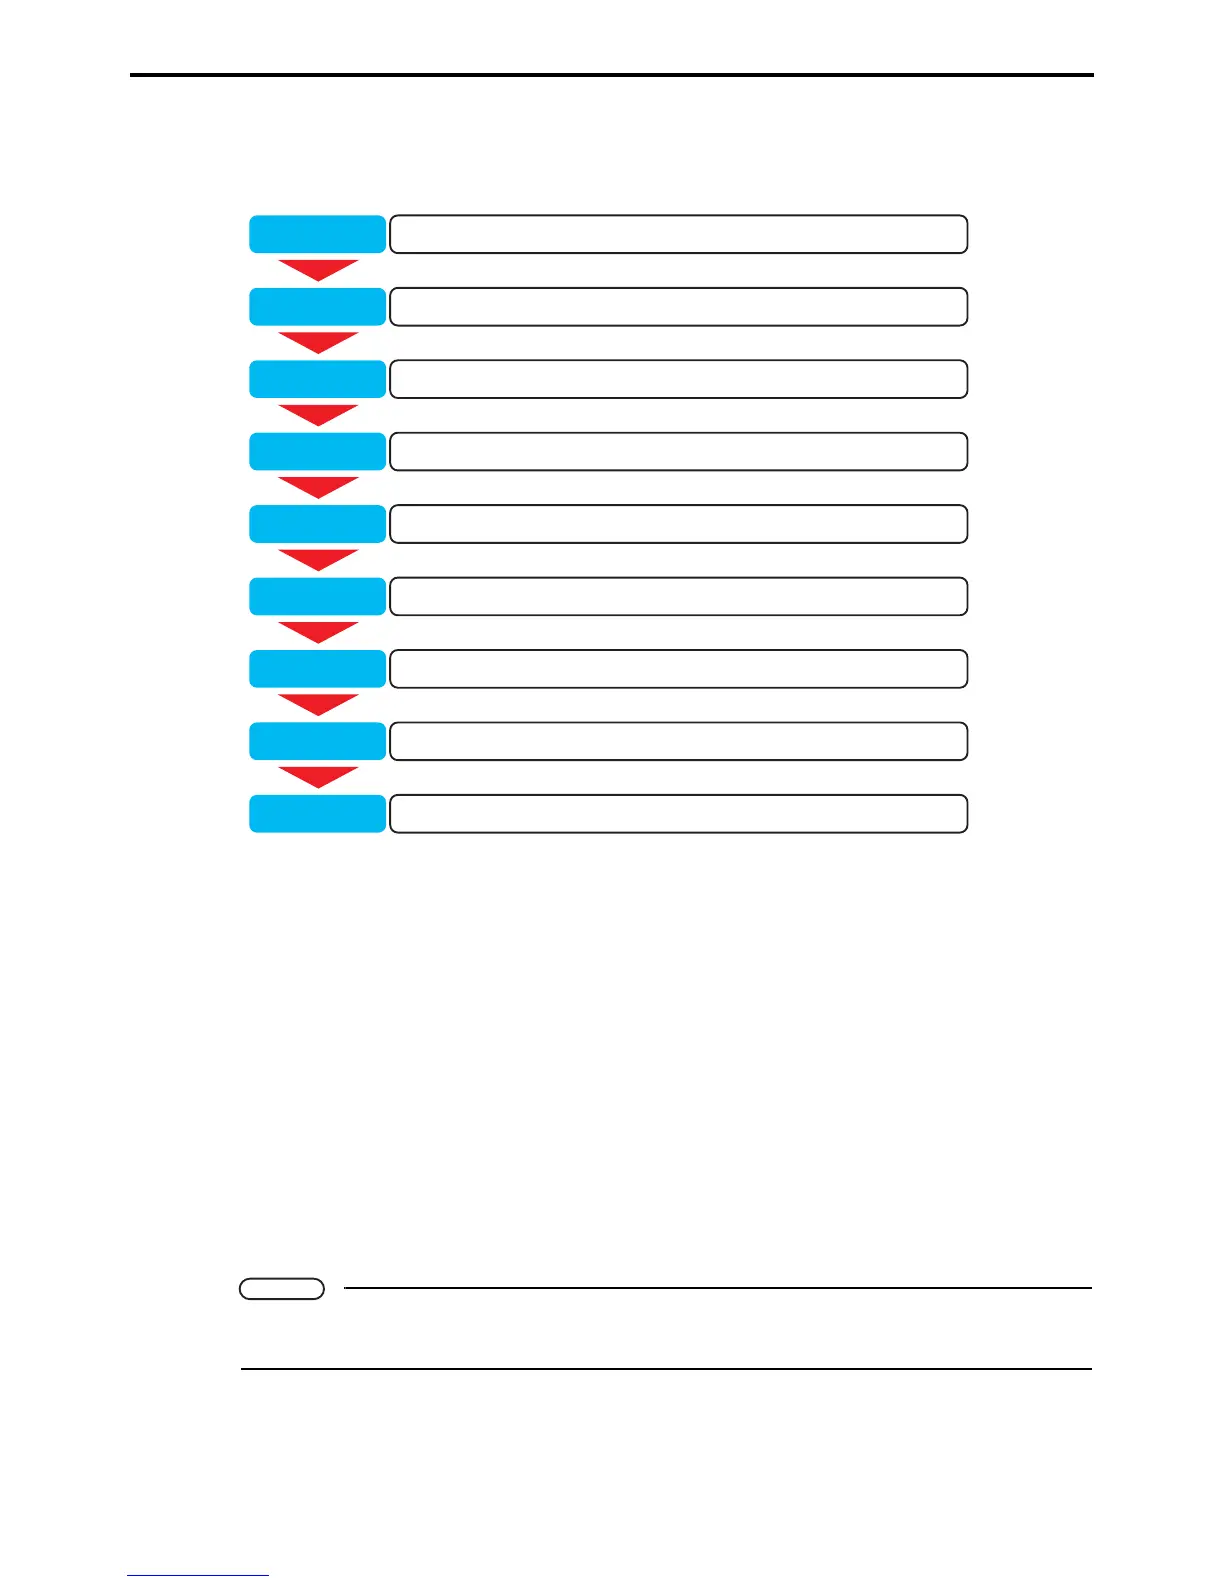
The following shows the WINCAPS III work flow for writing a program and validating its operation.
Step 1: Load WINCAPS III.
Launch WINCAPS III.
For further details, refer to Chapter 3 "Starting Up/Shutting Down" (P. 13).
Step 2: Create a project.
This project contains all necessary data for the target robot.
For further details, refer to Chapter 4 "Creating a Project" (P. 50).
Step 3: Write robot program.
Write the robot operation program using the built-in editor.
For further details, refer to Chapter 5 "Writing Programs" (P. 70).
Step 4: Teach operation positions.
Specify operation positions by manipulating the virtual robot in the Arm 3D view window.
For further details, refer to Chapter 6 "Arm 3D View Window" (P. 90).
Note
Using simple modeling and importing 3D data creates an on-screen simulation for specifying the ro-
bot's operation range and detecting collisions with surrounding equipment.
Load WINCAPS III.Step 1
Create a project.Step 2
Write robot program.Step 3
Teach operation positions.Step 4
Compile executables.Step 5
Send data to robot controller.Step 6
Test program operation (debug).Step 7
Back up data.Step 8
Exit WINCAPS III.Step 9