Interfaces Local Area Networks (LANs)
Digi Connect IT® 16/48 User Guide
144
WebUI
1. Log into the Connect IT 16/48 WebUI as a user with full Admin access rights.
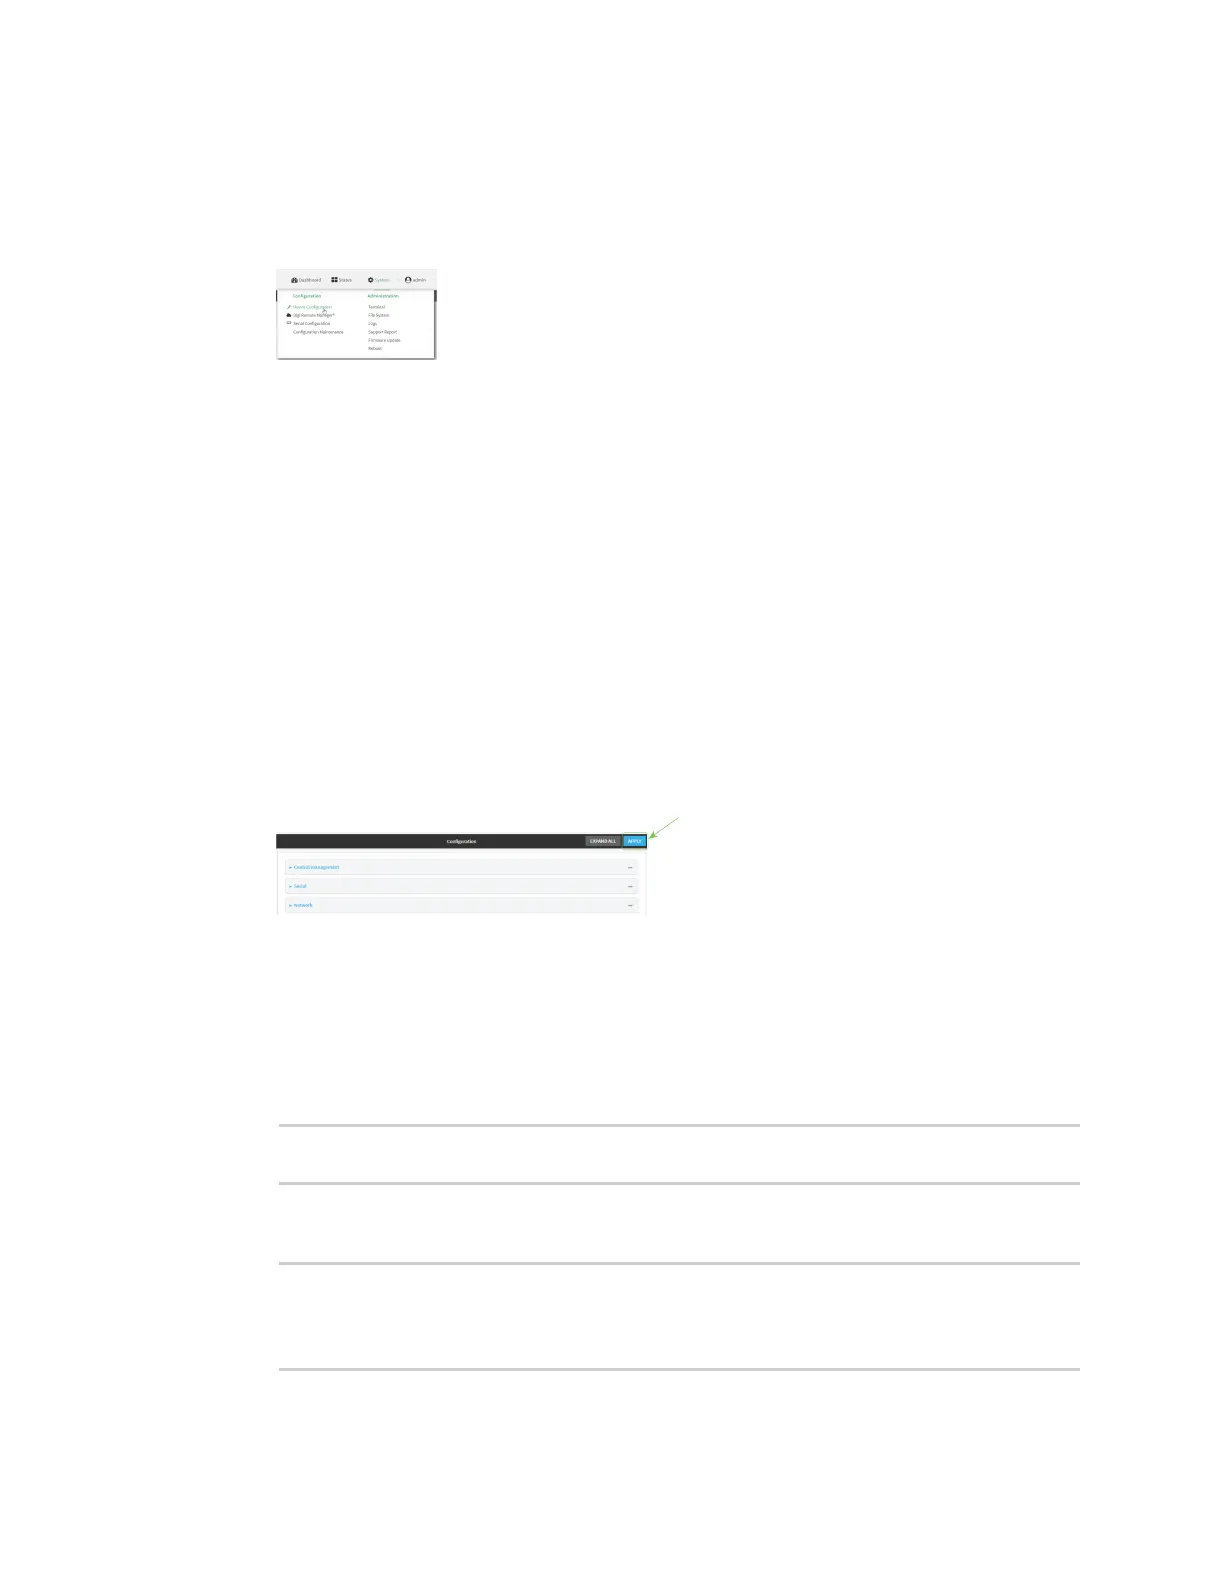
2. On the menu, click System. Under Configuration, click Device Configuration.
The Configuration window is displayed.
3. Click Network > Interfaces.
4. Click to expand an existing LAN, or create a new LAN. See Configure a LAN.
5. Click to expand IPv4 > DHCP server > Advanced settings > Custom DHCP option.
6. For Add Custom option, click .
Custom options are enabled by default. To disable, uncheck Enable.
7. For Option number, type the DHCP option number.
8. For Value, type the value of the DHCP option.
9. (Optional) For Label, type a label for the custom option.
10. (Optional) If Forced send is enabled, the DHCP option will always be sent to the client, even if
the client does not ask for it.
11. (Optional) For Data type, select the data type that the option uses. If the incorrect data type is
selected, the device will send the value as a string.
12. Click Apply to save the configuration and apply the change.
Command line
1. Log into the Connect IT 16/48 command line as a user with full Admin access rights.
Depending on your device configuration, you may be presented with an Access selection
menu. Type admin to access the Admin CLI.
2. At the command line, type config to enter configuration mode:
> config
(config)>
3. Add a custom DHCP option to the DHCP server configuration for an existing LAN. For example,
to add static lease to a LAN named my_lan:
(config)> add network interface my_lan ipv4 dhcp_server advanced custom_
option end
(config network interface my_lan ipv4 dhcp_server advanced custom_option
0)>
See Configure a LAN for information about creating a LAN.

 Loading...