Routing Virtual Router Redundancy Protocol (VRRP)
Digi Connect IT® 16/48 User Guide
215
1. Log into the Connect IT 16/48 WebUI as a user with full Admin access rights.
2. On the menu, click System. Under Configuration, click Device Configuration.
The Configuration window is displayed.
3. Click Network > VRRP.
4. Create a new VRRP instance, or click to expand an existing VRRP instance.
See Configure VRRP for information about creating a new VRRP instance.
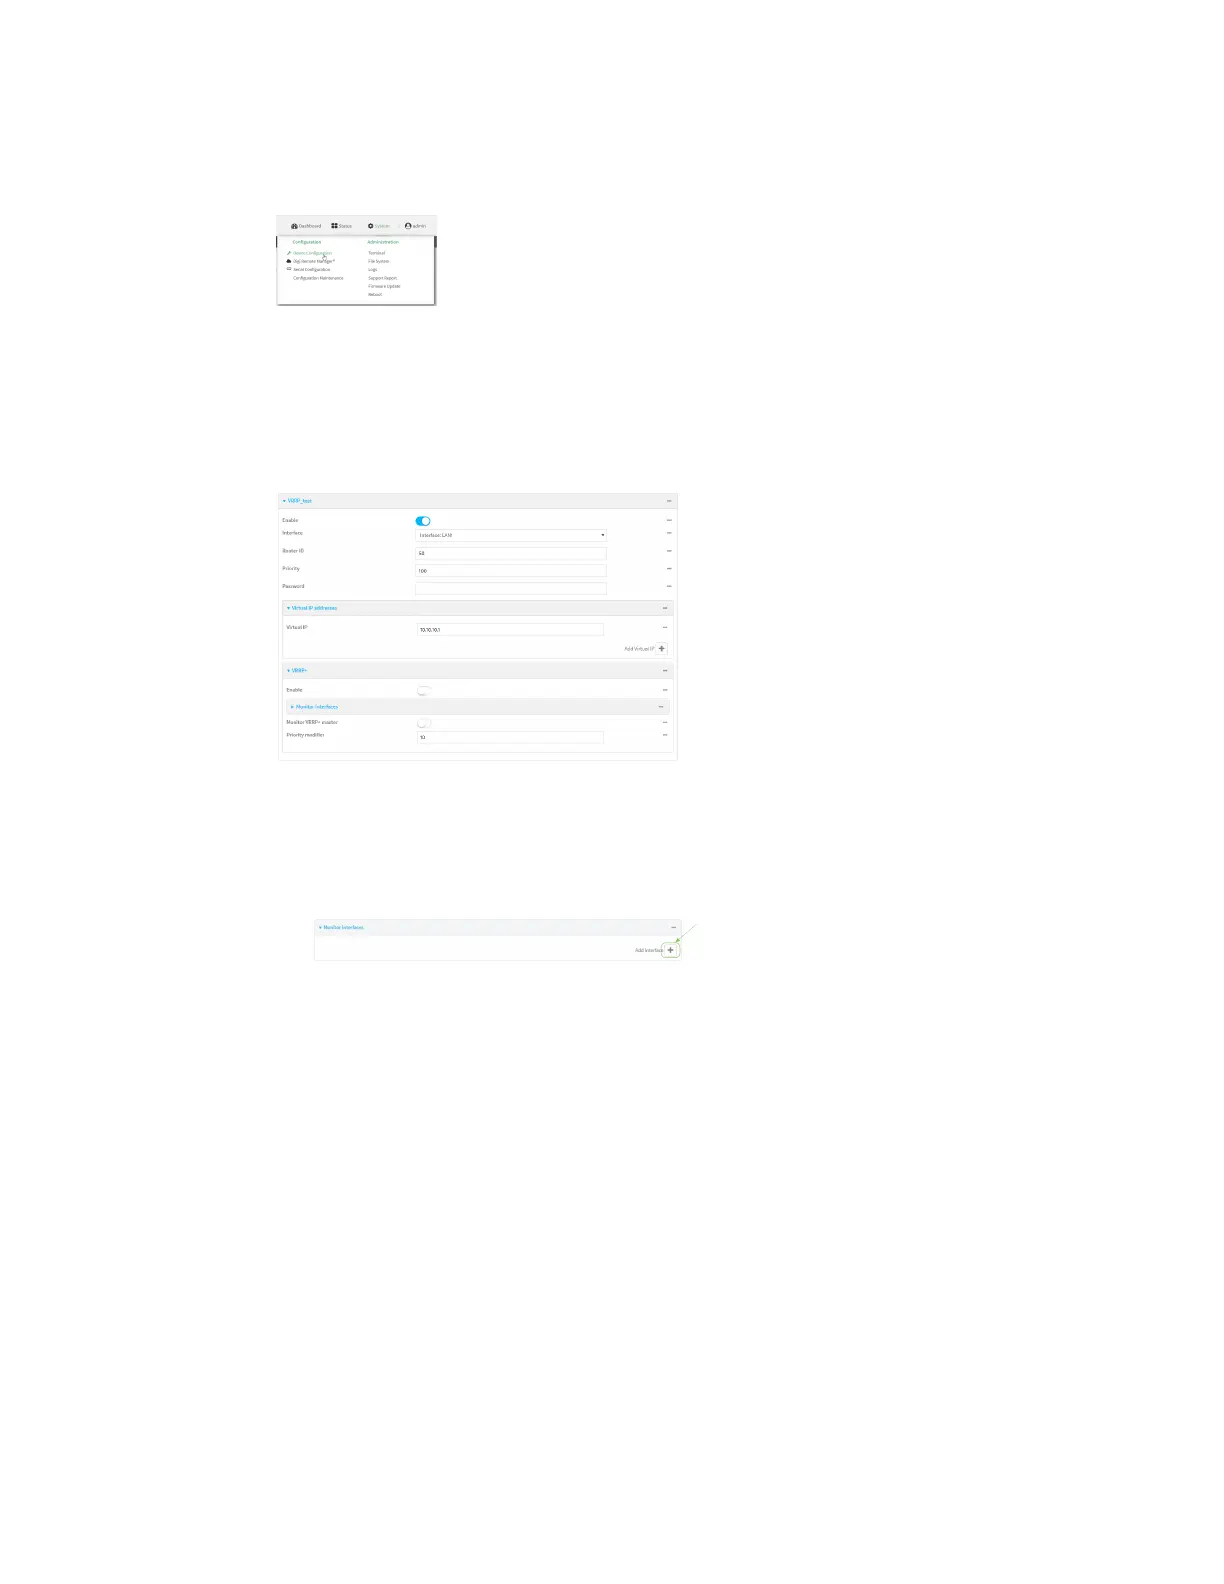
5. Click to expand VRRP+.
6. Click Enable.
7. Add interfaces to monitor:
a. Click to expand Monitor interfaces.
b. Click to add an interface for monitoring.
c. For Interface, select the local interface to monitor. Generally, this will be a cellular or WAN
interface.
d. (Optional) Click again to add additional interfaces.
8. (Optional) For backup devices, click to enable Monitor VRRP+ master.
This parameter allows a backup VRRP device to monitor the master device, and increase its
priority when the master device is failing SureLink tests. This can allow a device functioning as
a backup device to promote itself to master.
9. For Priority modifier, type or select the amount that the device's priority should be decreased
due to SureLink connectivity failure, and increased when SureLink succeeds again.
Along with the priority settings for devices in this VRRP pool, the amount entered here should
be large enough to automatically demote a master device when SureLink connectivity fails. For
example, if the VRRP master device has a priority of 100 and the backup device has a priority of
80, then the Priority modifier should be set to an amount greater than 20 so that if SureLink

 Loading...