8. Press the (Start) button to send the scanned files.
Scanning to a USB Storage Device
The Scan to USB Memory feature allows you to scan documents and save the scanned data to a USB
storage device. To scan documents and save them, follow the steps below:
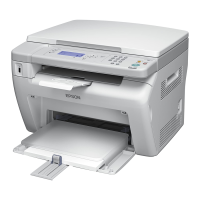
1. For the Epson AcuLaser MX14NF, load the document(s) face up with top edge in first into the
ADF or place a single document face down on the document glass, and close the document cover.
For the Epson AcuLaser MX14, place a single document face down on the document glass, and
close the document cover.
See Also:
❏ “Making Copies From the ADF (Epson AcuLaser MX14NF Only)” on page 118
❏ “Making Copies From the Document Glass” on page 116
2. Insert the USB storage device into the front USB port of the printer.
USB Memory appears.
3. Select Scan to, and then press the
button.
4. Select Save to USB Drive or a folder to save file, and then press the
button.
5. Select scanning options as required.
6. Press the (Start) button.
Epson AcuLaser MX14 Series User’s Guide
Scanning 163
 Loading...