L1800 Revision A
Disassembly And Assembly Disassembling the CISS section 108
Confidential
3.7.4.6 Bottom Cover/Left Cover/Right Cover/Cover Joint
Be careful about how to place the Ink Supply Tank Assy in order to prevent printing failure from occurring. (See “How to place the Ink Tank Assy when disassembling/reassembling” (p.37).)
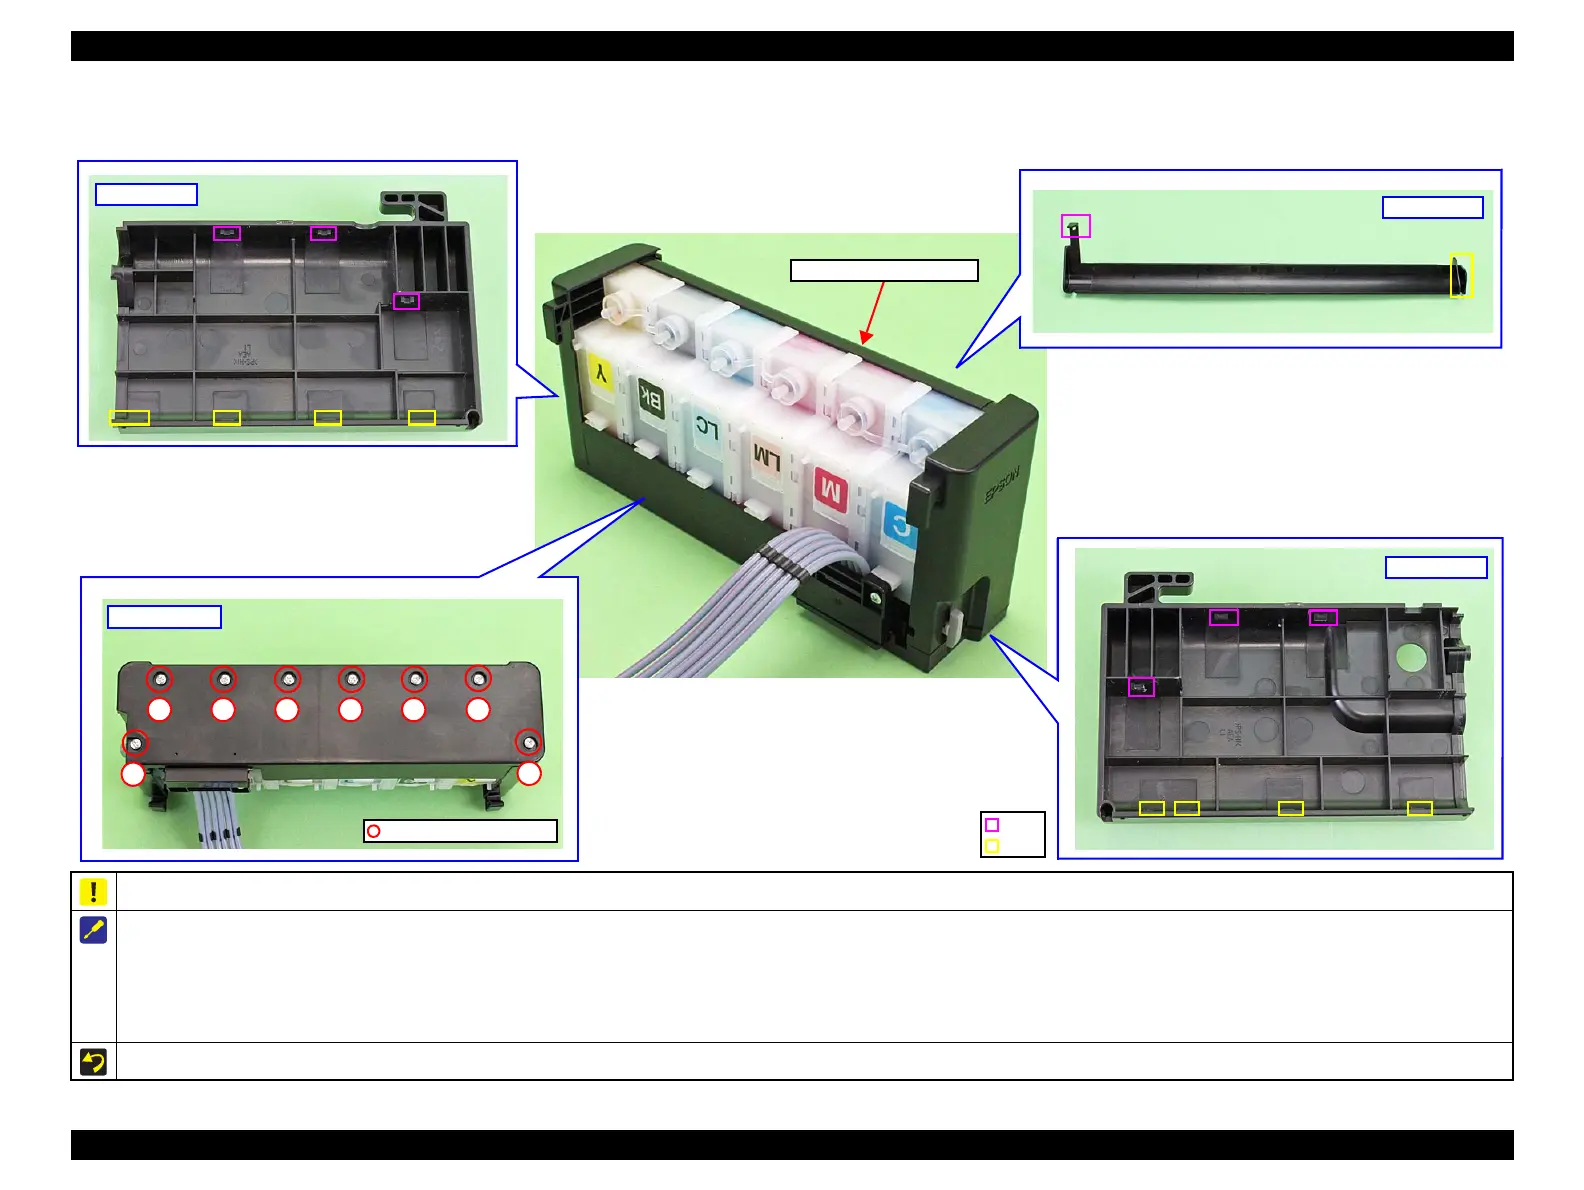
The figures above indicate the hooks and ribs that secure the parts.
Remove the exterior parts of the Ink Supply Tank Assy in the following order.
1. Remove the screws (x8) of the Bottom Cover, and remove the Bottom Cover.
2. Remove the Left Cover and Right Cover.
3. Remove the Cover Joint.
Tighten the screws in the order indicated in the figure above.
Ink Supply Tank Assy
Hook
Rib
Bottom Cover
C.B.P. 3X6 (4±1 kgf.cm)
1
2 3 4 5 6 7
8

 Loading...


