L1800 Revision A
Disassembly And Assembly Removing the Motors 93
Confidential
3.5 Removing the Motors
3.5.1 CR Motor
1. Remove the ASF Assy. (p.71)
2. Release the Carriage Lock, and move the Carriage Unit to the center.
(Refer to 3.1.6
Locking/Releasing the Carriage (p.41).)
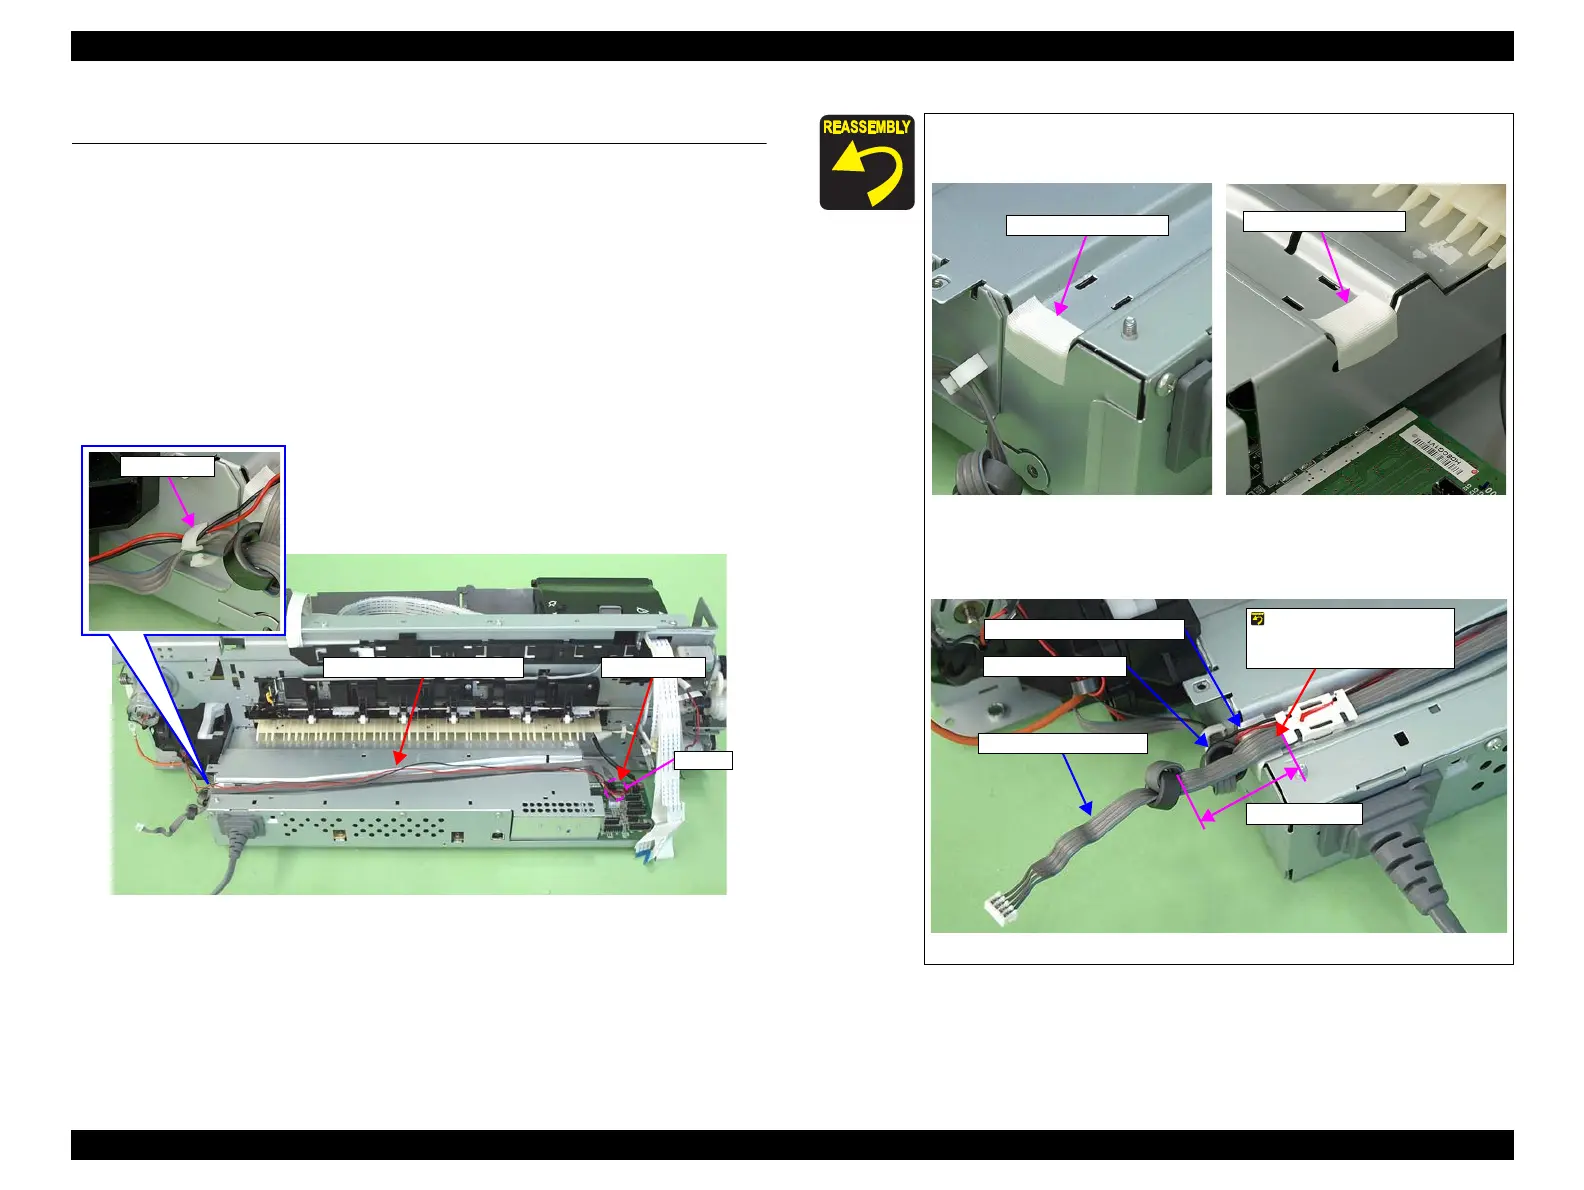
3. Remove the two Clamps. (Refer to 3.4.13 Ink System Unit (p.82).)
4. Disconnect the CR Motor connector cable from the connector CN115 on the Main
Board.
5. Remove the CR Motor connector cable from the Cord Keep.
Figure 3-139. Removing the CR Motor connector cable
CN115
Main Board
CR Motor connector cable
Attach two pieces of acetate tape (18 mm) on the Upper Shield
Plate.
Figure 3-140. Attaching acetate tape
Route the cables as shown below.
Figure 3-141. Routing the cables
30mm ± 5mm
Relay connector cable
Route the relay connector
cable over the Pump
Motor cable.
CR Motor connector cable
Pump Motor cable

 Loading...


