Setup 25
TM-L90/TM-L90 Peeler Model Technical Reference Guide
2.2.2 Instructions for Installation
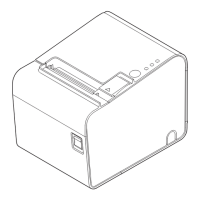
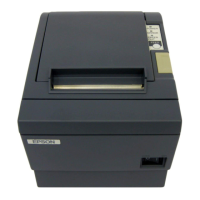
The TM-L90 can be placed vertically (paper outlet in front), horizontally (paper outlet at the
top), or attached to a wall (using the optional wall hanging set WH-10).
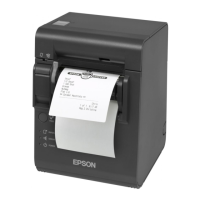
With the TM-L90 Peeler Model, you can use it vertically or wall mounted with either peeling
issuing or with continuous issuing (not using the peeler).
Note:
For the TM-L90 Peeler Model, horizontal installation is prohibited to avoid jams caused by re-sticking of
backing paper and a label.
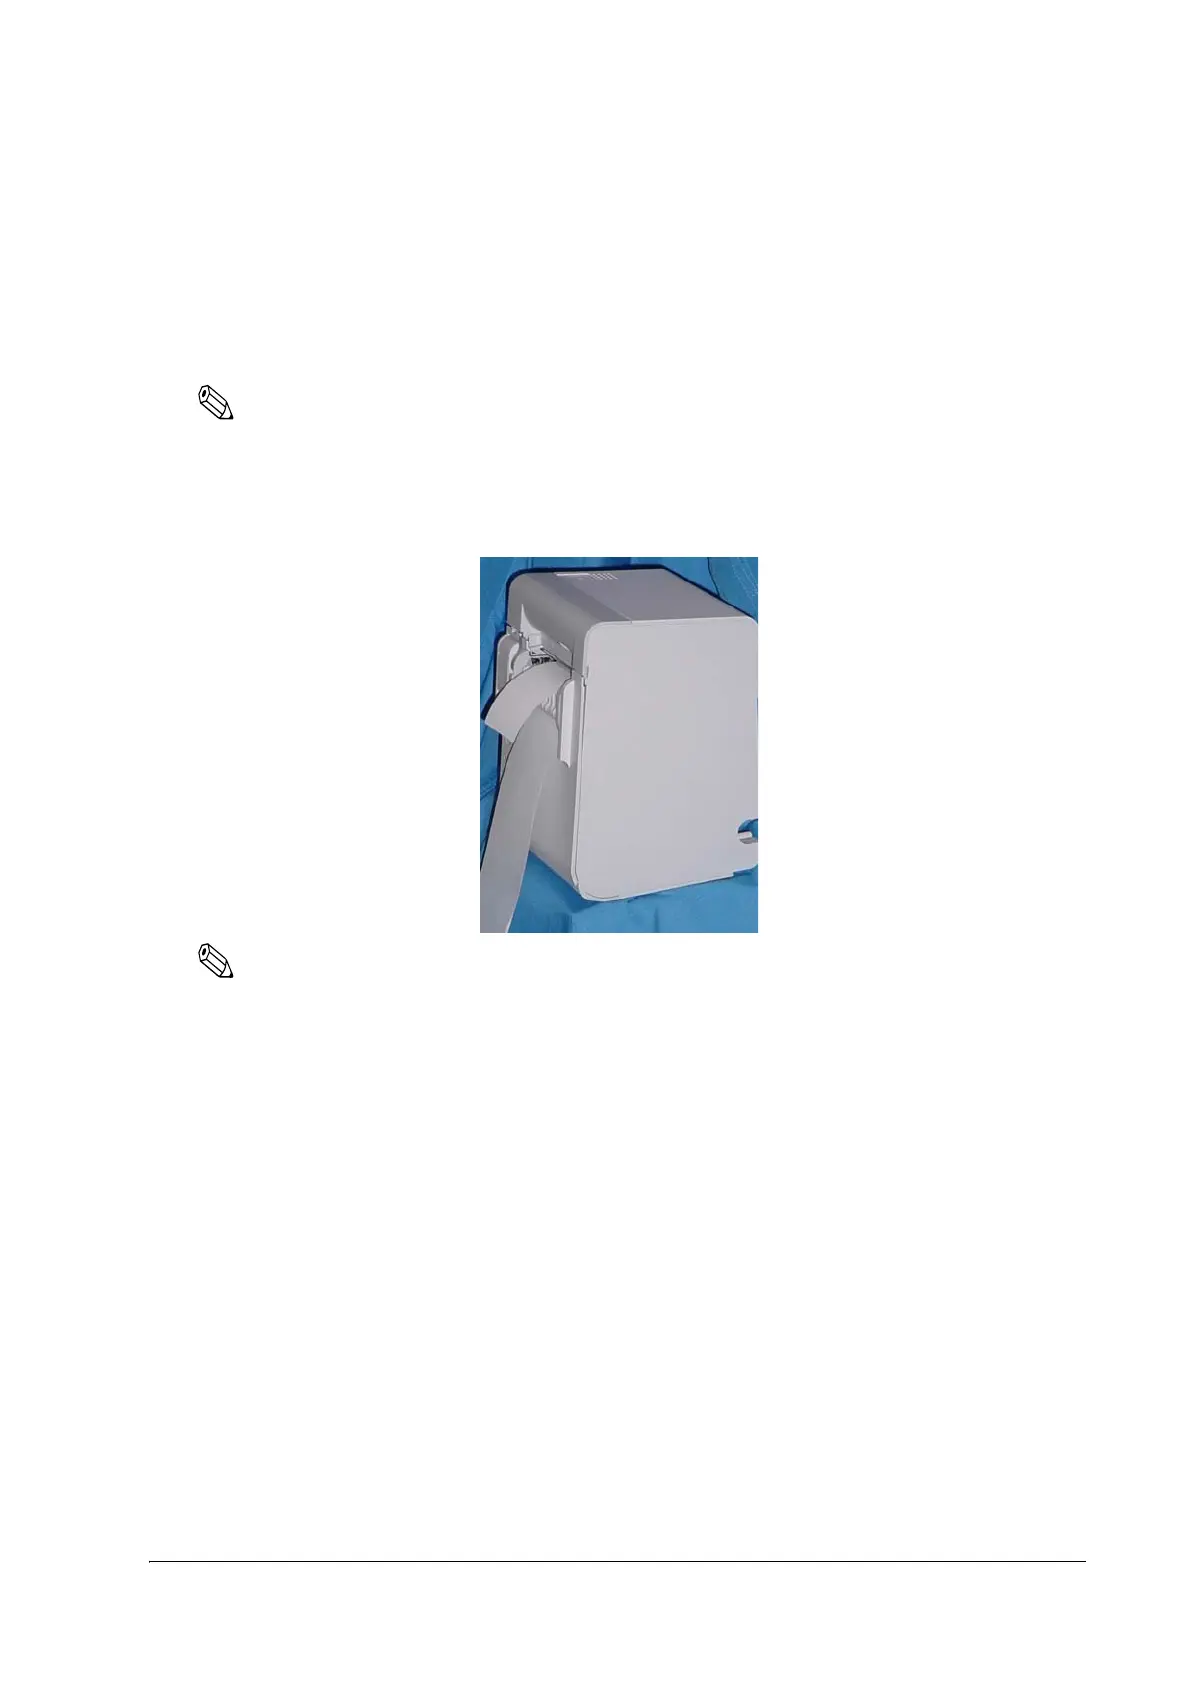
The illustration below shows the vertical installation for the TM-L90 Peeler Model.
Note:
To hang the printer on the wall, see the Wall Hanging Bracket Set Installation Manual provided with the
WH-10 for instructions.
It is recommended to take some measures so that the printer will be stable when paper is being loaded or a
drawer is being used. The DF-10 (affixing tapes) for fixing the printer is provided as an option.
When using the printer with the peeling issuing mode, be sure to install the printer so that a peeled label
will not contact the used backing paper. Re-sticking of a peeled label to the backing paper will cause jams.
For the TM-L90, when changing the way of installation, you need to adjust the following items:
• Control panel label used for horizontal installation
• The location of the Roll Paper Near-End Detector
The following figure shows the TM-L90 placed both vertically and horizontally.

 Loading...