IN1806 and IN1808 Series Scaling Presentation Switchers • Operation 46
Reset Modes
The IN1806 and IN1808 Series scalers have three reset modes (numbered 1,
4, and 5). Use a small screwdriver or stylus to press and hold the recessed Reset
button to advance through the modes. The green Reset LED blinks to indicate each
mode that is enabled (see the Reset Mode Summary table).
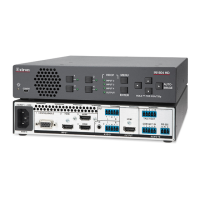
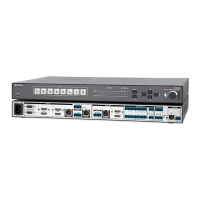
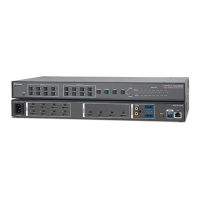
NOTE: This Reset button and LED are located in the lower-right corner of the rear
panel, and are unrelated to the Reset button and LED in the IPCP control panel of the
IN1808 IPCP models.
You can also perform resets using the OSD (see Factory Reset on the Advanced submenu
on page 43), SIS commands (see the Resets commands beginning on page 79), and PCS
(see the IN1806 and IN1808 Series PCS Help file).
ATTENTION:
• Review the reset modes carefully. Using the wrong reset mode may result in
unintended loss of flash memory programming, port reassignment, or unit reboot.
• Étudier de près les différents modes de réinitialisation. Appliquer le mauvais mode
de réinitialisation peut causer une perte inattendue de la programmation de la
mémoire flash, une reconfiguration des ports ou une réinitialisation du processeur.
NOTE: The reset modes listed close all open IP and Telnet connections and all sockets.
Each mode is a separate function, not a continuation from mode 1 to mode 5.
Reset Mode Summary
Mode Activation Result Purpose/Notes
Use Factory Firmware
1
Using an Extron Tweeker or other small
screwdriver, press and hold in the
recessed Reset button for 30 seconds
while applying power to the scaler.
NOTE: After a mode 1 reset,
update the device with the latest
firmware version. DO NOT
operate with the firmware version
that results from this mode reset.
This temporarily resets the device
to factory default until power is
recycled. To use factory default
firmware, re-upload that version.
The device reverts to the factory default
firmware.
• Firmware reverts to the factory default for a
single power cycle.
• All user files and settings (drivers, audio
and video adjustments, IP settings, and so
on) are maintained.
NOTE: If you do not want to update the
firmware or perform a mode 1 reset by
mistake, cycle power to the device to
return to the firmware version running
prior to the reset.
Use mode 1 to revert
to the factory default
version if incompatibility
issues arise with
user-loaded firmware.
Reset IP
Settings
4
Press and hold down the Reset button
until the Reset LED blinks three times
(at 9 seconds). Then, press Reset
momentarily (less than 1 second).
IP settings revert to factory defaults.
• Port mapping reverts to factory default.
• DHCP turns off.
• IP address is set to 192.168.254.254.
• Reset LED blinks four times in quick
succession during reset.
Use mode 4 to reset
all IP settings back to
factory defaults.
Reset to Factory Default
5
Press and hold down the Reset button
until the Power LED blinks three times
(approximately 9 seconds). Then,
press Reset momentarily (less than
1 second).
The device reverts to the factory defaults
except for firmware.
• Mode 4 results are performed.
• All user modifiable configurations reset to
default values including IP settings and
real-time adjustments.
• All user loaded files are deleted.
• The Reset LED blinks 4 times in quick
succession during the reset.
Use mode 5 to restart
with the default
configuration. This
is equivalent to SIS
command ZQQQ.
This reset also removes
the initial serial number
password and sets it to
no password.