Installation Instructions
Seite/Page 72 Panda_5000i_PMS_eng.R01 - Kapitel/Chapter 5: Installation Instructions 9.12.10
tions "Bleeding Air from the Fuel System" must be read after initial operation or after it has stood still for a long
period, in order to preserve the starter battery.
ATTENTION!
Non-return valve for the fuel return pipe
If the fuel tank should be installed over the level of the genera-
tor (e.g. daily tank), then a non-return valve must be installed
into the fuel return pipe to guarantee that through the return
pipe no fuel is led into the injection pump.
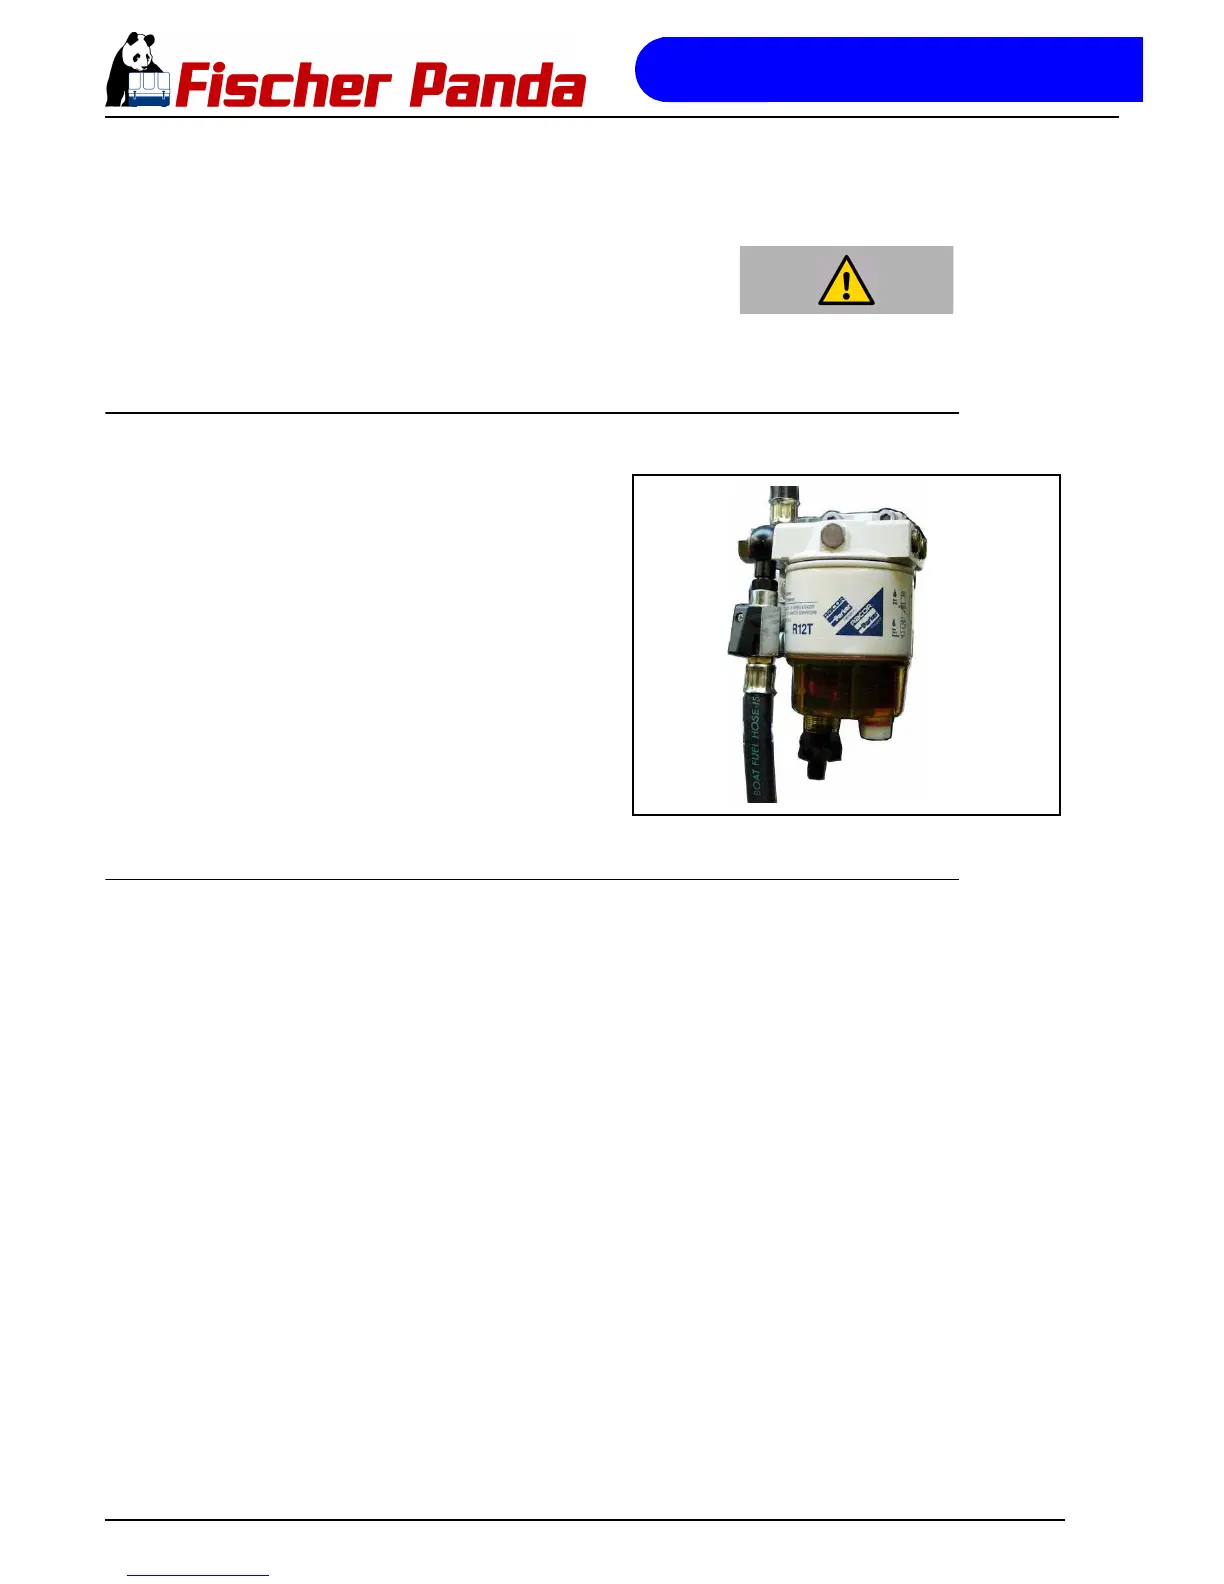
5.7.4 Position of the pre-filter with water separator
Fig. 5.7.4-1: Pre-filter with water separator
Additionally to the standard fine filter a pre-filter with water
separator must be installed outside of the sound insulation
capsule in the fuel system line (not included in the delivery).
5.7.5 Ventilating air from the fuel system
Normally, the fuel system is designed to vent air itself i.e. as soon as the electric starter motor starts; the fuel pump
starts working and the fuel system will be air-vent automatically after some time. It is, nevertheless essential, to vent
the system as follows prior to the first operation (as all hoses are empty):
1. Switch main power switch on control panel "ON".
2. Push failure bypass switch and hold tight.
The electric fuel pump has to be run audibly. By moving the failure bypass switch you can hear the solenoid valve of
the generator starting and stopping (when the sound insulation cover is taken off).
3. After the fuel pump has been running 3 to 4 minutes, because the failure bypass switch has been pressed down,
the bleeding screw of the solenoid valve has to be unscrewed. The switch has to be continuously depressed, when
opening the screw. A piece of cloth or absorbent paper should be put under the connection to avoid fuel entering the
sound insulation cover.
4. The air vent screw can be screwed in again, as soon as fuel runs out without bubbles. Then release the depres-
sing the failure bypass switch.
5. Starting the generator
Now the generator can be started by pushing the "START"-button. The generator should start after a short while.
One of the pipe union nuts of an injection hose has to be unscrewed, should the unit not start; then try to restart the
generator. After the generator has started, the pipe union nut has to be tightened again.
Main power switch "OFF"