Redwood Global Ltd - ST6P
Operator and Maintenance Manual
Chapter 5: Maintenance
5. Open the chipping chamber cover.
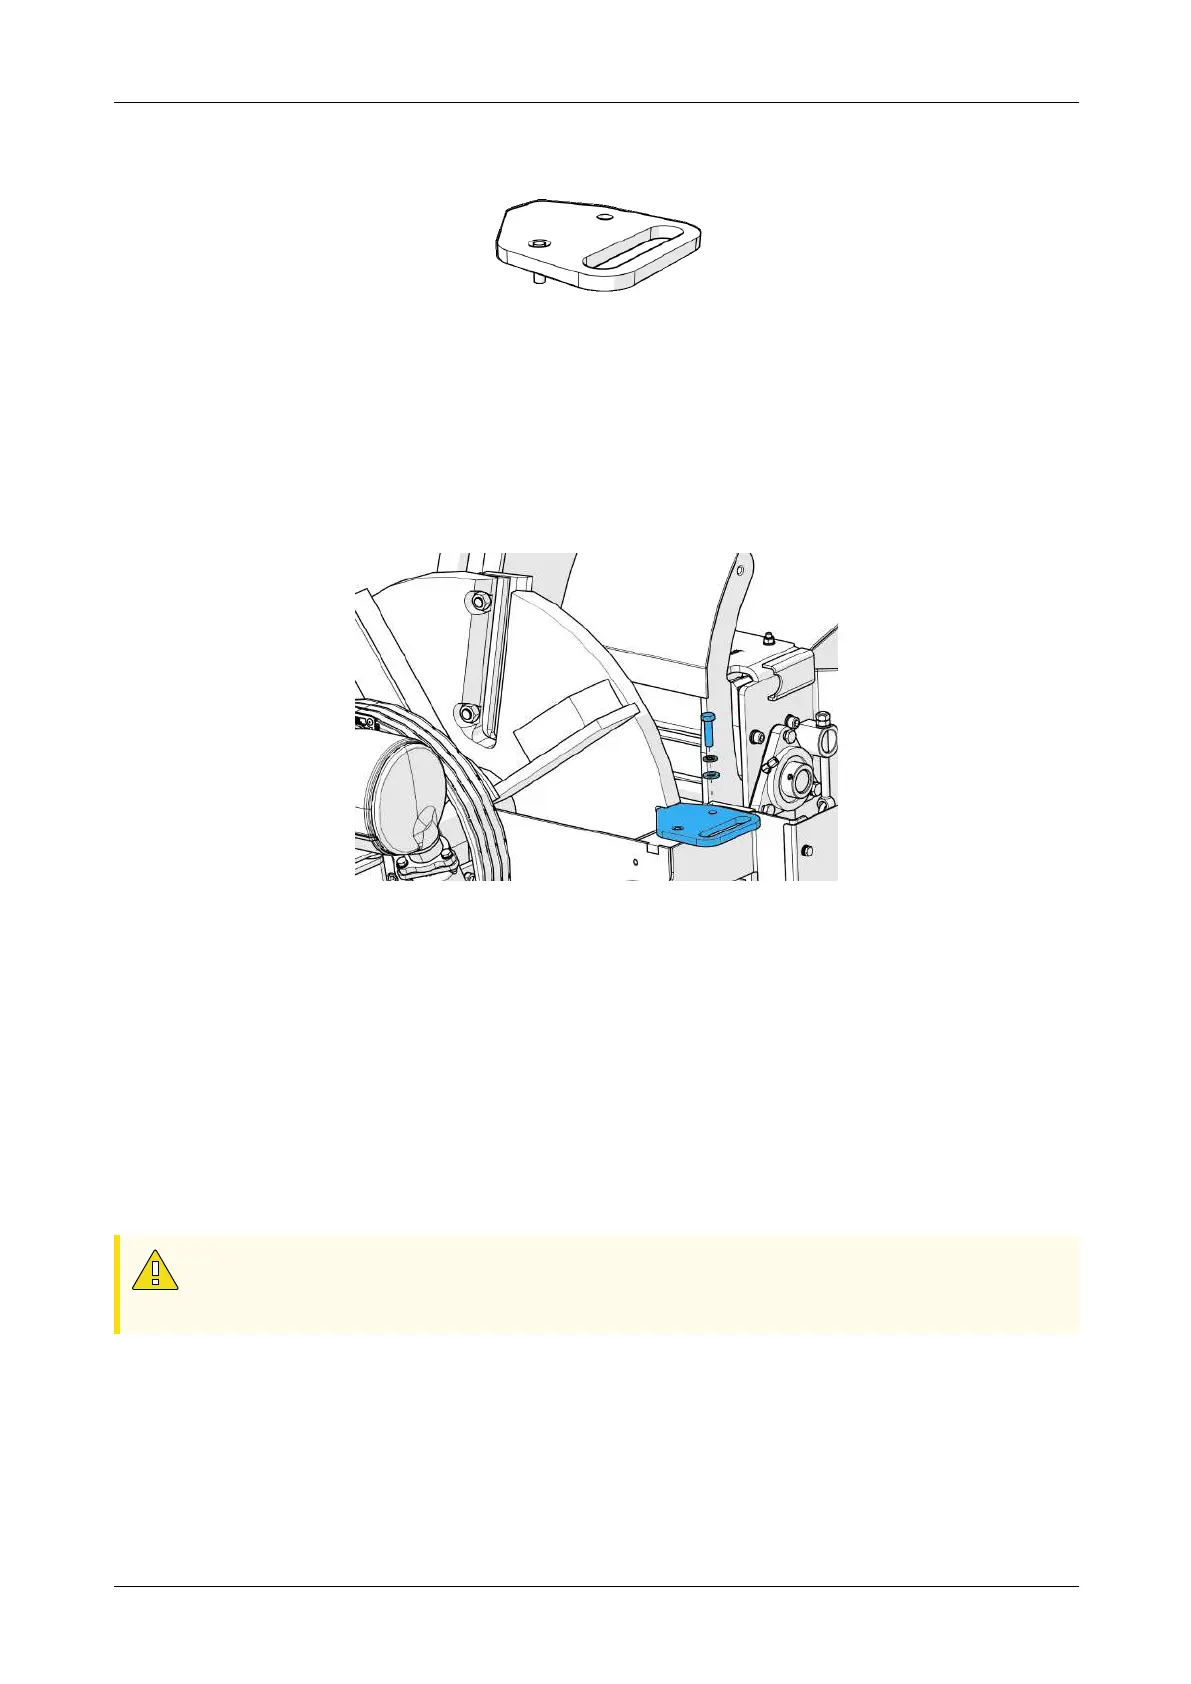
Figure 51 - Flywheel locking tool
6. Turn the flywheel until it is in the locking position. (Figure 52).
7. Insert the flywheel locking tool into the groove on the flywheel. The groove
becomes visible once the wheel is in the correct position (Figure 52).
8. Insert the locking pin into the bolt hole on the locking tool.
9. Secure the flywheel locking tool in place using the M12 bolt.
Figure 52 - Installing the flywheel locking tool
Removing the old blades:
1. Clean any debris from the knife bolts and nuts
2. Use the 24mm socket from the tool pouch and a breaker bar to loosen the two
blade bolt sets.
• Leave the blade bolts in place until the blade is ready for removal.
• When removing the two bolt sets, do not drop any nut, bolt, or washer into
the chipping chamber.
3. Remove the lower blade bolt set.
CAUTION
New or resharpened blades are sharp, rigger gloves must be worn. During the
next step hold the blade with one hand to make sure it does not fall.
4. Holding onto the blade, remove the upper blade bolt set.
12-00-001 v4.0 84