156 Scanning
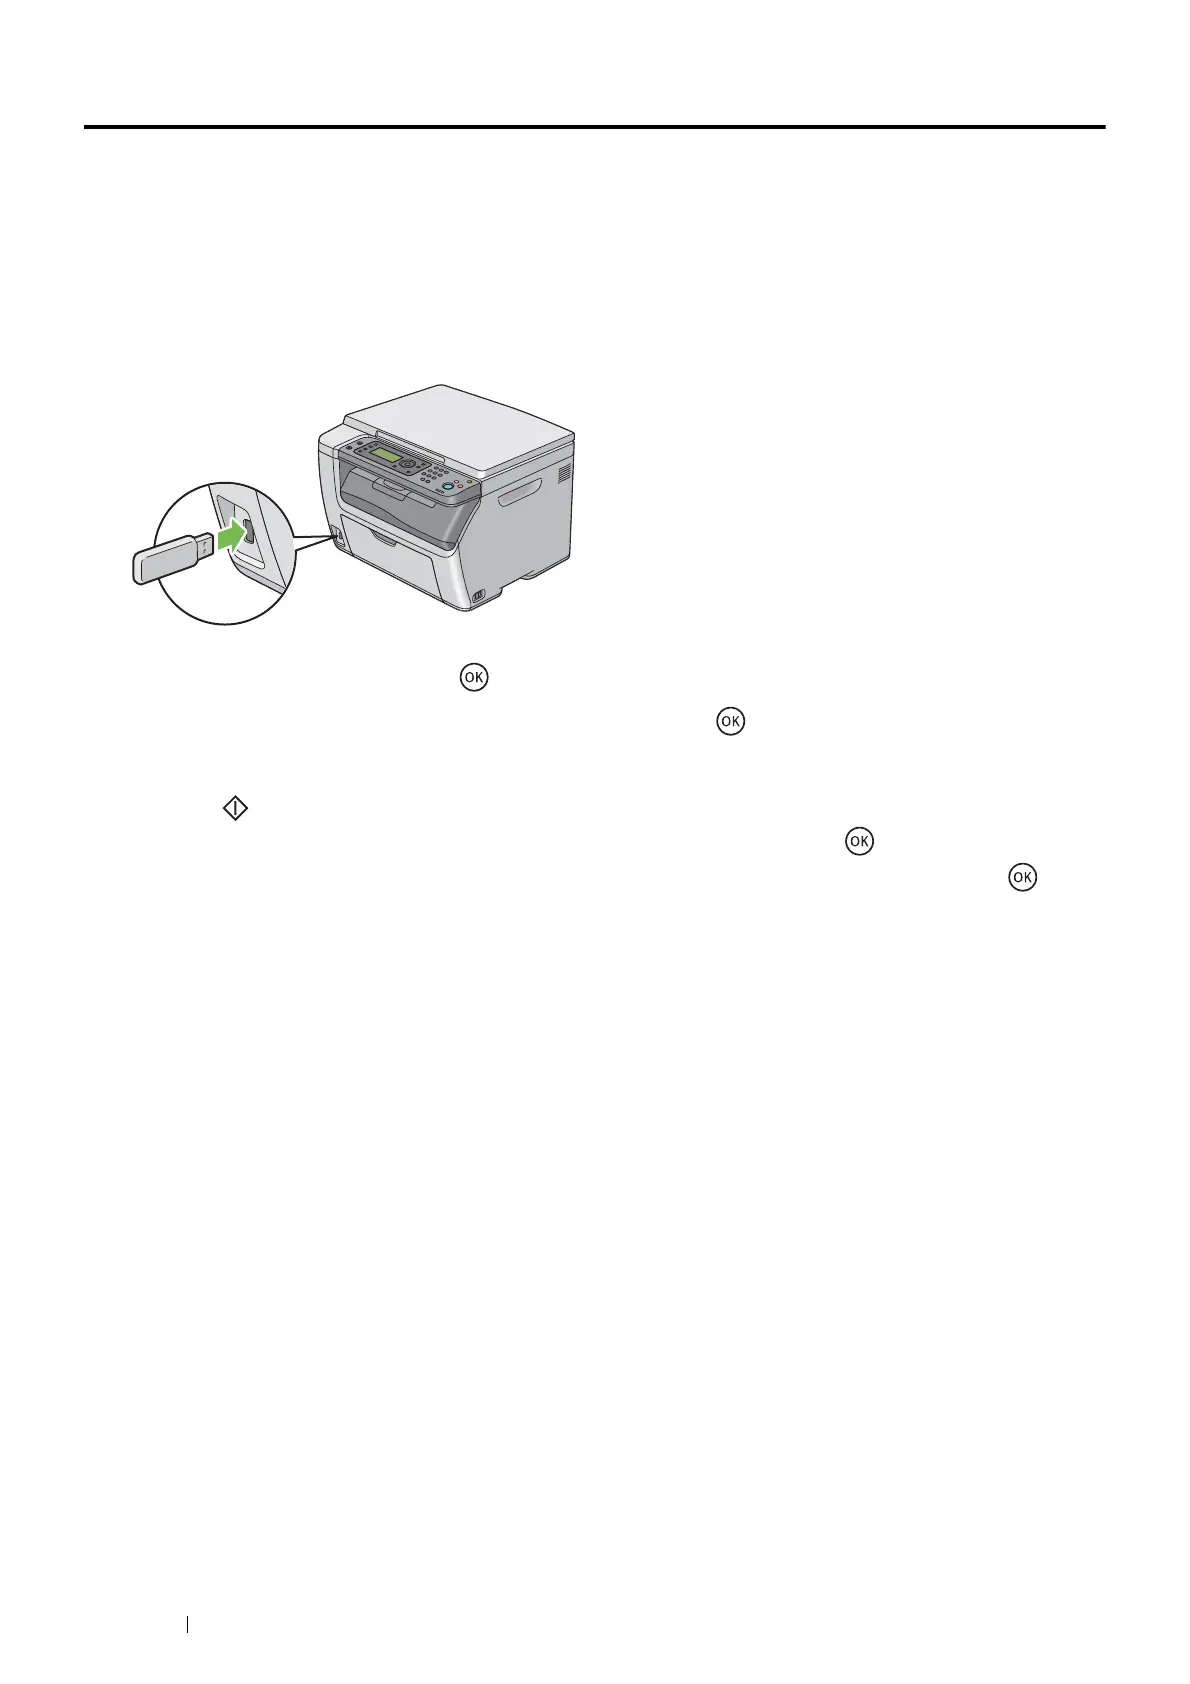
Scanning to a USB Storage Device
The Scan to USB Memory feature allows you to scan documents and save the scanned data to a USB storage
device. To scan documents and save them, follow the steps below:
1 Place a single document facing down on the document glass and close the document cover.
See also:
• "Making Copies From the Document Glass" on page 121
2 Insert the USB storage device into the USB drive of the printer.
3 Select Scan to, and then press the button.
4 Select Save to Root or a folder to save file, and then press the button.
5 Select scanning options as required.
6 Press the (Start) button.
The display prompts you for another page. Select Yes or No, and then press the button.
If you select Yes, place the next page on the document glass, select Continue and then press the button.
7 Remove the USB storage device from the printer.
IMPORTANT:
• Before removing the USB storage device, ensure that the printer is not accessing the USB storage device. If you remove
the USB storage device while the printer is accessing, the data in the USB storage device or the USB storage device
itself may be damaged.

 Loading...


