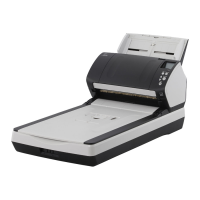
A supplementary procedure describing how to install the brake roller on the scanner is provided below.
a Insert the right side of the brake roller shaft.
b Attach the left side of the brake roller shaft.
c Close the brake roller cover, and make sure that both ends of the cover are locked firmly.
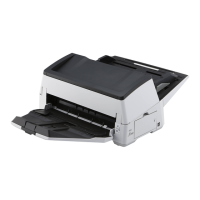
7 Close the ADF.
For details, refer to How to Close the ADF (page 28).
Be careful not to get your fingers caught when closing the ADF.
ATTENTION
● Do not close the ADF while the roller cover is open.
● Confirm that the brake roller is installed properly. When the brake roller is not installed properly, it
causes feeding errors such as paper jams.
8 Plug in the power cable and turn on the scanner.
For details, refer to How to Turn the Power ON (page 19).
9 Reset the brake roller counter.
Use one of the following methods to reset the counter.
● Select [23: Show/Clear Counters] from [Main Menu] on the operator panel, then reset the counter.
For details, refer to Checking and Resetting the Counters (page 83).
● Start up the Software Operation Panel and reset the counter.
For details, refer to Resetting the Sheet Counters (page 218).
Replacing the Consumables
151