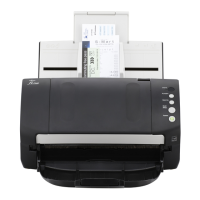
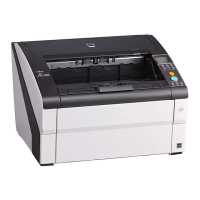
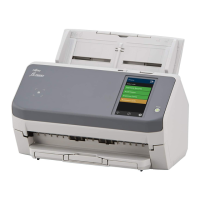
No. Name Function
Lights (blue) when the scanner is turned on.
2 LCD Indicates the status of the scanner.
3 [Menu] button Configures various types of scanning operations.
4 [Function/Enter] button Confirms the selected item.
Switches the number (No.01 to No.50 / No.C) for the
application launched by pressing the [Send to] button.
5
[ ] / [ ] button
Switches the selected item.
Changes the paper separation force.
6 [Clear/Back] button Cancels the selected item and returns to the previous
screen.
Clears the displayed error indication.
7 Check LED Lights (orange) when an error occurs.
Flashes when consumables reach the end of the life cycle.
8 [Send to] button (*1) Launches the linked application software.
9 [Stop] button Stops the scan immediately.
10 [Scan/Pause] button (*1) Launches the linked application software.
Pauses the scan.
Resumes the scan.
11 [Eject] button Ejects the document when a multifeed occurs.
12 [Counter Reset] button Resets the page counter.
Stops the scan when pressed while scanning in Manual
Feed mode.
13 [iMFF] button Changes the settings for Intelligent Multifeed function
when pressed down (for more than two seconds).
Determines whether or not to memorize the pattern if
pressed when a multifeed occurs.
*1:For information on how to scan by using the [Scan/Pause] button or [Send to] button, refer to Using a
Button on the Scanner to Start Scanning (page 108).
ATTENTION
Do not use the operator panel while the Software Operation Panel is running.
HINT
● The buttons on the operator panel are also marked in braille,
How to Use the Operator Panel
73