GE MEDICAL SYSTEMS
D
IRECTION 2380207, REVISION 7 LOGIQ™ 5 PRO SERVICE MANUAL
Chapter 8 Replacement Procedures 8 - 75
8-6-2 Rear Panel Assy (FRU No. 401)
Purpose: This is a description on how to remove and replace the Rear Panel Assy.
8-6-2-1 Tools
• Common pillips screwdrivers
• Allen/Unbraco wrench
8-6-2-2 Needed Manpower
• 1 persons, 40 minutes + travel
8-6-2-3 Preparations
• Shut Down the System and switch off the Main Breaker at the rear as described in section 4-3-2 on
page 4.
8-6-2-4 Removal Procedure
1.) Remove the Left Cover (FRU No.300). Refer to section 8-5-1 on page 41.
2.) Remove the Right Cover (FRU No.301). Refer to section 8-5-2 on page 43.
3.) Remove the Rear Cover (FRU No.302). Refer to section 8-5-3 on page 45.
4.) Remove the EMI Cover R.
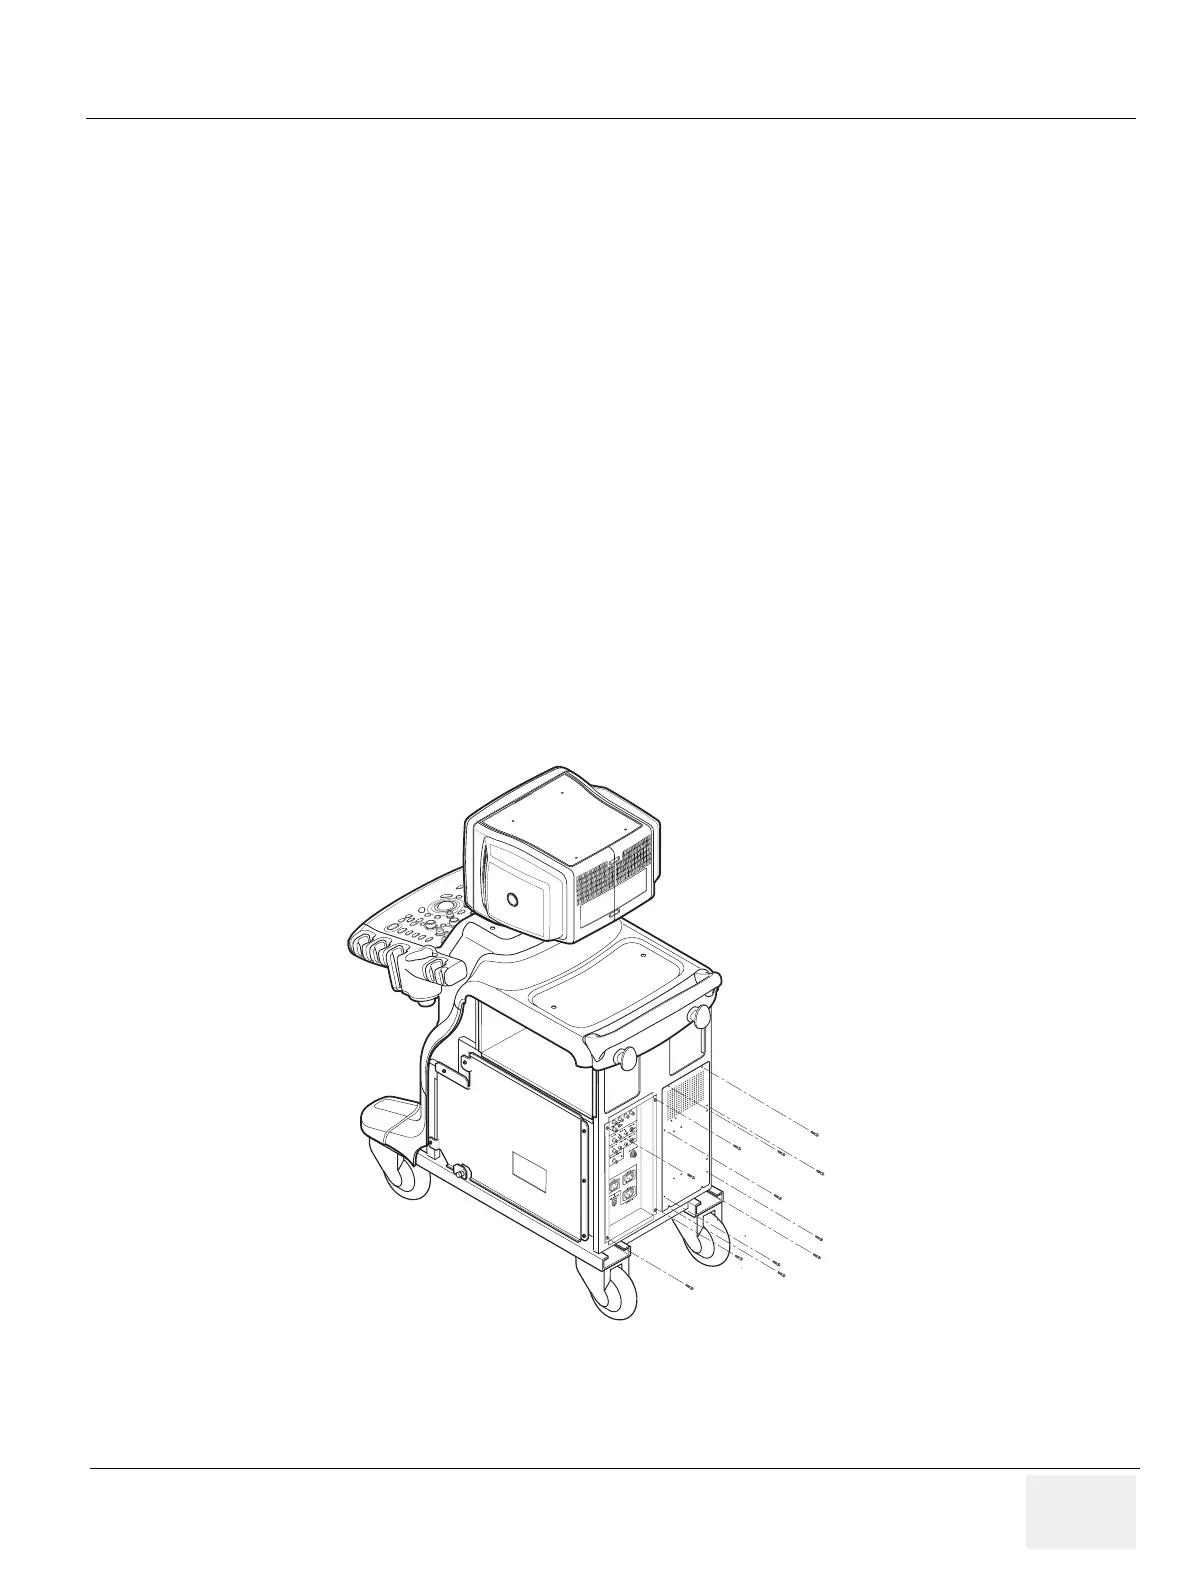
5.) Unscrew four(4) Screw (1-4) to remove rear Panel Assy.
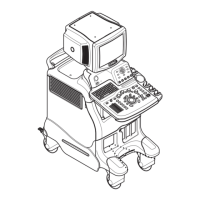
6.) Unscrew eight (8) screws (5-12) to remove the EMI rear Bracket. Refer to Figure 8-68.
Figure 8-68 Unscrew 8 screws to remove EMI brkt
1
2
1
3
10
6
11
7
12
8
5
9


 To Next Page