DIRECTION 5750007-1EN, REV. 1 LOGIQ E10 BASIC SERVICE MANUAL
8 - 400 Section 8-15 - V Nav Roll Stand Assembling or Replacement
8-15-2 Assembling or replacing the Roll Stand (cont’d)
6.) Tighten the knob to lock the arm into position.
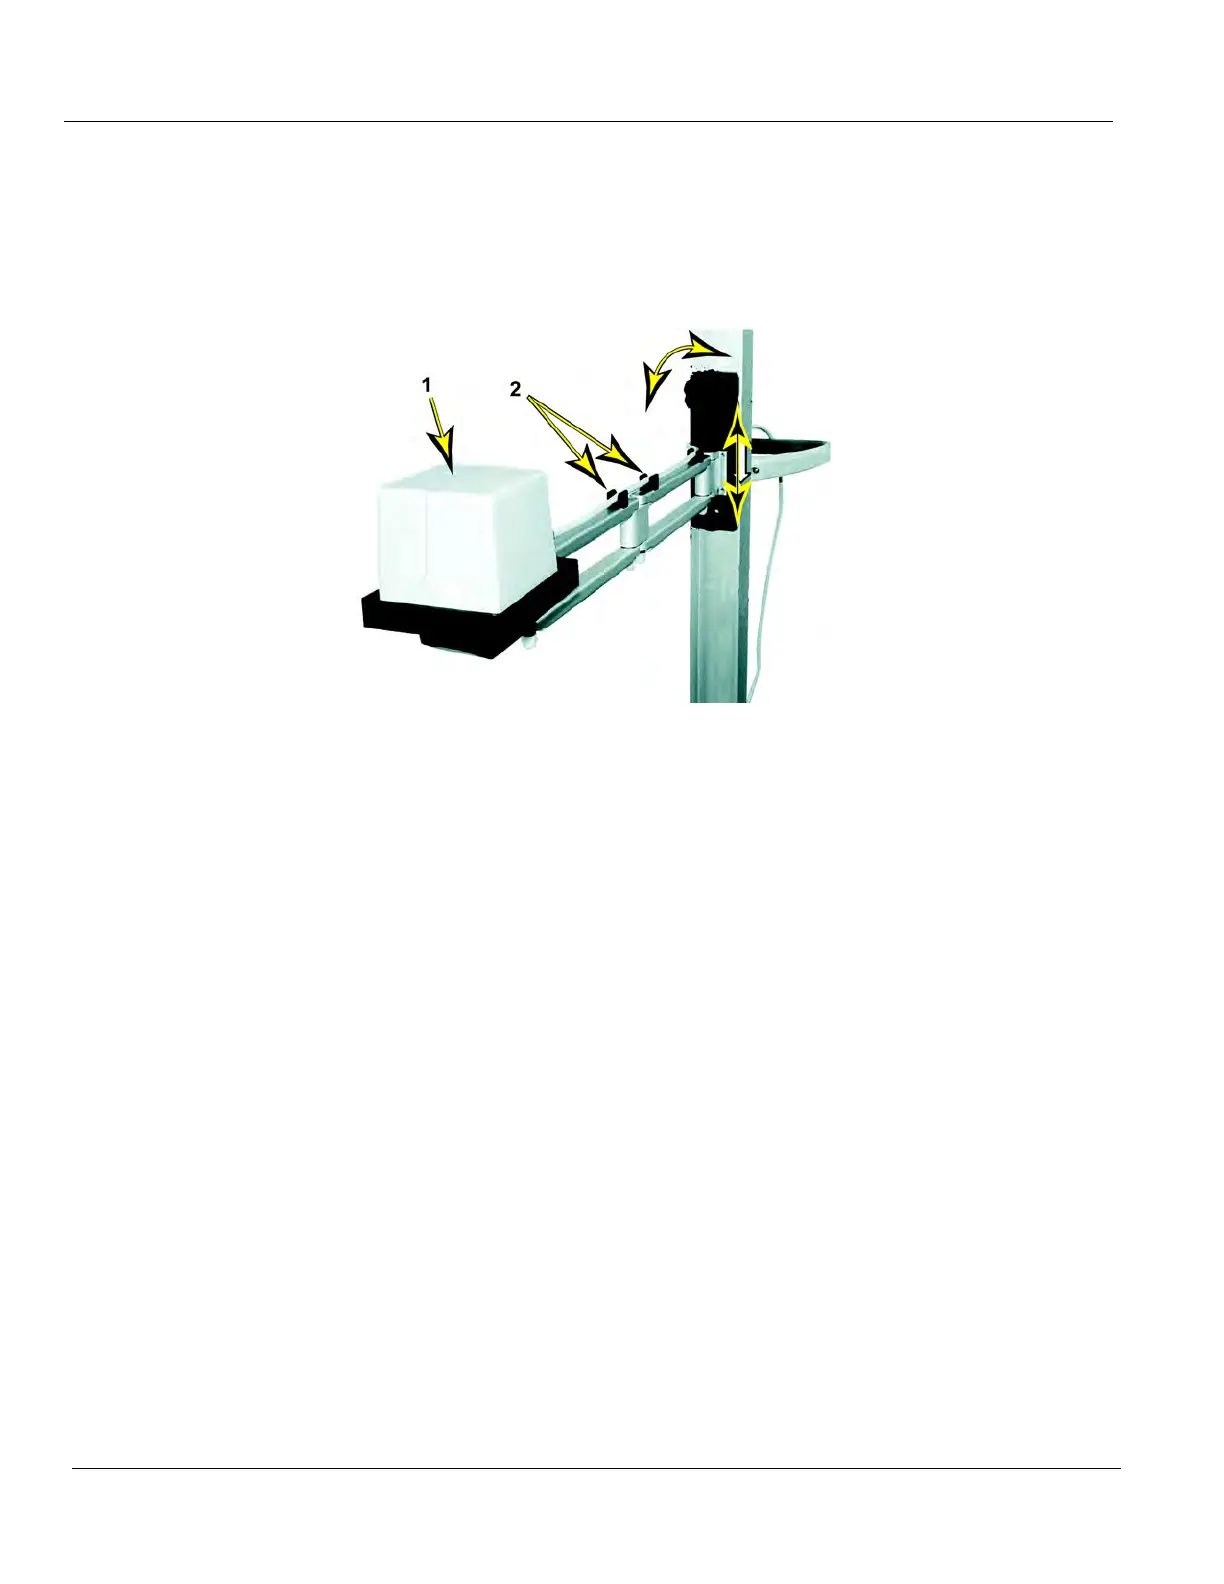
7.) Mount the transmitter (1) on the arm and route the cable through the cable clips (2) on the top side
of the arm.
8.) While supporting the arm (loaded with the transmitter), slowly loosen the knob which allows the arm
to gradually move down the channel.
NOTE: The arm must move down the channel very slowly when the knob is loosened, and it must move
easily upward when the lifting arm is in the channel. If the arm free-falls or will not move, follow
the adjustment procedure, see:
8-15-3 "Adjusting Tension on Sliding Mechanism" on page 8-403.
Figure 8-16 Cable Clips - Roll Stand only
 Loading...