ACO6800+ Installation and Operation Manual 29
Copyright © 2009, Harris Corporation
Chapter 3: Configuration and Operation
2. Using Windows Explorer, browse to the CD-ROM contents, and then
double-click the LogoCreator folder.
3. Double-click Setup.exe.
4. When the IconTools 3 Setup box appears, click Next, and then follow the
on-screen installation instructions.
Step 2: Convert Files to the .mg2 Format
When using LogoCreator, you need a source image file for the fill portion of
your logo, and a source image file for the key portion. The fill is the picture or
image you want to overlay onto the program output. The key is the cutout or
shape of the desired logo, which may or may not be the same shape as the fill.
Use LogoCreator to set the fill and key images to the same size (resolution) as
the standard of the ACO6800+ISCST output. LogoCreator infers the key from
the alpha channel in a targa (.tga) file.
After you save the logo, the logo displays in your LogoCreator workspace. To
save your logo files using LogoCreator, follow these steps:
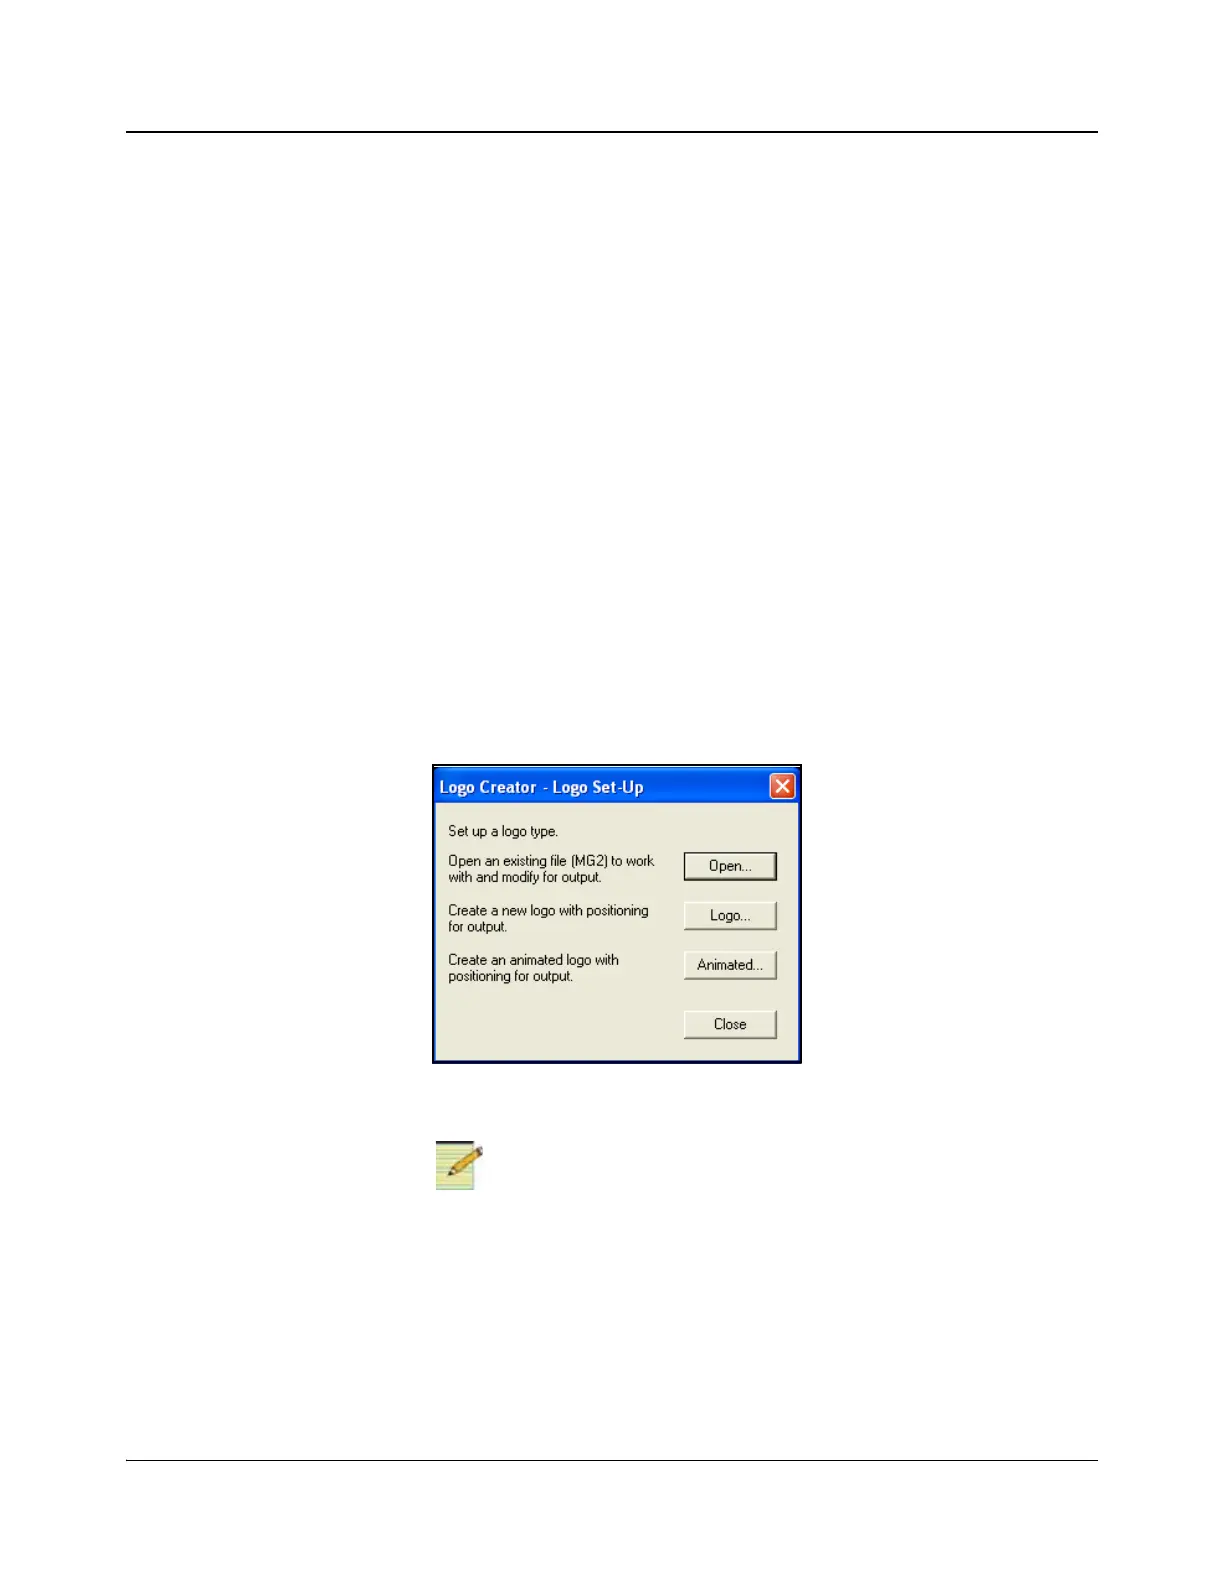
1. In LogoCreator, open the Logo Set-Up dialog box (Figure 3-3 below).
When you first open LogoCreator, the Logo Set-Up dialog box opens
automatically. If the Logo Set-Up dialog box is closed, select File > New to
open the dialog box.
Figure 3-3. LogoCreator Setup Dialog Box
If you click the Open button directly in the Logo Set-Up box, the
program will only launch files with a .mg2 prefix. If you attempt to open
a file with any other prefix, the program will generate error messages.
2. Click the Logo button to open the Static Logo dialog box.
3. Use the Logo ID box to assign the logo to a specific slot on your IconLogo
system.
4. Enter a name for the logo in the Name box.