COMPUSHIFT II Manual – COMPUSHIFT II Manual
•
•
•
•
•
•
•
•
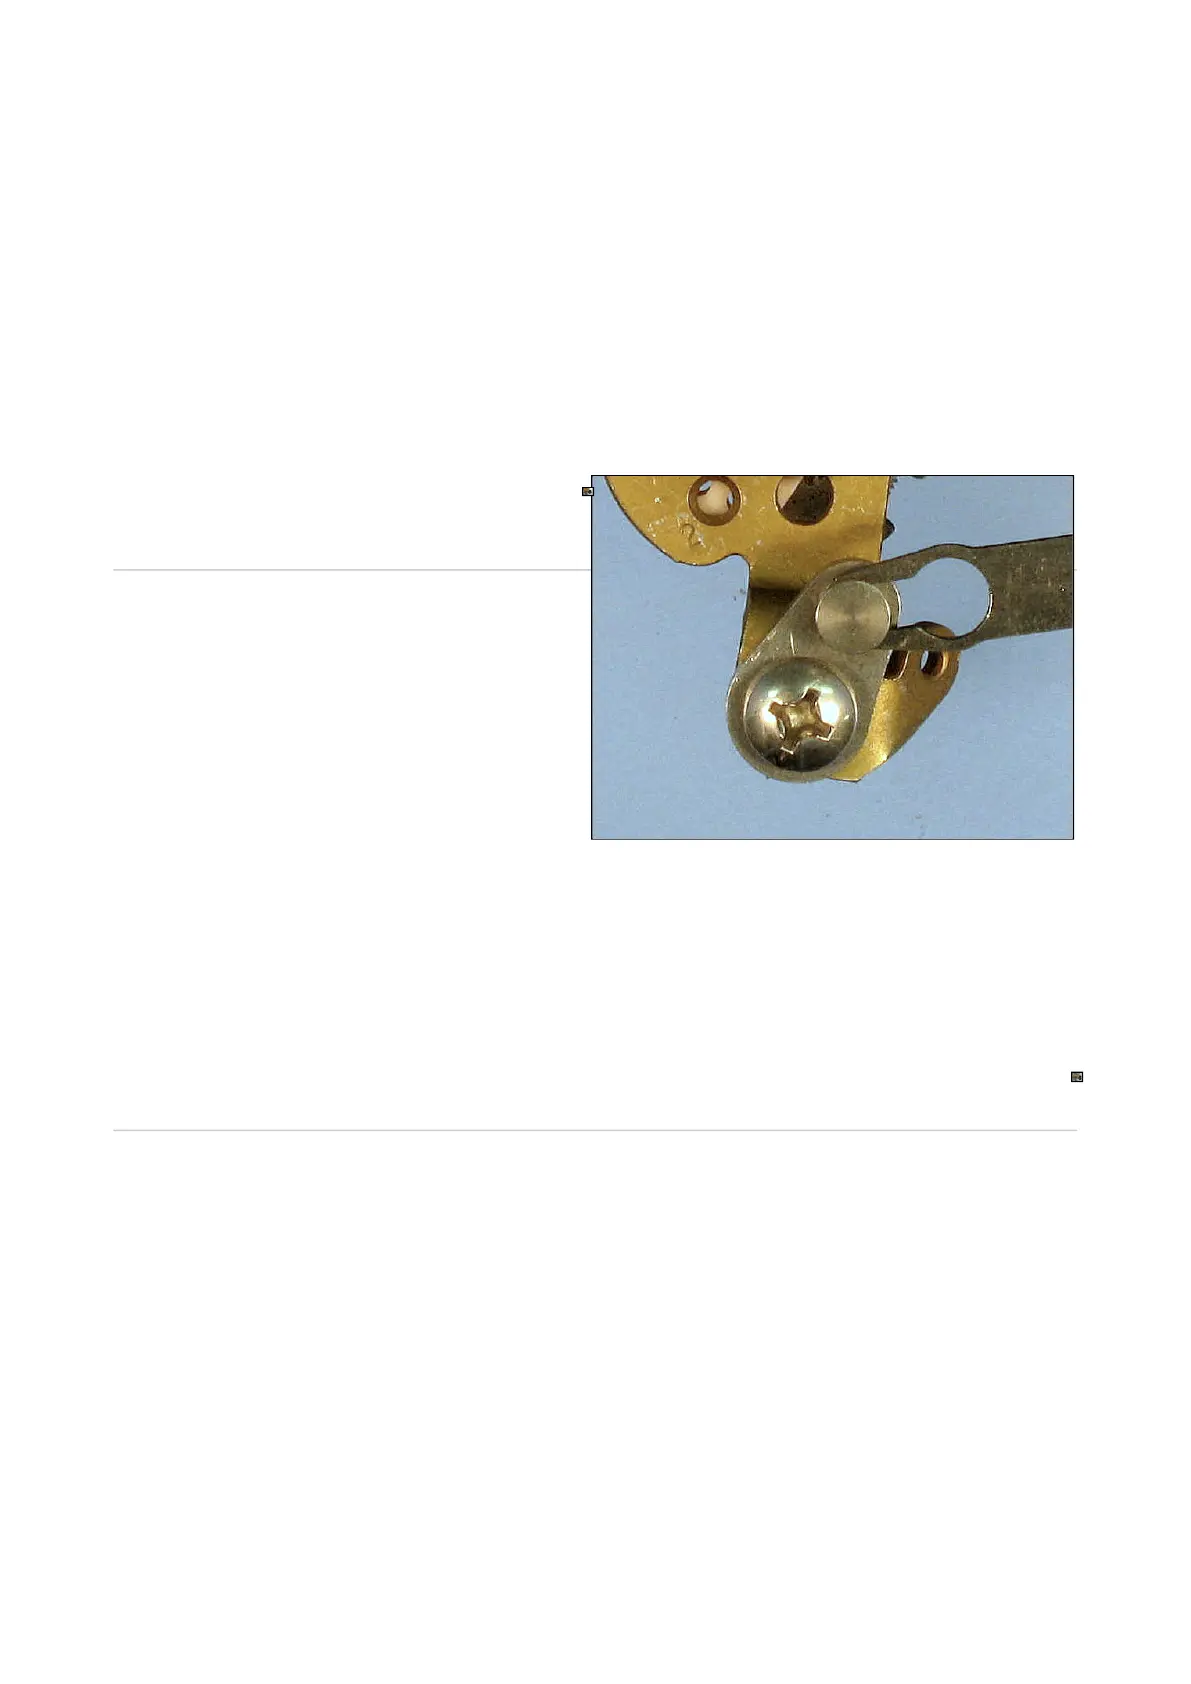
3.4.1.7 Set the Adjustable Arm Length
Connectthe fixed, threaded section of the Adjustable Arm to the Ratio Arm.The screw heads should face
outward, away from the carburetor.
Adjust the arm length so the edge of the sliding section's slot is aligned with the center of the TPS pin (as
shown here) for the correct length.
Tighten the adjustable arm screws at this position.
Disable the fast-idle cam for the choke so the carburetor butterflies are on low-speed idle
3.4.1.8 Install the Adjustable Arm
Install the Adjustable Arm by rotating the TPS so its pin can be inserted into the Arm, as shown here in its fully
installed position.
3.4.1.9 Check the Adjustable Arm & TPS
Check the Adjustable Arm with the throttle fully closed. There should be tension on the arm andnofree play.
Correct any free play by slightly shortening the arm.
Hold the carburetor linkage in the fully open position. Confirm the TPS has some remaining rotation/stroke
by pressing on its arm as shown.
If the TPS is fully extended (i.e., there isnoremaining rotation/stroke), then lengthen the arm slightly
to correct.