8 http://www.hgmelectronics.com/products-compushift-controllers/compushiftii
9 https://hgmelectronics.squarespace.com/products-compushift-accessories/transmission-pressure-sensor-kit
COMPUSHIFT II Manual – COMPUSHIFT II Manual
Additional Guides & Information– 80
•
•
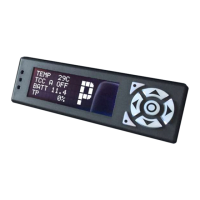
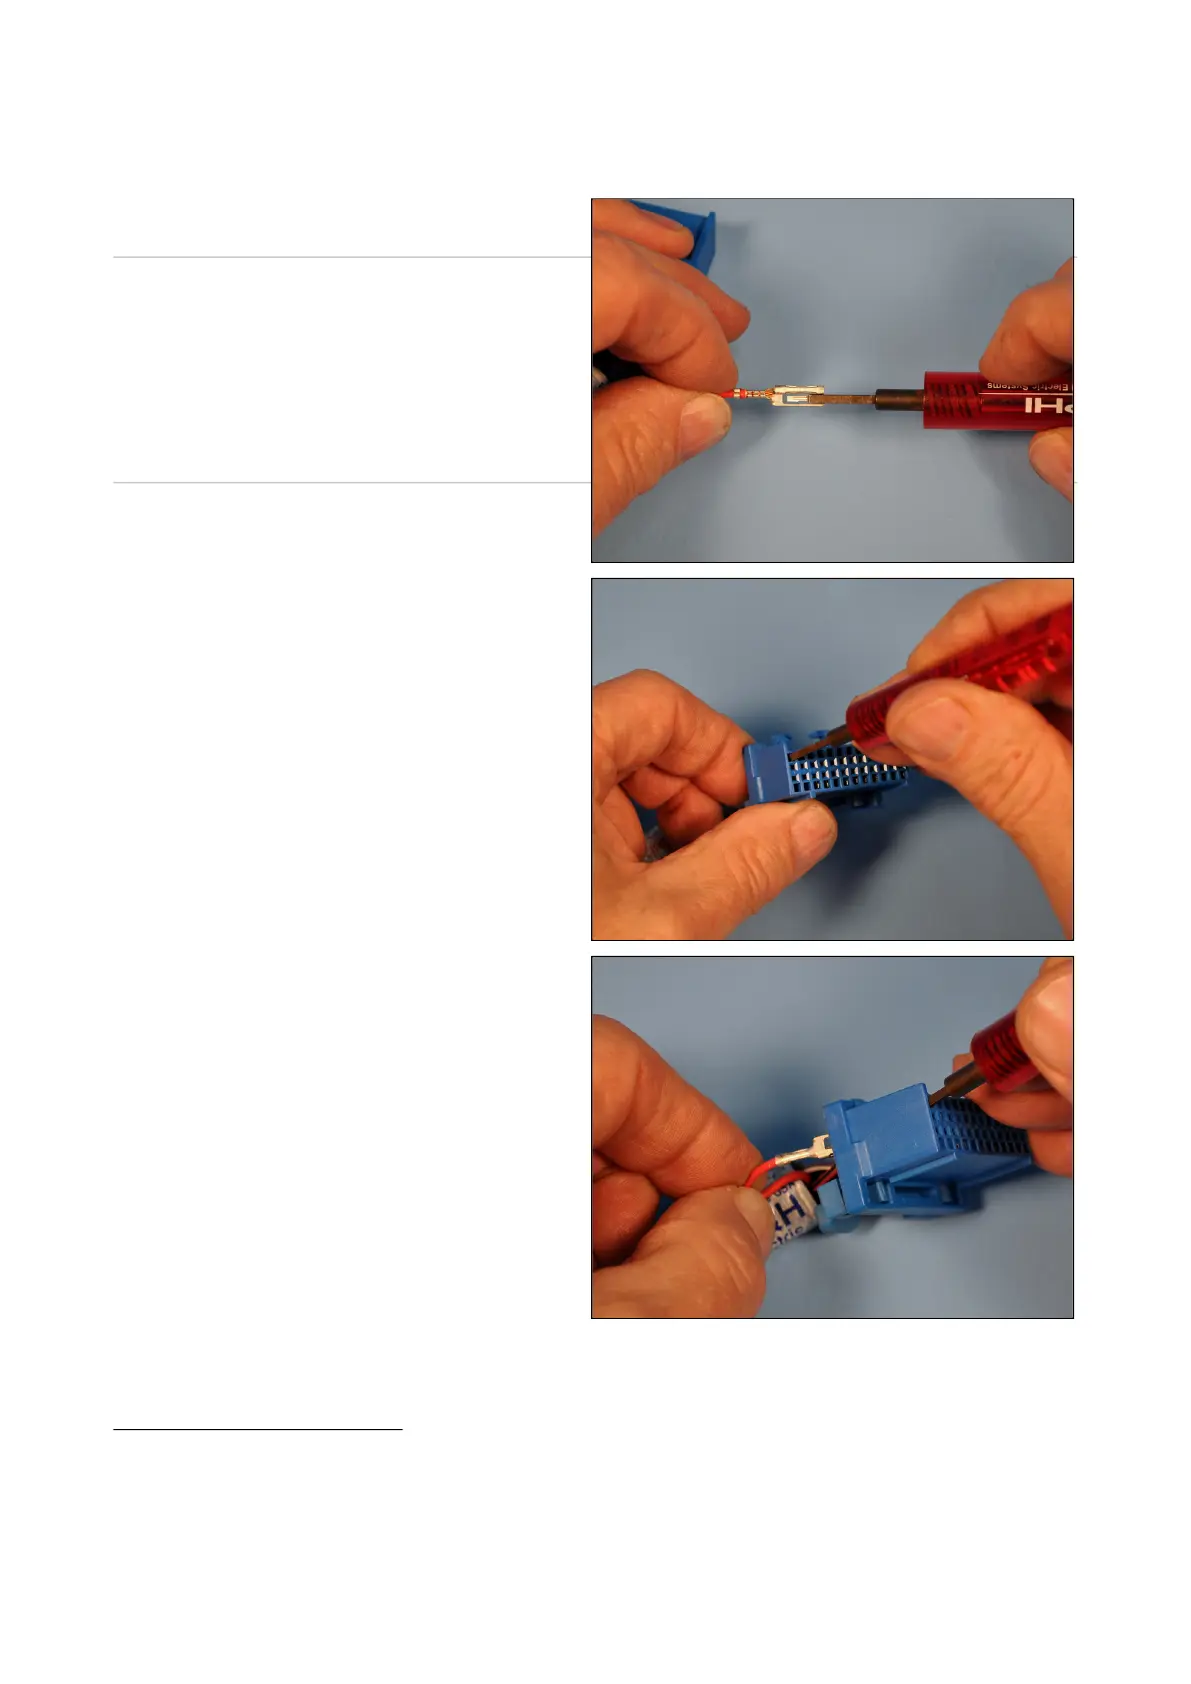
Locate the wire you want to remove in the connector
block. Partially insert the tool in theoutsidehole (closer
to the outside edge of the block - not the smaller holes
along the center line) that corresponds to the wire.
From the back, press the wire into the block slightly to
release tension on the terminal tooth. Fully insert the
tool to release the tooth and the wire will slide out
easily. If it does not release, try giving it more slack from
the back - do not tug.
If you need to replace wires, you can contact HGM to
order additional terminals. We have terminals already
connected to pre-cut sections of wire in many different
colors.
7.2 COMPUSHIFT II Quick Install
Guide
This reference sheet was included in your original
packaging.
Click the link below to open a PDF file, which you can
print or save to your computer.
COMPUSHIFT II Quick Install Guide.pdf
7.3 Installing the Transmission
Pressure Sensor
This sensor kit mounts directly to the transmission and
reads pressure in PSI or Kilopascals directly on
theCOMPUSHIFT II
8
display.
You will need:
Transmission Pressure Sensor Kit
9
Appropriate wrench or socket