User Manual of Digital Video Recorder
193
11.5 Configuring Quota Mode
Purpose
Each camera can be configured with allocated quota for the storage of recorded files or captured pictures.
Steps
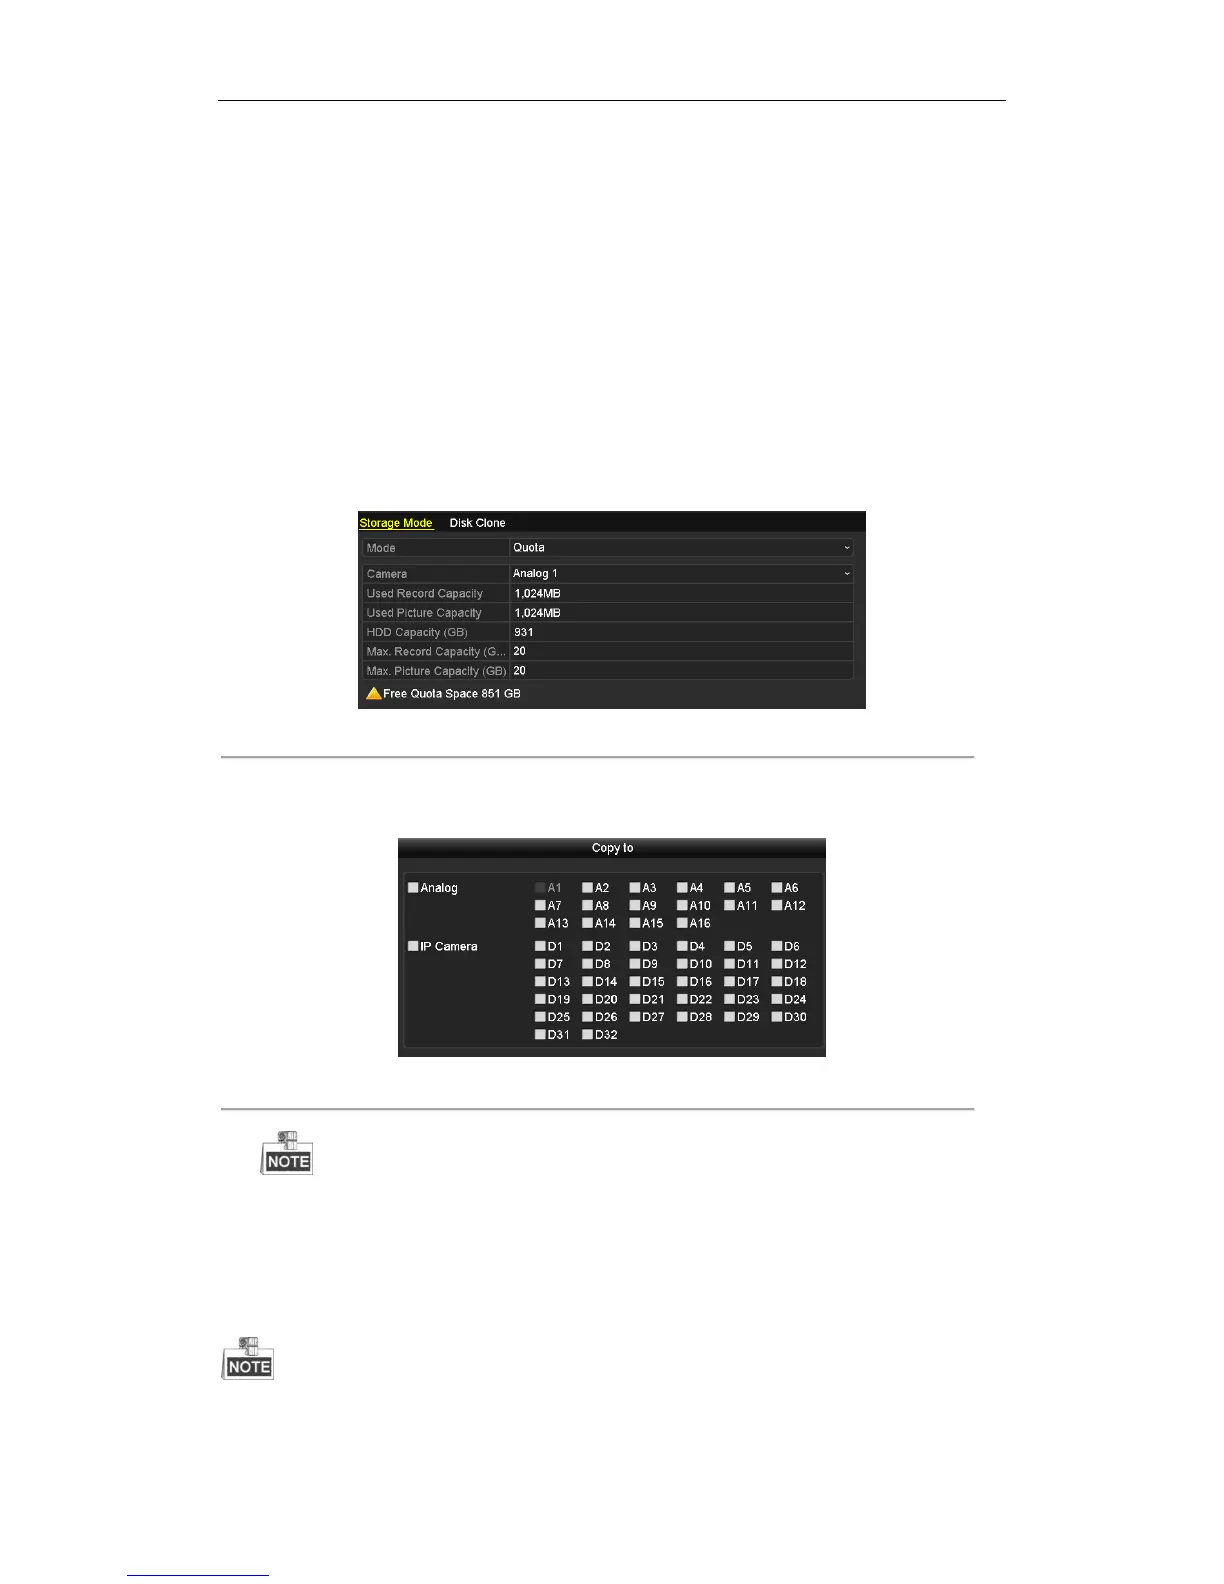
1. Enter the Storage Mode interface.
Menu > HDD > Advanced
2. Set the Mode to Quota.
3. Select a camera for which you want to configure quota. In HDVR series device you can select IP Camera.
4. Enter the storage capacity in the text fields of Max. Record Capacity (GB) and Max. Picture Capacity
(GB).
Figure 11. 13 Configure Record/Picture Quota
5. You can copy the quota settings of the current camera to other cameras if required. Click Copy to enter the
Copy Camera menu, as shown below.
Figure 11. 14 Copy Settings to Other Camera(s)
IP Camera is supported by HDVR series only.
6. Select the camera (s) to be configured with the same quota settings. You can also click the checkbox of
Analog or IP Camera to select all cameras.
7. Click OK to finish the Copy settings and back to the Storage Mode interface.
8. Click Apply to save the settings.
The device must be rebooted to activate the changes.
If the quota capacity is set to 0, then all cameras will use the total capacity of HDD for record and picture
 Loading...