User Manual of Digital Video Recorder
204
12.1 Configuring OSD Settings
Purpose:
You can configure the OSD (On-screen Display) settings for the camera, including date /time, camera name, etc.
We use the interface of DS-9100HFI-ST series (unless otherwise stated) as example to describe the following
settings.
Steps:
1. Enter the OSD Configuration interface.
Menu > Camera > OSD
2. Select the camera to configure OSD settings.
3. Edit the Camera Name in the text field.
4. Configure the Display Name, Display Date and Display Week by checking the checkbox.
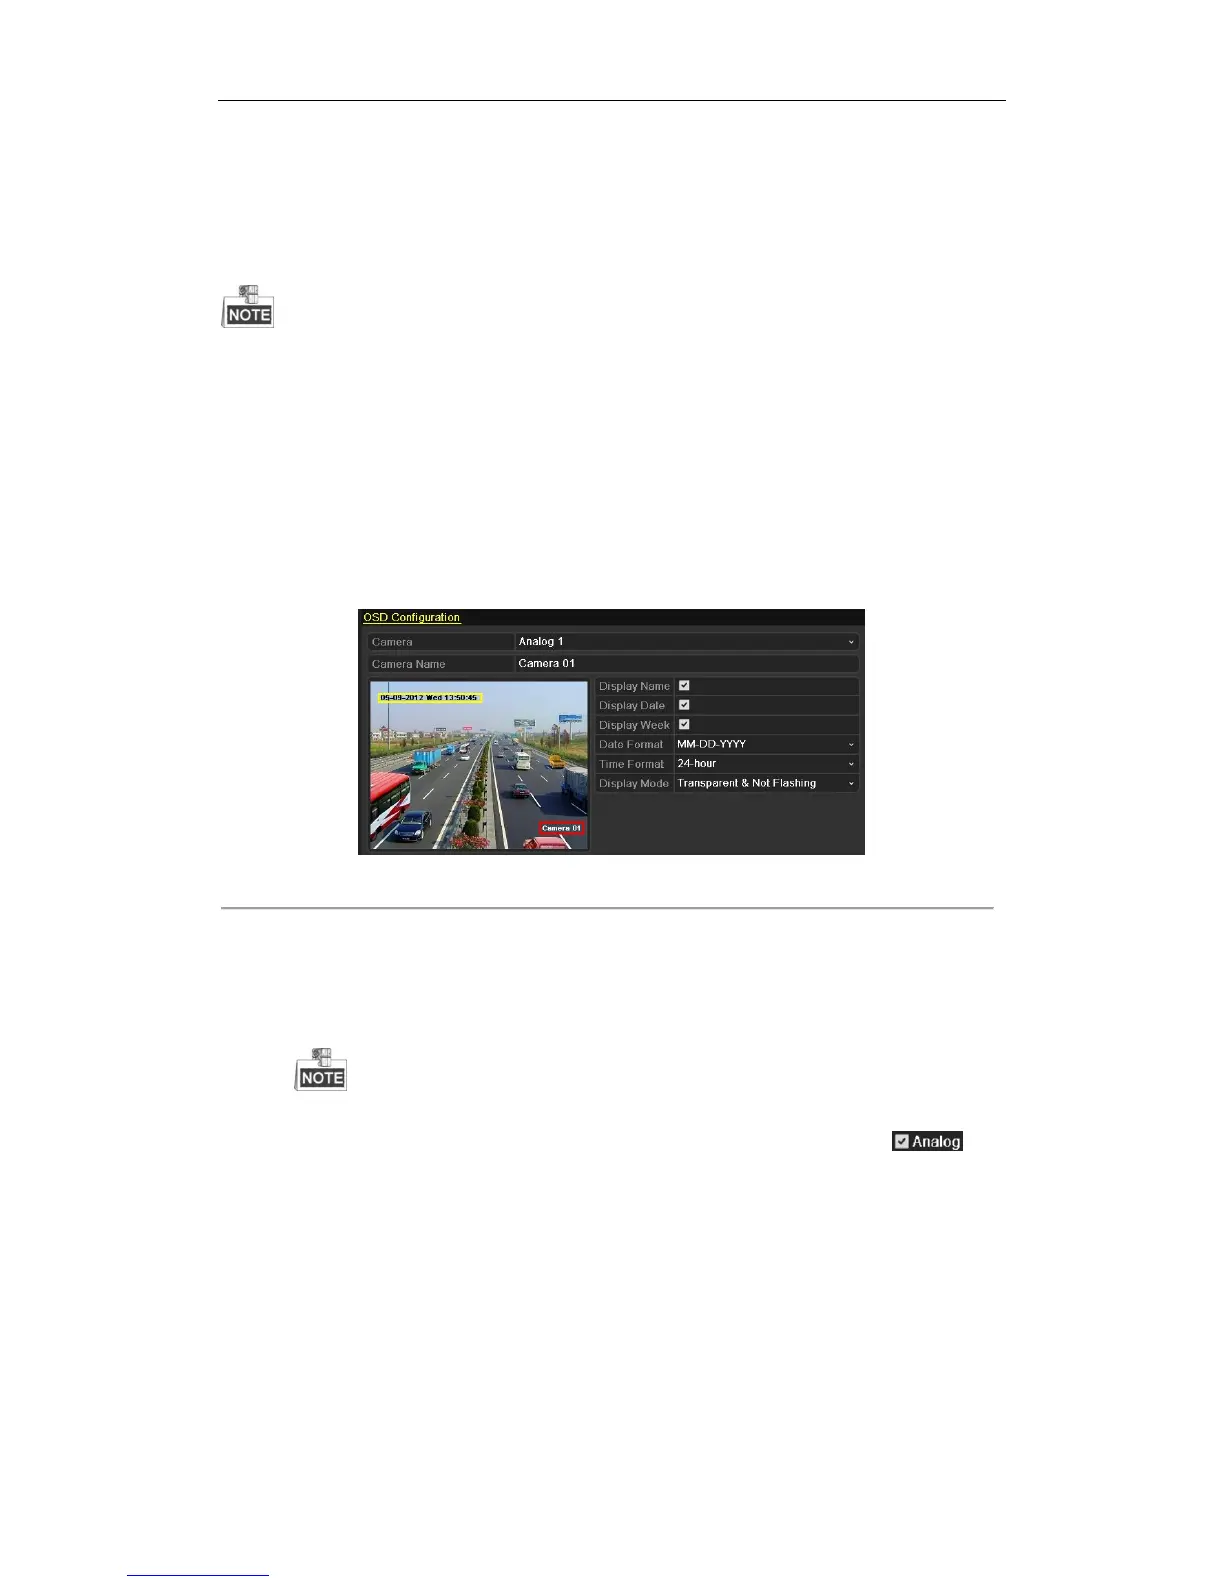
5. Select the Date Format, Time Format and Display Mode.
Figure 12. 1 OSD Configuration Interface
6. You can use the mouse to click and drag the text frame on the preview window to adjust the OSD position.
7. Copy Camera Settings
1) If you want to copy the OSD settings of the current camera to other cameras, click Copy to enter the
Copy Camera interface.
Copying the OSD settings to network cameras is not available.
2) Select the camera (s) to be configured with the same OSD settings. You can also check
checkbox to select all cameras.
3) Click OK to finish the Copy settings and back to the OSD Configuration interface.
8. Click Apply to apply the settings.
 Loading...