133
────────────────────────────────────────────────────
10.1 Changing the Fuse
────────────────────────────────────────────────────
(1) Tools needed to dismantle this unit:
Plus screwdriver
Tweezers
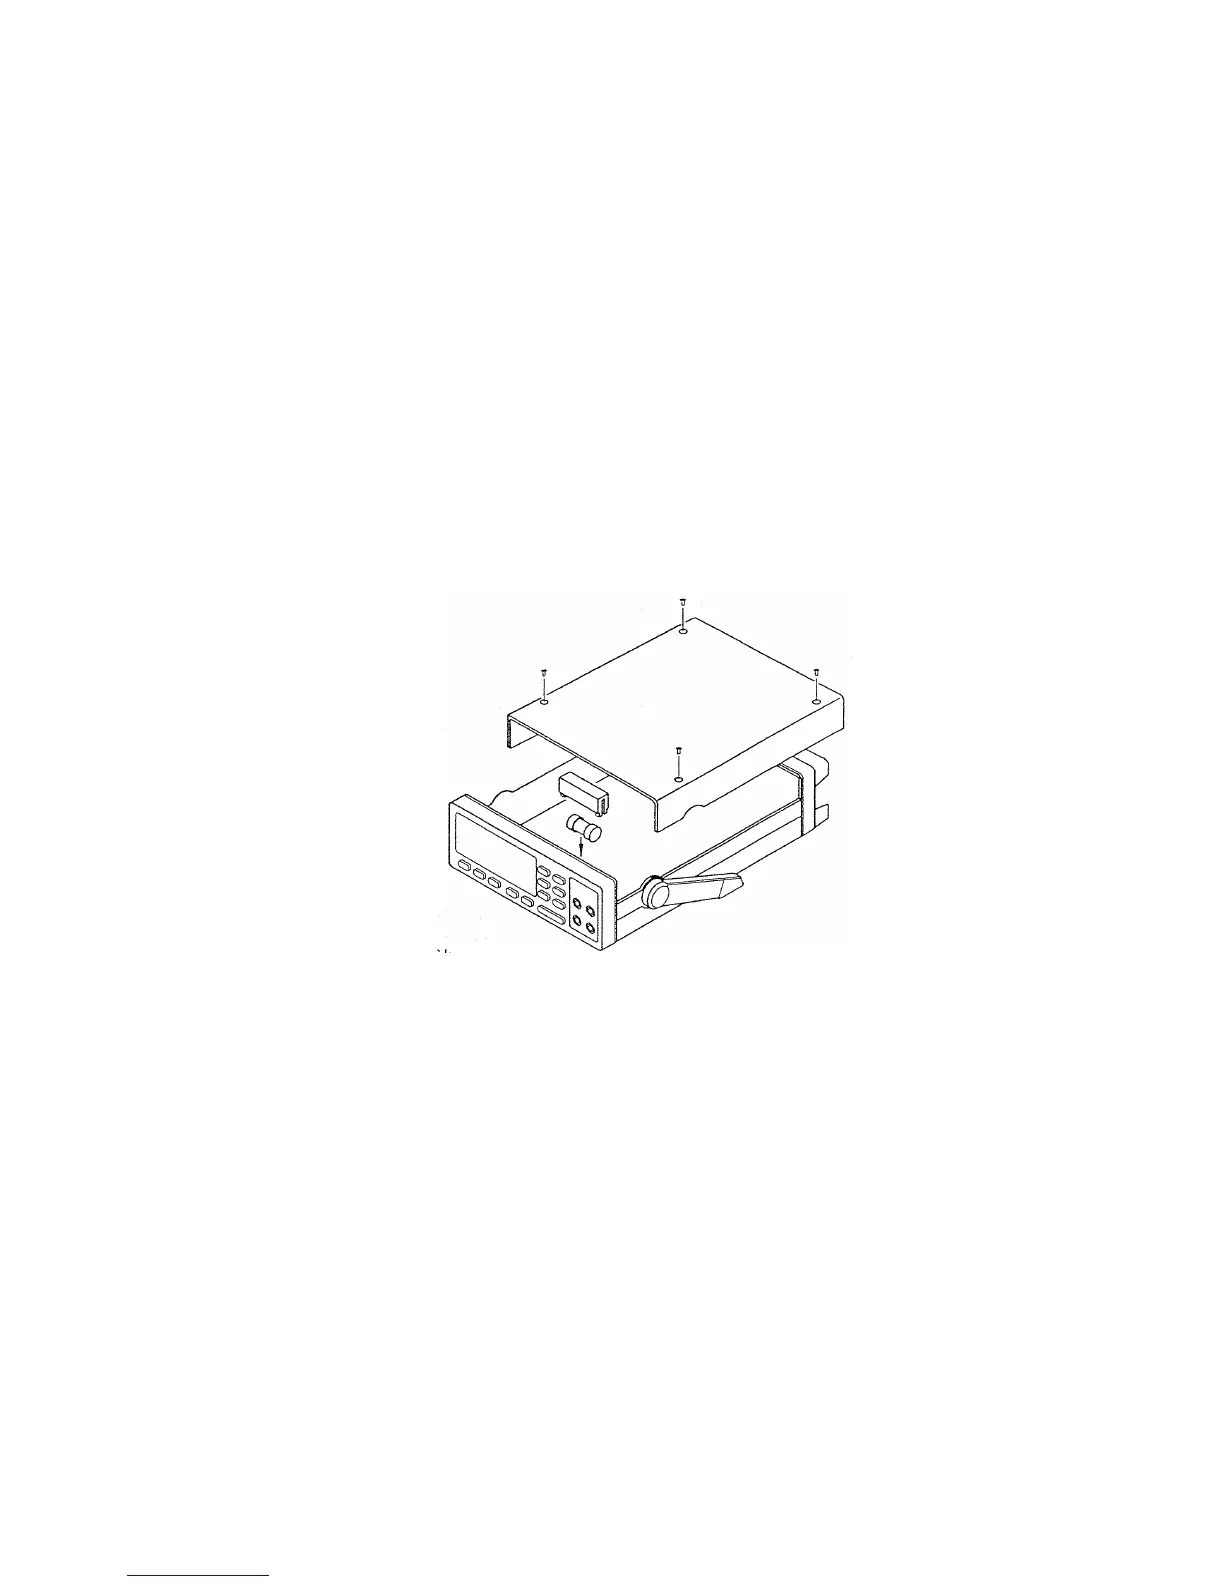
(2) How to dismantle the unit:
1. Turn off the power supply, disconnect the power code, and remove the four
retaining screws which hold on the upper case of this unit, as shown below.
2. Pull up the upper case straight upwards, and take it off.
3. The circuit protection fuse is covered with the protection cover. Remove the
protection cover and the circuit protection fuse with the tweezers. After
confirming the fuse to verify that it has blown, change it for the accessory
spare fuse.
When this unit is shipped, one spare fuse is built-in. When one fuse has blown
and the spare fuse has been used to replace it, use another fuse of the proper
rating.
Fuse rating : F1.0A/250V, 20 mm×5 mm dia.
(3) How to confirm the fuse:
1. Put the upper case on, with the opposite order of (2) above, and connect the
input wiring and the power code.
2. Turn on the power supply.
3. Short the lead under the resistance measurement mode to confirm whether
NG is displayed.
 Loading...


