10
_____________________________________________________________________________________________
2.4 Selection of Power-supply Frequency
______________________________________________________________________________________________
NOTE
Allow the unit to warm up for 60 minutes before starting measurement.
NOTE
As long as the unit is in normal measurement or comparator execution modes, the
various conditions will be saved even in the event of a power blackout.
NOTE
To properly suppress noise, this product must be set to match the power supply
frequency. Before using the product, make sure the power supply frequency selector
is set correctl
, to avoid erroneous readin
s.
2.3 Power On/Off
2.4 Selection of Power-supply Frequency
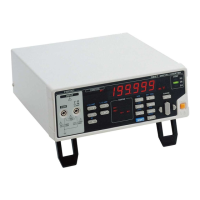
(1) How to turn on power
Turn on ( ) the power switch on the front panel.
All the LEDs on the front panel will light to indicate the model, software
version and power-supply frequency of the unit. The unit readies itself for
measurement.
After power is turned on, the unit is set to the same measurement conditions
in effect when the unit was switched off.
(2) How to turn off power
Turn off ( ) the power switch on the front panel.
The measurement conditions will be saved.
1
.Press
SHIFT
."SHIFT" lights up on the display.
2
. Pressing
ENT
opens the menu screen for entering various settings.
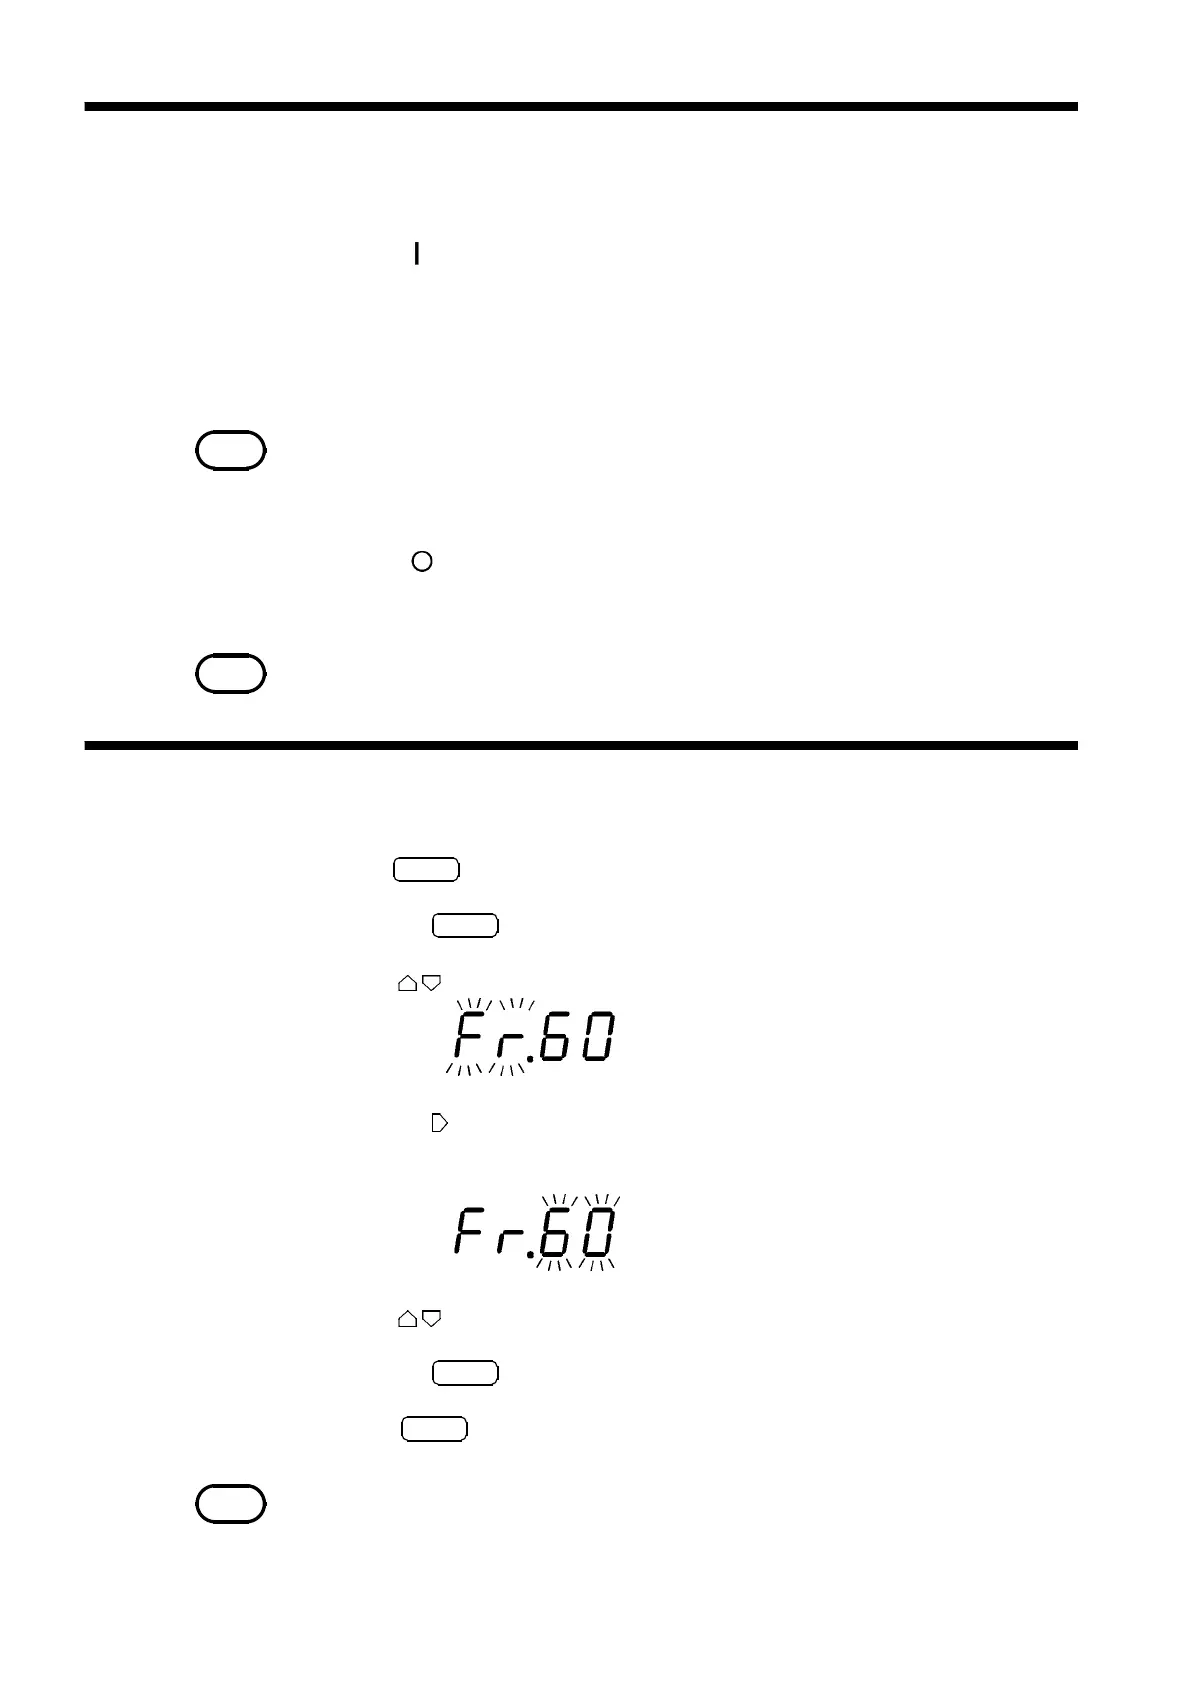
3
.Press to display the power-supply frequency setup screen.
4
. Pressing causes the frequency power-supply currently set to flash.
"50": 50 Hz
"60": 60 Hz
5
.Press to select a power-supply frequency.
6
. Pressing
ENT
causes "Fr" to flash.
7
.Press
ENT
again to define your selection.