6. CHECKUP AND MAINTENANCE
6-17
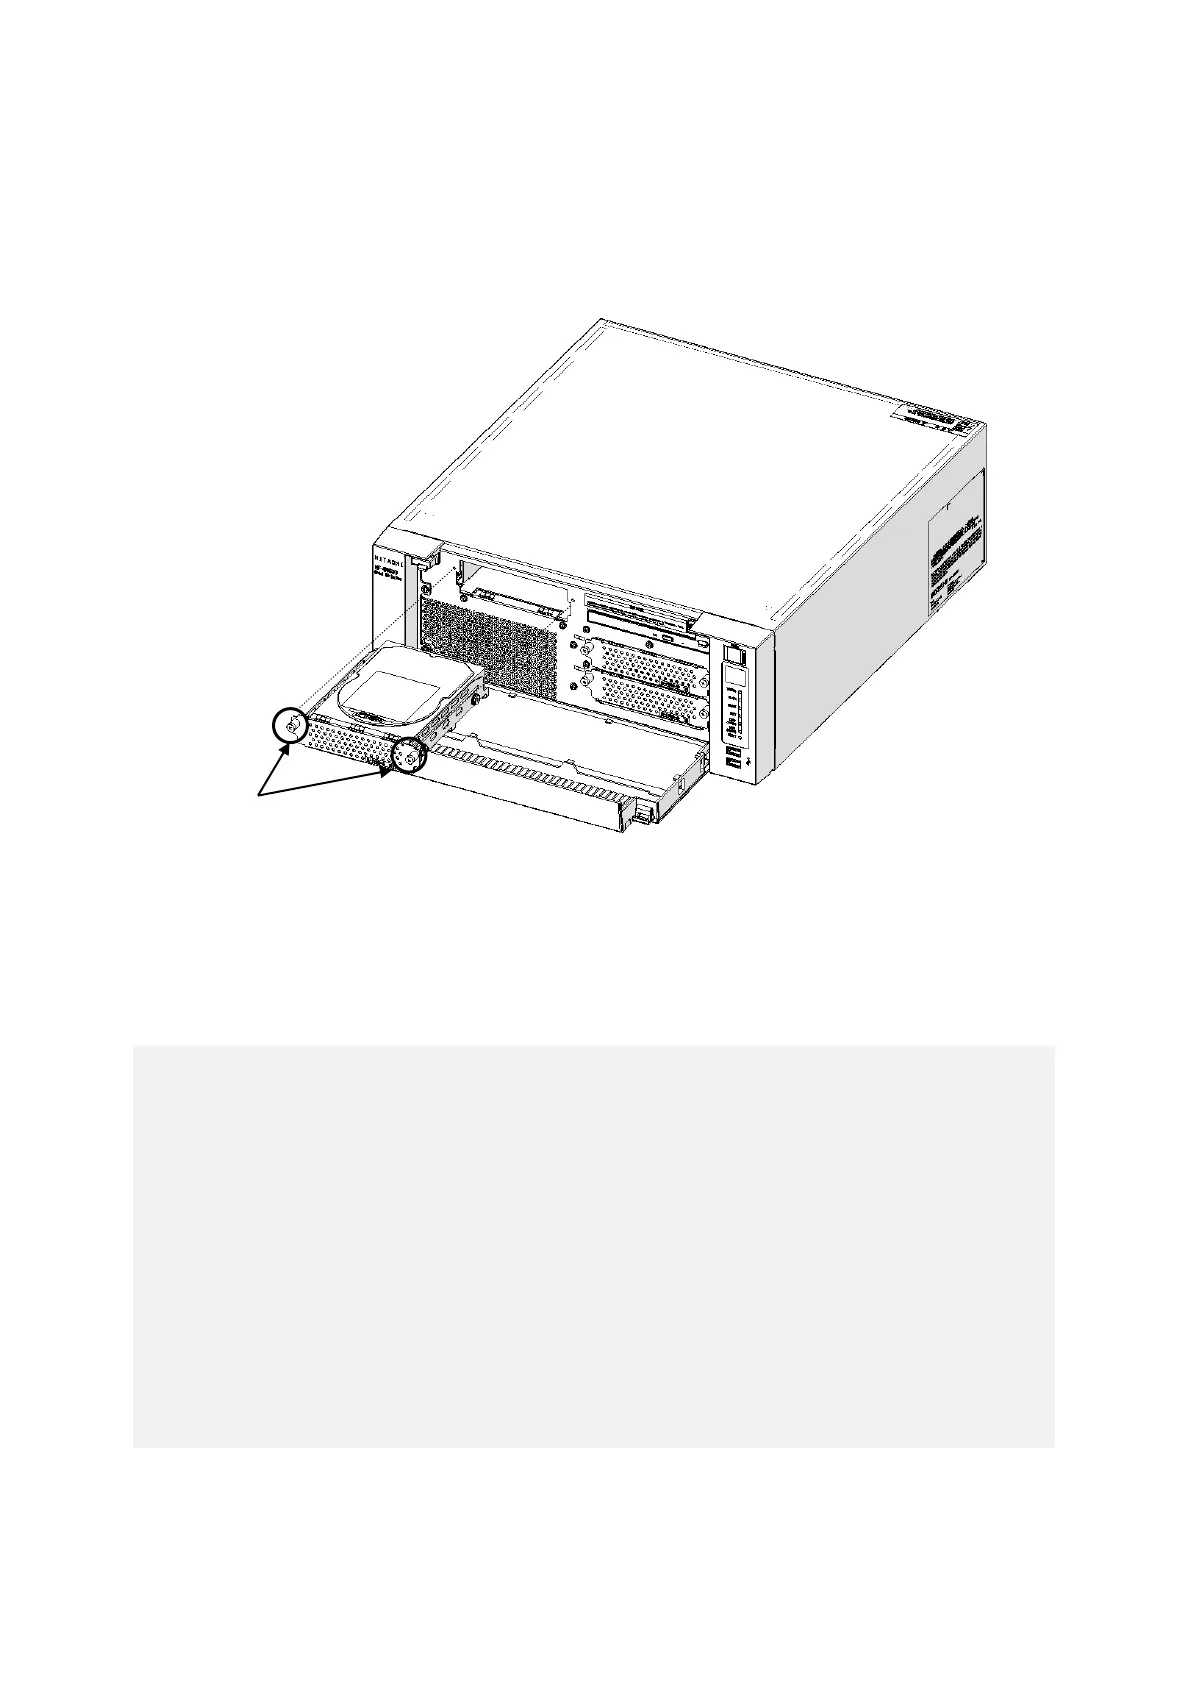
(3) Removing a Drive bay 3 HDD (Option)
[1] Open the front cover referring to [1] of “(2) Removing an HDD”.
[2] Loosen two set screws for the Drive case.
[3] Hold two set screws for the Drive case and pull out the case.
Figure 6-8 Removing a Drive bay 3 HDD
(4) Installing an HDD
Follow the procedure described in “(2) Removing an HDD” or “(3) Removing a Drive bay 3
HDD (Option)” in reverse to install an HDD.
< NOTE >
・When you pull out an HDD, make sure you do not apply too much force to the
connector. Slowly pull out the hard disk in order not to subject the HDD.
・When you connect an HDD to a connector, do not subject the HDD to shock or
jarring.
・Always install the system disk in drive bay 1. Even if the system disk is
incorrectly installed in the drive bay 2, the OS will start up, so pay attention to
the mounting position of the disk.
・The HDD1 and HDD2 must have the same capacity. Do not install HDDs with
different capacities.
・The drive bay 3 is a dedicated HDD bay. Do not install other devices.
・After having closed front cover, please confirm that you are locked. Front cover
may open by a shock.