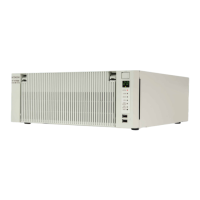
1. GETTING STARTED
1-16
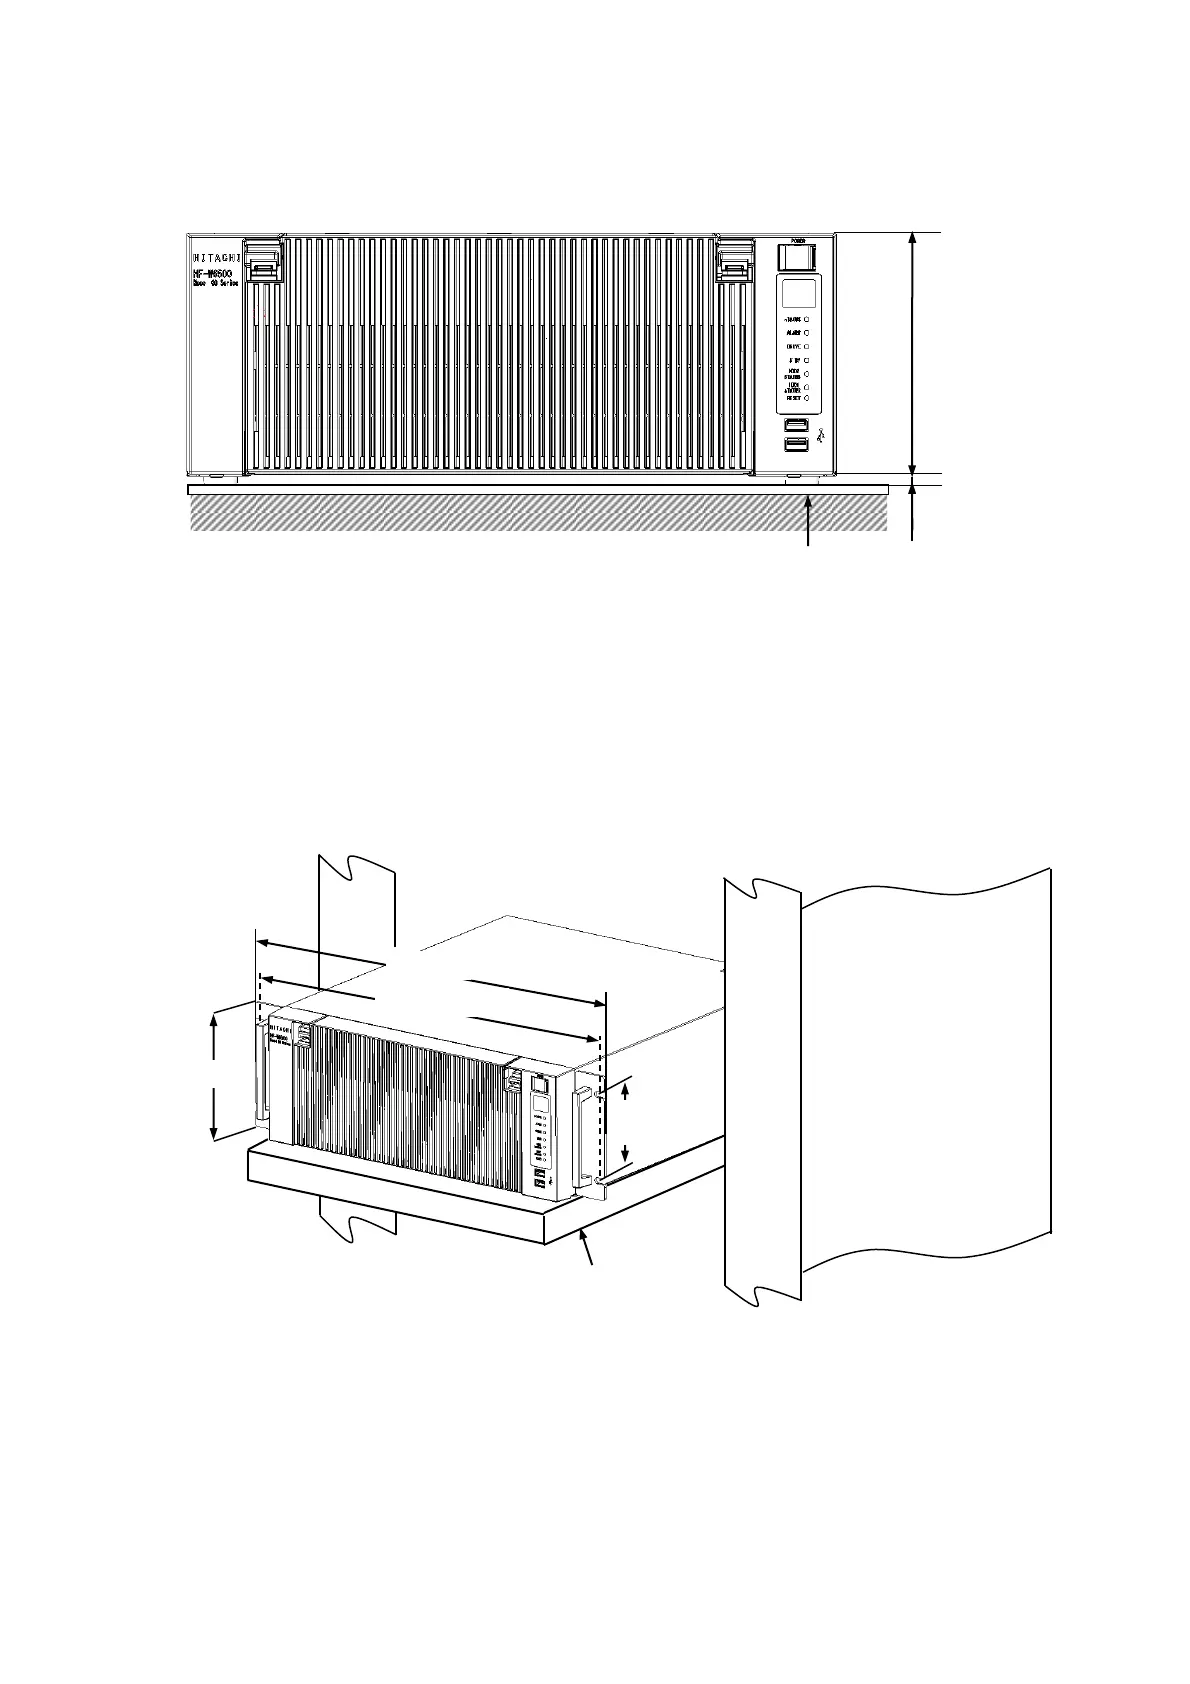
(a) Horizontal Installation
Place a non-slip mat between the equipment and the desktop to secure the equipment.
Figure 1-6 Exterior View (Horizontal Installation on the Desktop)
(b) Rack mount
・For information about how to attach and remove rack-mounting metal fittings, see
“6.3.8 Attaching and removing rack-mounting metal fittings (option)”.
・For information about how to remove rubber feet, see “6.3.9 Attaching and removing
rubber feet”.
(*1) Distance between the hole centers.
(*2) This size is based on JIS of the rack-mounting metal fitting. For EIA, the size is 101.6mm.
(*3) When you mount the equipment on a rack mount, we recommend that you use a
combination of rack-mounting metal fittings, a shelf board for a rack mount, and slide rails
for safety reasons.
Figure 1-7 Exterior View (Rack Mount)