5 - 18
9. Checking Performance After replacing the filament, check image quality by using the
supplied image verification specimen. Use the same method if image deterioration becomes
apparent after the system is used.
9a. Set the supplied image verification specimen in the standard position.
See Section 4.2.3 Changing Specimens.
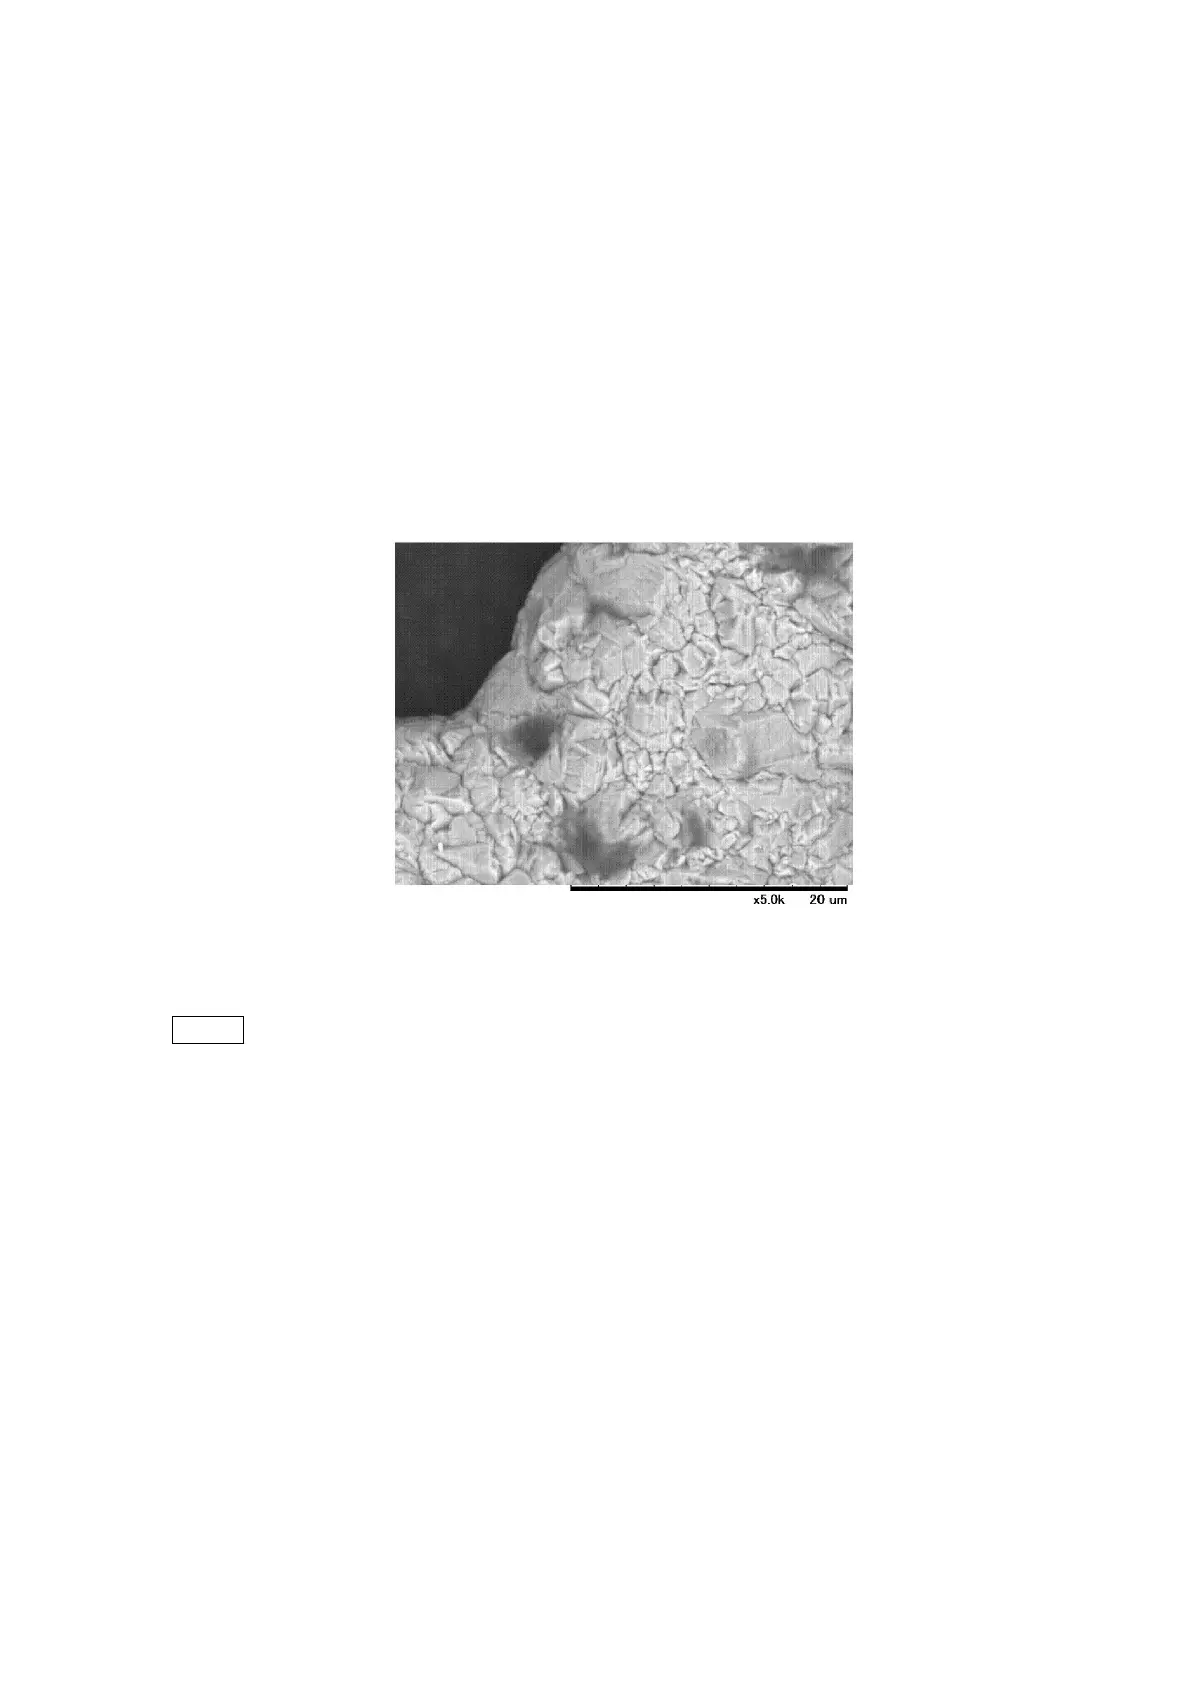
9b. Perform auto-brightness adjustments, focusing adjustments, and stigma aberration
corrections. At 5,000x, an observation image on the image verification specimen is produced,
as shown in the figure. Perform brightness and focusing adjustments according to Sections
4.2.8 to 4.2.13.
Figure 5.2-18 Image Verification Specimen, 5,000x Reference Screen
NOTE
: The brightness of the image can vary to some extent from adjustment guidelines
due to the particular combination of filament and Wehnelt.
If the image is dark, reduce the number of spacers supplied with the cartridge
filament by one. Conversely, if the image is too bright, increase the number of
spacers by one. Two adjustment spacers are provided on the lid of the cartridge
filament. Using fewer spacers could reduce the life length of the filament.
A dirty objective aperture or condenser lens aperture can cause an increase in stigma
aberration with an inability to produce the type of image shown in Figure 5.2-18. In such a
case, replace the condenser lens aperture (see Section 5.3) and the objective aperture (see
Section 5.4).
 Loading...