99
Press Nozzle test on the [Excitation V update] screen in the standby state.
When [Button input] is selected in [Print timing], you can press [Start printing] to start printing.
When [Sensor] is selected in [Print timing], you can input a print target detector signal to start printing.
● Depending on an excitation v-ref. value, the ink drop creation state may be worse during a
nozzle test. This may cause a fault such as [Ink Drop Charge Too High], resulting in the ink
ejection to stop.
In this case, clean the print head and then eject the ink again. To perform the same operation,
see "4.2.2. When Error Occurs at Start of Operation" in the Instruction Manual.
When the excitation v-ref. value is "5" or less, a fault is more likely to occur. To perform the test
print again, set the excitation v-ref. value to "10" first and then reduce the value gradually.
Check the printing result.
Check the range of excitation V-ref. values that resulted in good printing. The center of the range is the
optimum value.
(Example) Printing good range 05 to 15 Optimum value 10 ○: Good, ×: Bad/Space: Unconfirmed
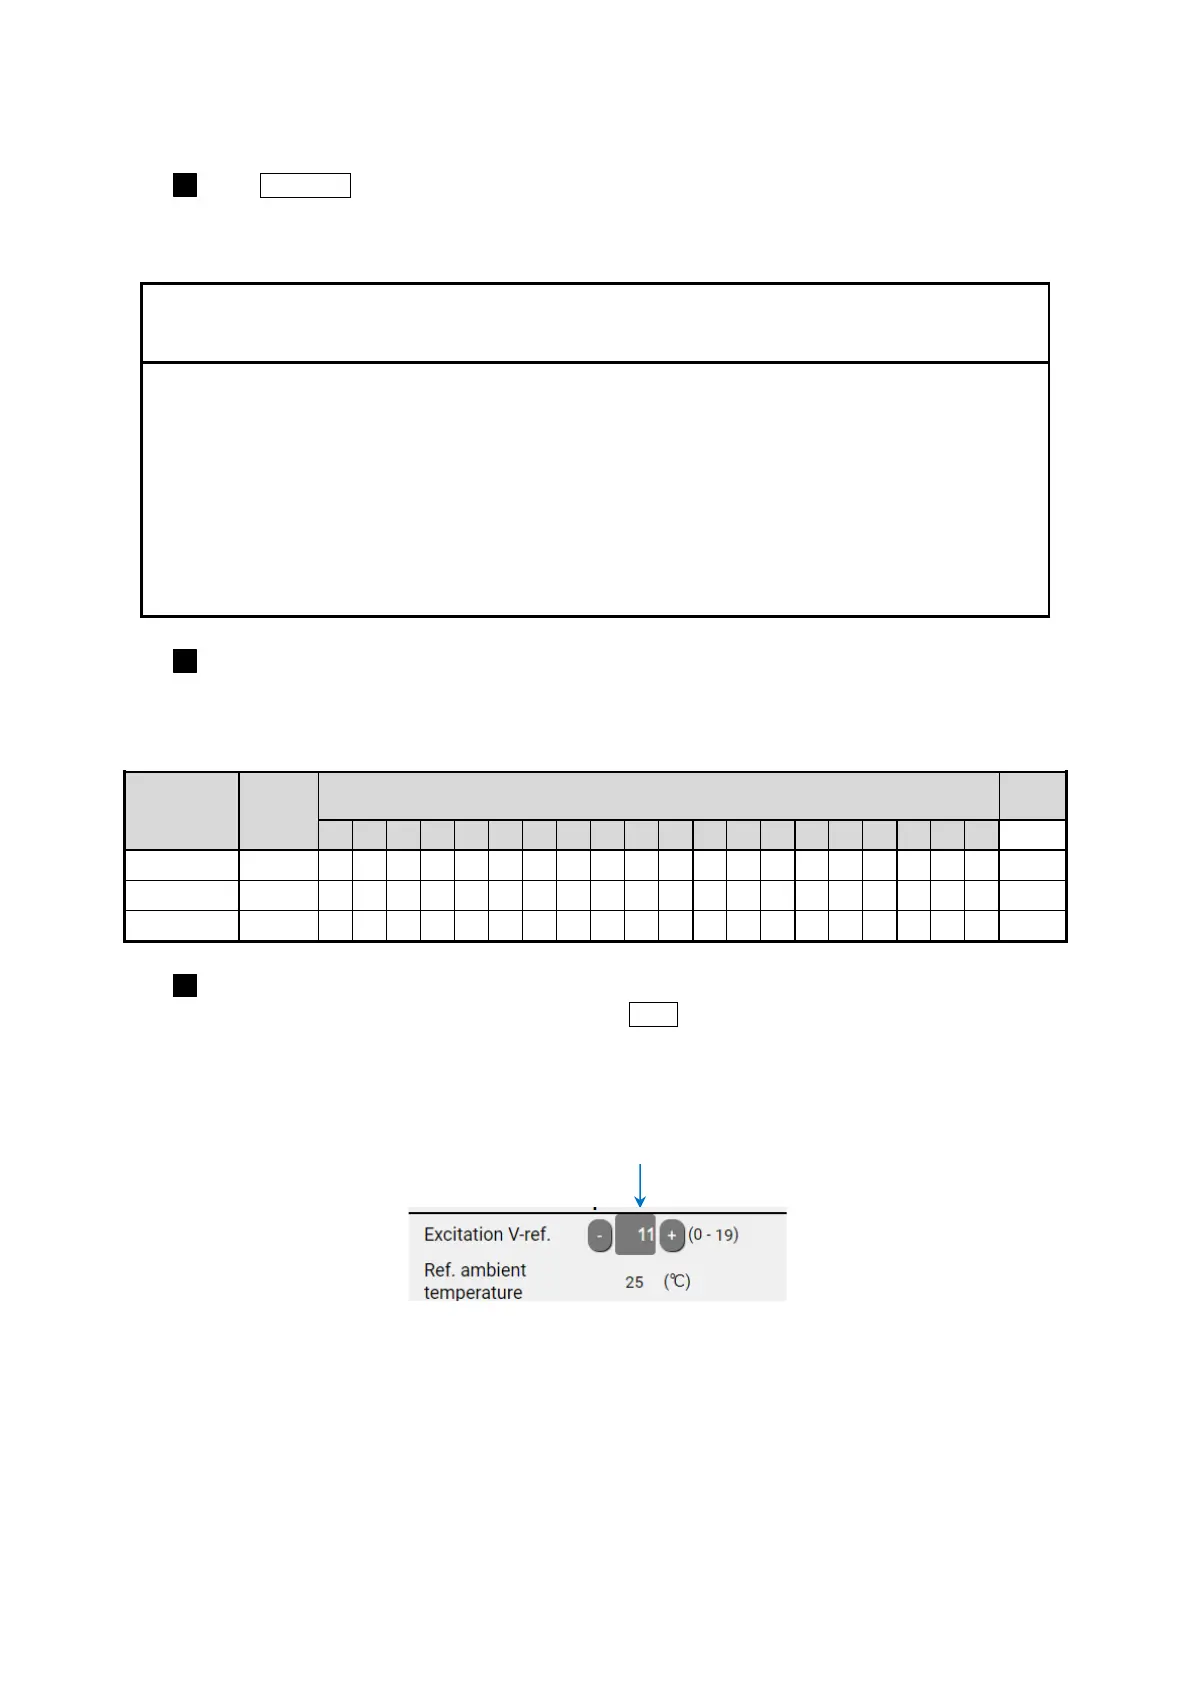
Update the excitation V-ref. value.
(a) After the completion of the test printing, press Abort on the [Nozzle test] screen to return to the
[Excitation V update] screen.
(b) Change to the obtained optimum value in [Excitation V-ref.].
Example of changing [Excitation V-ref.]
This completes the excitation V-ref. update.
Changing to the optimum value
(example) 11 -> 10

 Loading...


