Faxitron CT Specimen Radiography System User Guide
Chapter 4: Quick Start – Basic Operation of the Faxitron CT
Page 34 5081-9544 Revision 004
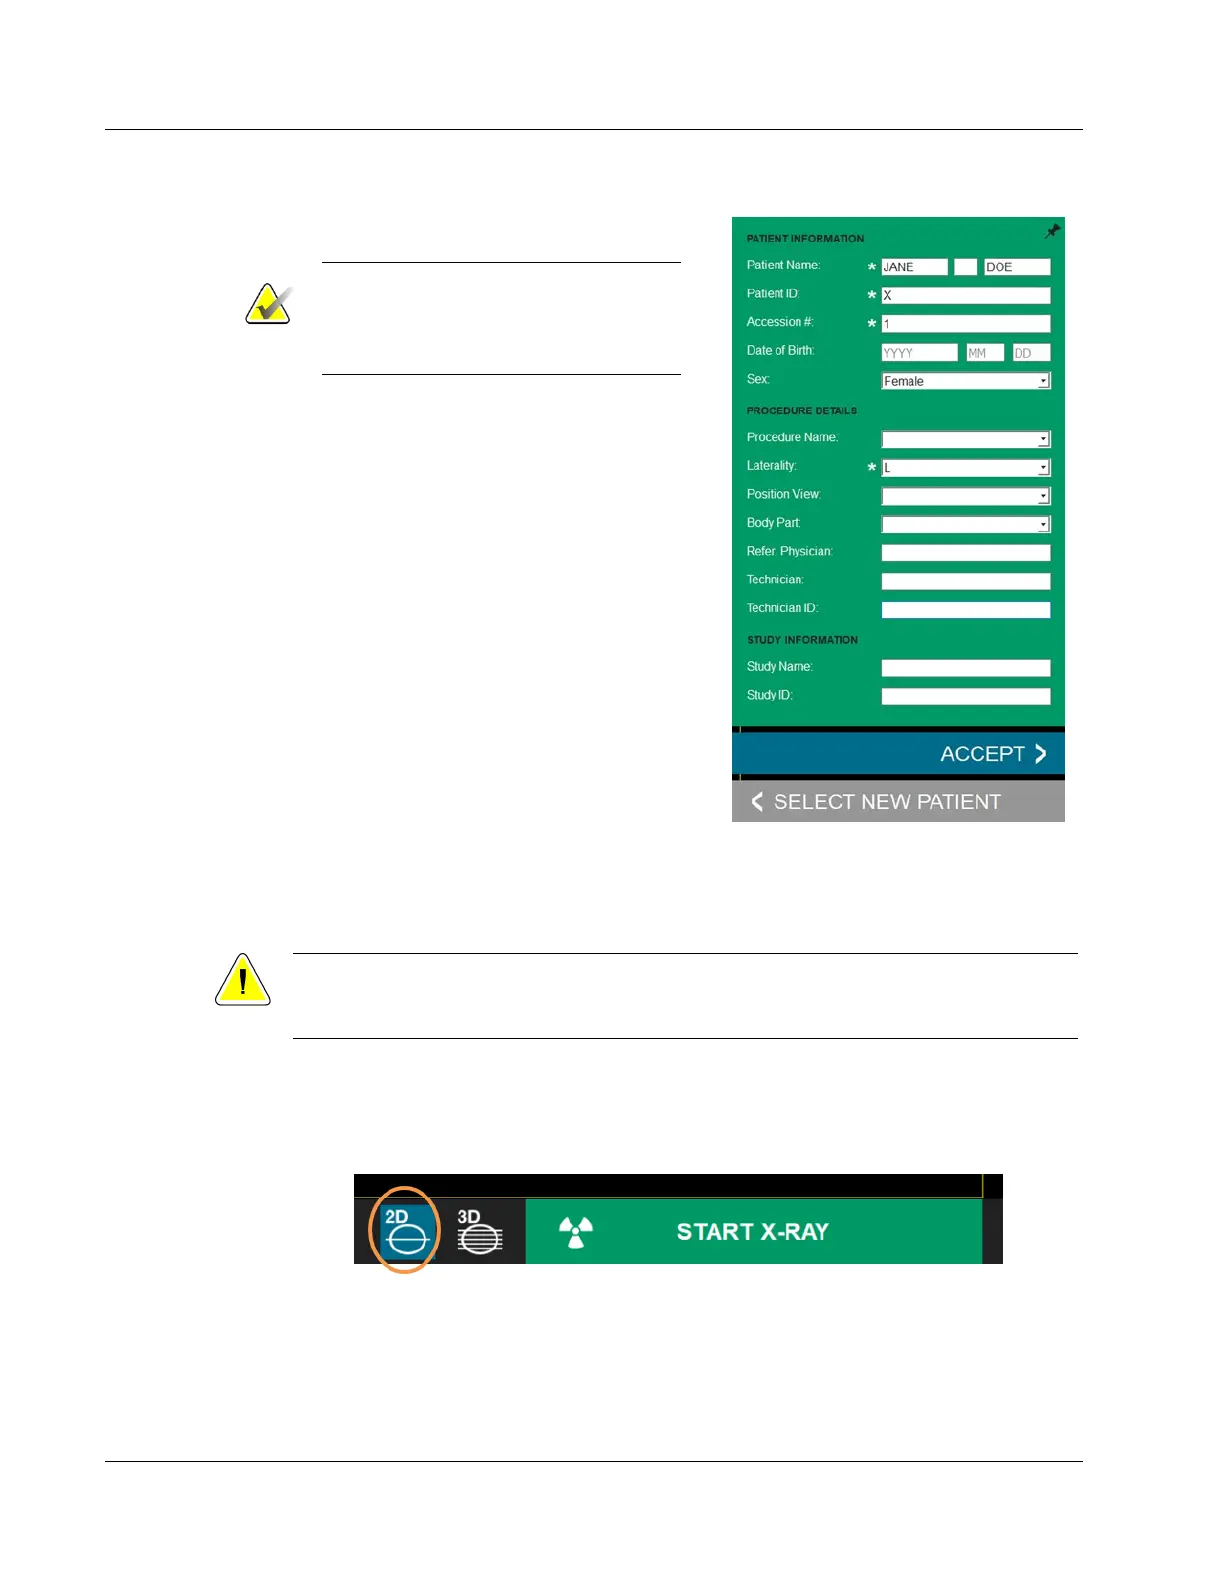
• Enter the Patient Name and ID,
Procedure Accession#, and Laterality.
Note
If the patient’s middle initial is entered,
then all occurrences of the patient name
will display the middle initial.
• Tissue specimens can be transferred in
Digital Mammography X-Ray Image
Storage – For Presentation (MG), or
Digital X-Ray Image Storage (DX)
format, when Body Part is set to Breast
(selected from drop-down menu). All
tissue specimens of other anatomy, or
when Body Part is left blank, are
transferred in Digital X-Ray Image
Storage – For Presentation (DX) format.
Refer to 6.11 DICOM/PACS Functionality.
• Press the “Accept” button. Note that this
does not take an X-Ray but activates the
system, so it is ready to take an image.
Note: The Accept button will be greyed
out until all required fields, indicated by
an asterisk (*), are completed.
4.3.2 Acquire Images
Caution:
To ensure optimum image quality do not touch the Faxitron CT system during either
2D or 3D image acquisition.
The CT system has 2 modes – 2D imaging and 3D imaging. The system defaults to 2D
mode as shown below. You can switch 3D mode by clicking the 3D icon.
2D Imaging Mode
Figure 23: 2D Mode Selected
With a sample in the X-Ray chamber, click the green X-Ray button in the bottom right-
hand corner of the software (shown above) or press the green X-Ray button on the touch
panel to start the exposure.
Figure 22: Patient Information Editor