Series 8 C300 Controller User's Guide
Honeywell
9. C300 Controller Maintenance
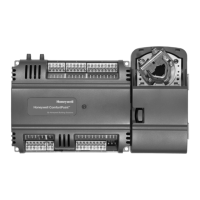
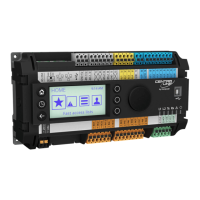
9.3. C300 Controller module and IOTA replacement
any component in a control system. Be sure the system is offline or in a safe
operating mode.
Component replacements may also require corresponding changes in the
control strategy configuration through Control Builder, as well as downloading
appropriate data to the replaced component.
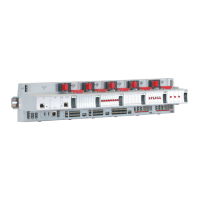
On the defective IOTA, loosen screws at each side of the module cover that
secures the controller module to the IOTA board.
Carefully remove the controller module from the IOTA board and connector.
Label and disconnect all cables from the IOTA board connectors, (yellow and
green FTE cables, gray and violet IOLink cables, and Battery cable).
Loosen the four mounting screws only half-way that secure the IOTA board
to the channel.
Remove completely the four mounting screws securing the IOTA board to the
channel and remove the IOTA.
Place screws, washers and spacers aside for reassembly.
Assemble screws, washers and spacers on the new IOTA board.
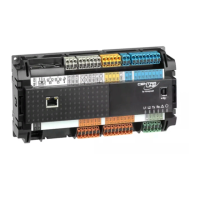
Mount new controller IOTA board on the channel at the same position as the
old IOTA board.
Insert and thread the four mounting screws only half-way to attach the IOTA
board to the channel. Do not tighten.
Tighten the four mounting screws securing the IOTA board to the channel.
Set the Device Index address to the same address as the old IOTA using the
three rotory FTE DEVICE INDEX switches.
Connect FTE-A and FTE-B Ethernet link cables to the RJ-45 connectors on
C300 IOTA board.
The yellow Cat5 cable connects to the "FTEA" connector on the IOTA.
The green Cat5 cable connects to the "FTEB" connector on the IOTA.
Connect IOLink cables to IOTA board, if present.
Connect gray IOLINK cable to IOL1A and IOL1B for IOLINK 1 interface
of the controller.
 Loading...