Table 8-31 Labels panel options (continued)
Color Select one of the following color options from the menu to apply the color to
the label text. (Black is the default.)
●
Black
●
Red
● Blue
● Green
Width Select one of the following options to set the width of the label text box. (The
200 pixels option is the default.)
●
100 pixels
●
200 pixels
●
300 pixels
13. Click Add to map. The new label is automatically added to the image map.
14. To move the label to a location on the image map, click the label text box on the image map and
drag to the location.
15. Click a new printer on the image map to add more labels as necessary, or click Hide to close the
label panel.
NOTE: To remove a label, select the label in the Image map panel or in the Labels drop-down
menu. Then, click Remove label in the Labels panel.
List with printer graphics view
1. Click the option button next to List with printer graphics.
2. Optionally, select the Show device address check box to display the product address in the list
with the printer graphics view. (This box is not selected by default.)
3. Click one of the options listed in
Table 8-32 Graphics view—List format options on page 132 to
specify the list format.
Table 8-32 Graphics view—List format options
Option Description
All printer groups on one page Click this option to format the table with all printer groups on one page.
Each printer group in its own frame Click this option to format the table with one printer group per frame.
4. Click Preview to view the list with the selected options. A new browser window displays that
contains the list output.
5. Click Configure to make more changes to the list. The Configure list with printer graphics
screen displays.
6. On the Printer select menu, select a printer to include in the list.
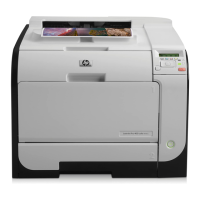
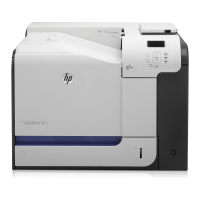
7. Click Auto match images for all printers.
132 Chapter 8 Manage the HP UPD using HP Managed Printing Administration (HP MPA) and
Active Directory Group Policy
ENWW
 Loading...
