5. Pull on the extraction levers to unplug the memory extender board from the socket located
on the midplane riser board and remove the memory extender board from the chassis.
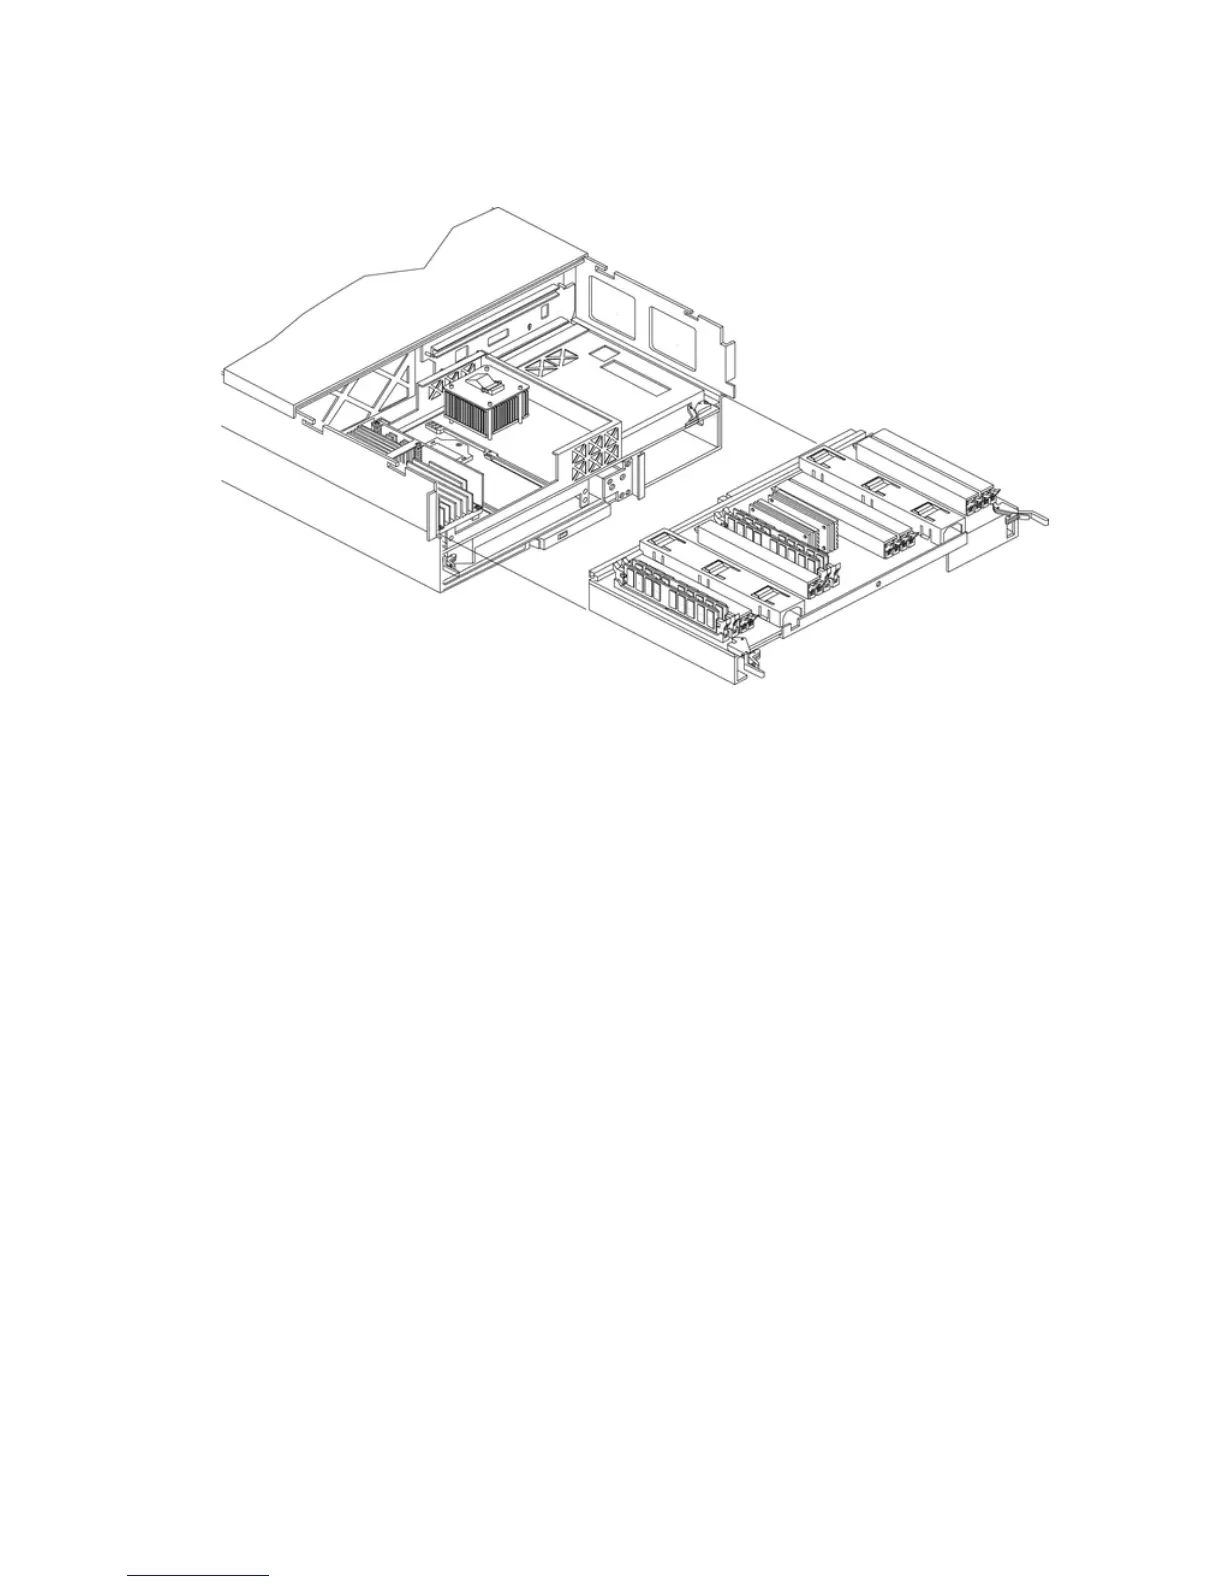
Figure 4-7 shows how to remove the memory extender board from the server.
Figure 4-7 Removing and Replacing the Memory Extender Board
Replacing the Memory Extender Board
To replace the memory extender board, follow these steps:
1. Ensure the extraction levers are positioned in the outward, unlocked position.
2. Align the memory extender board with the front and rear chassis guide slots.
3. Slide the memory extender board in until it begins to seat in the socket located on the
midplane board.
4. Push the extraction levers inward to the locked position in order to plug in the memory
extender board into the midplane riser board.
5. Replace the front cover. See “Replacing the Front Cover” (page 35).
6. Replace the front bezel. See “Replacing the Front Bezel” (page 34).
7. If rack mounted, slide the server into the rack until it stops. See “Inserting the Server into
the Rack” (page 32).
38 Removing and Replacing Components
 Loading...


