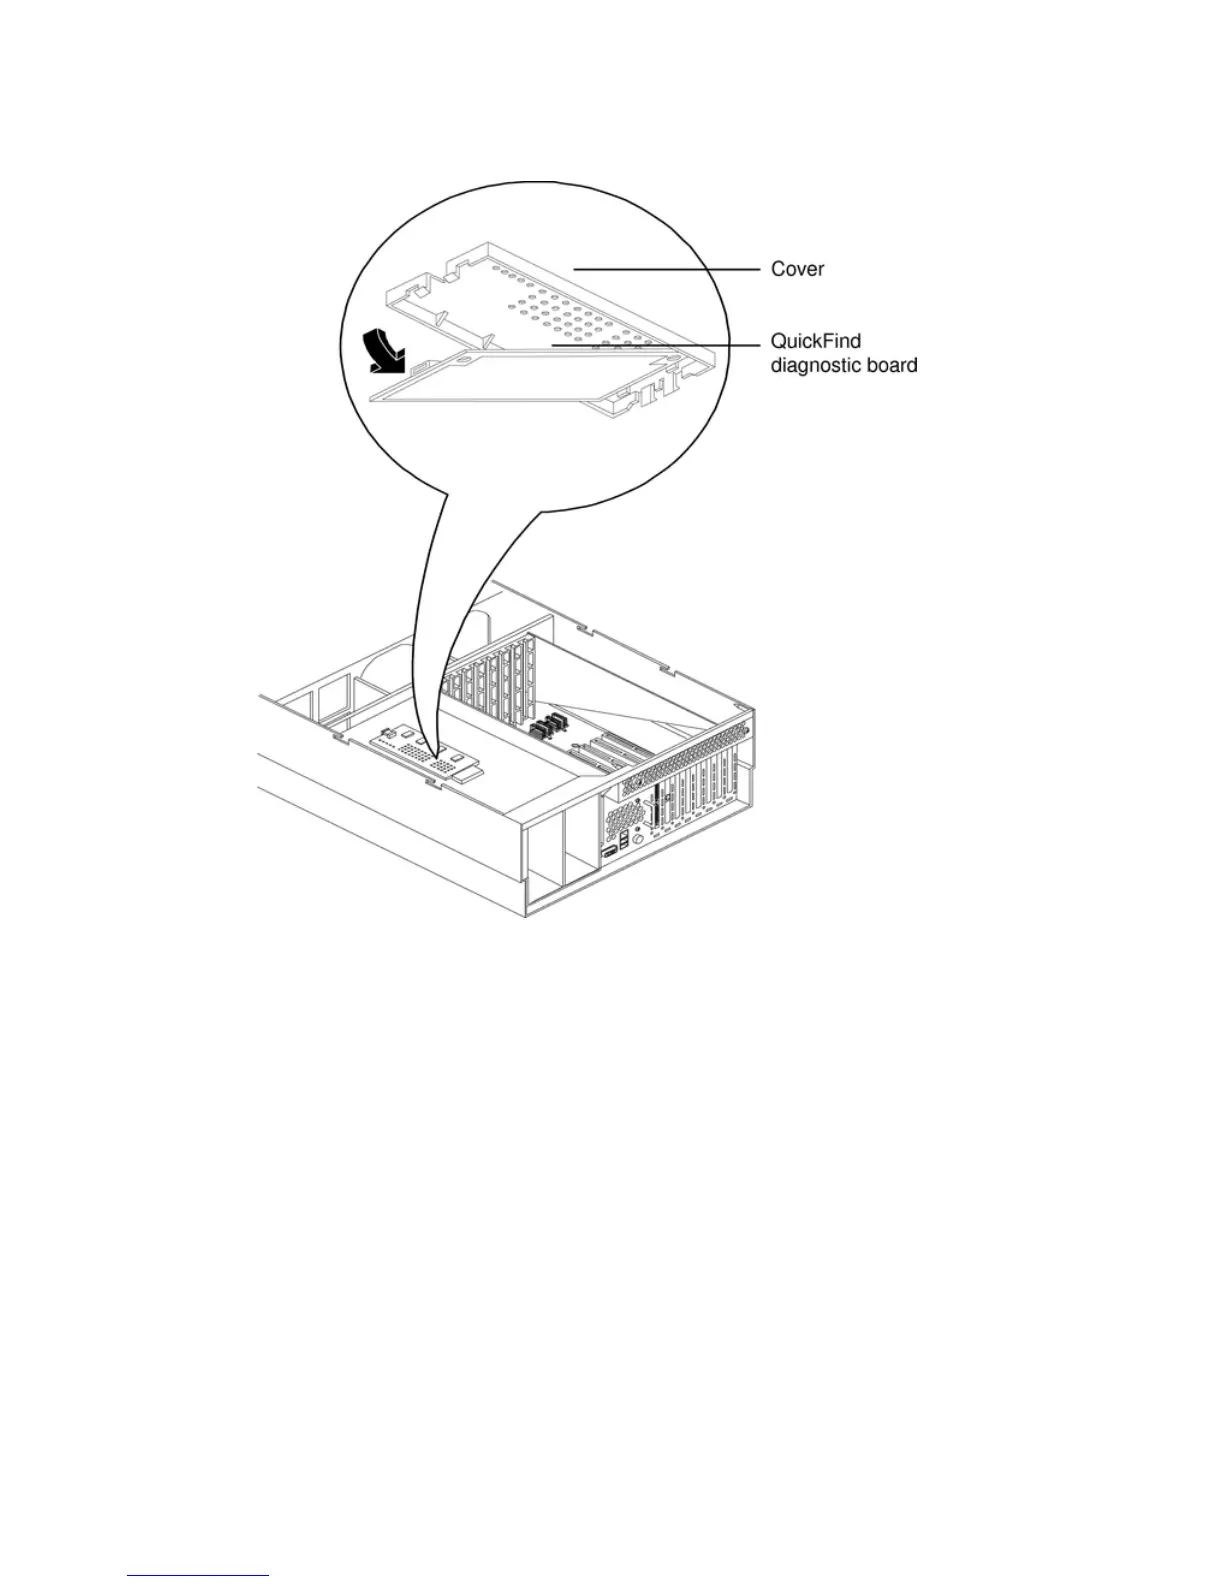
5. Unplug the cable from the connector on the QuickFind diagnostic board and remove the
board from the chassis. Figure 4-45 shows how to remove the QuickFind diagnostic board.
Figure 4-45 Removing and Replacing the QuickFind Diagnostic Board
Replacing the QuickFind Diagnostic Board
To replace the QuickFind diagnostic board, follow these steps:
1. Gently plug the cable into the QuickFind diagnostic board connector.
2. Replace the QuickFind diagnostic board into the cover by snapping it into place.
3. Turn the assembly over and snap into place on top of the power supply cage.
4. Replace the top cover. See “Replacing the Top Cover” (page 36).
5. If rack mounted, slide the server into the rack until it stops. See “Inserting the Server into
the Rack” (page 32).
Removing and Replacing the QuickFind Diagnostic Board 93
 Loading...


