NOTE: One DIMM filler board covers two adjacent DIMM slots. As a general rule, only remove
DIMM slot fillers as you add memory and the correct configuration will always remain.
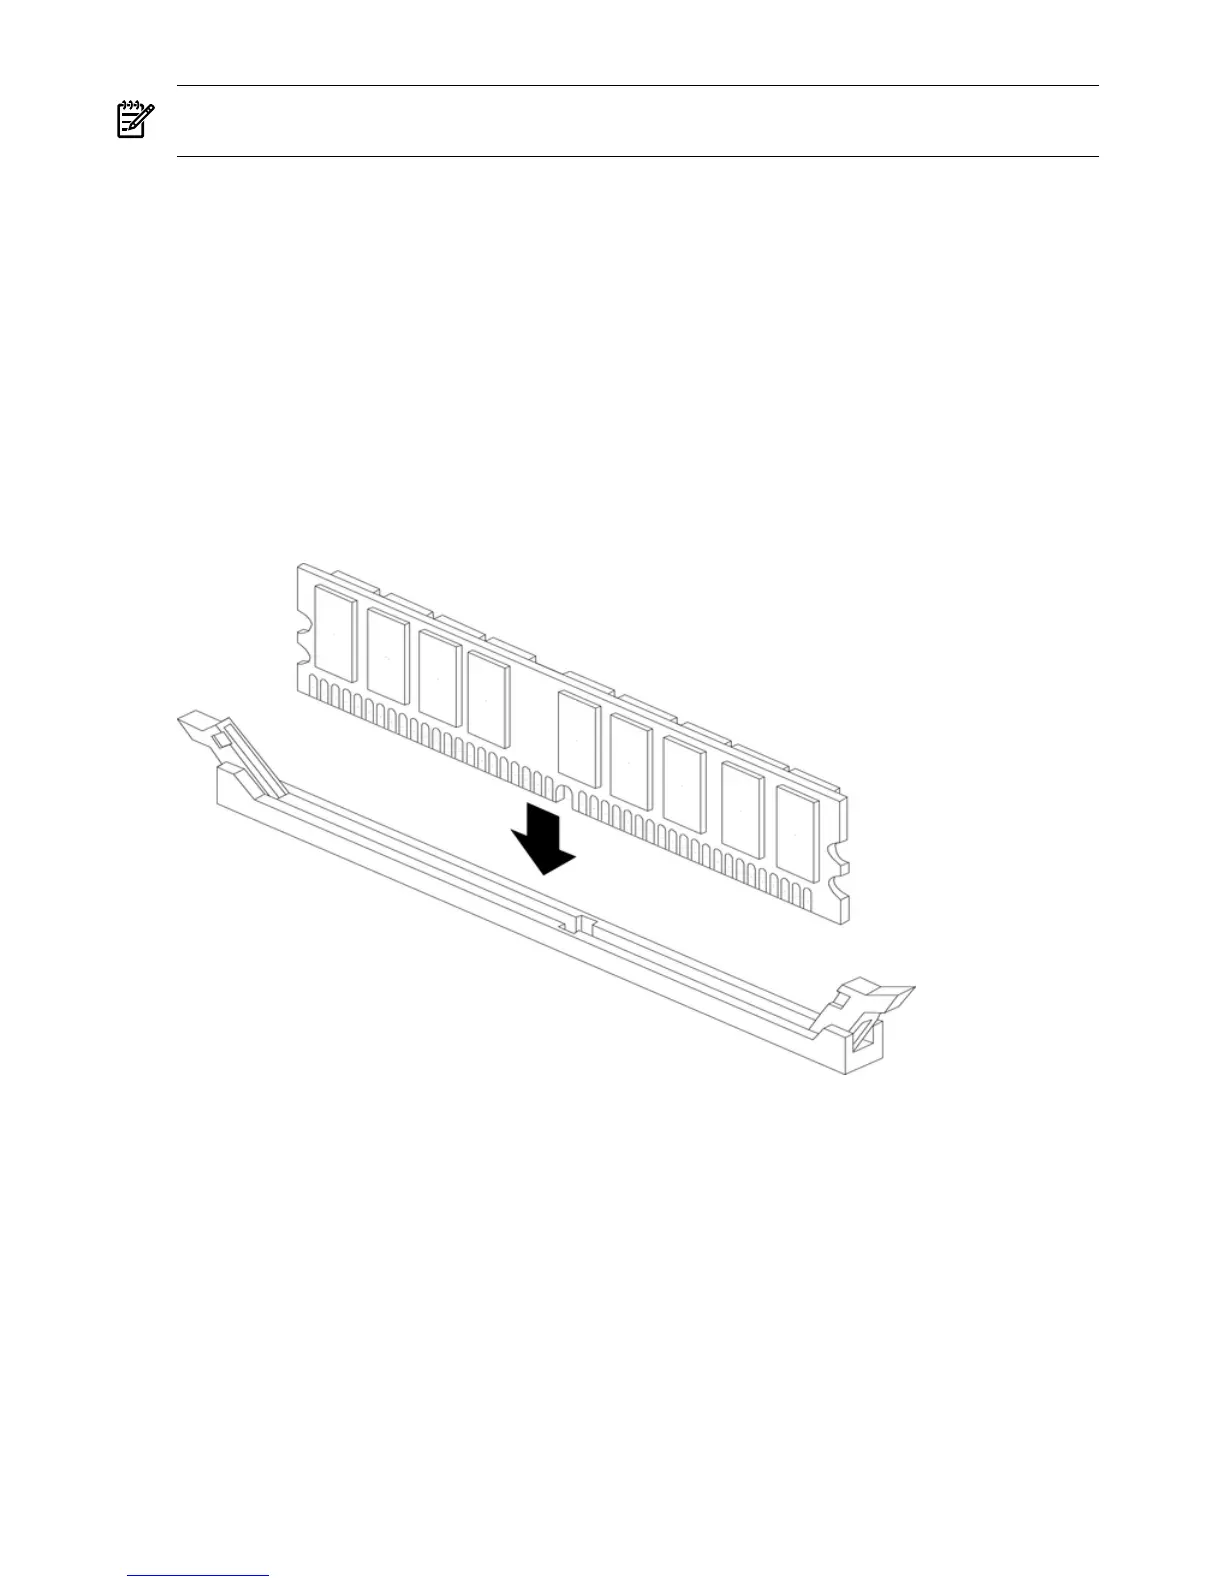
Installing DIMMs
To install DIMMs, follow these steps:
1. Align the DIMM with the slot located on the memory extender board.
2. Gently and evenly push on each side of the DIMM until it seats in the slot. Ensure that the
extraction levers are in the closed position. Repeat as needed until all additional DIMMs are
installed.
3. Replace the memory extender board. See “Replacing the Memory Extender Board” (page 38).
4. Replace the front cover. See “Replacing the Front Cover” (page 35).
5. Replace the front bezel. See “Replacing the Front Bezel” (page 34).
6. If rack mounted, slide the server into the rack until it stops. See “Inserting the Server into
the Rack” (page 32).
Figure 4-8 Inserting DIMM Into the Extender Board Slot
16 DIMM Memory Extender Board Layout
The following details the slot locations, quads, and slot filler requirements on the 16 DIMM
memory extender board.
Figure 4-9 shows the slot locations on the 16 DIMM extender board.
40 Removing and Replacing Components
 Loading...


