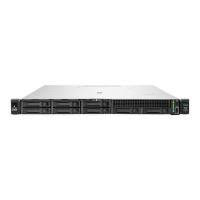
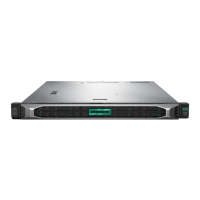
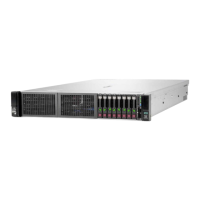
Removing and replacing a processor
Removing a processor
Hewlett Packard Enterprise recommends identifying the processor and socket components before performing this
procedure.
Prerequisites
Before you perform this procedure, make sure that you have the following items available:
• T-20 Torx screwdriver
• Alcohol wipe
Procedure
1. Observe the following alerts.
WARNING: To reduce the risk of personal injury from hot surfaces, allow the drives and the internal system
components to cool before touching them.
CAUTION: To avoid damage to the processor or system board, only authorized personnel should attempt to
replace or install the processor in this server.
CAUTION: THE CONTACTS ARE VERY FRAGILE AND EASILY DAMAGED. To avoid damage to the socket
or processor, do not touch the contacts.
2.
If installed, remove the bezel.
3.
Power down the server.
4.
Remove all power:
a.
Disconnect each power cord from the power source.
b.
Disconnect each power cord from the server.
5.
Disconnect all peripheral cables from the server.
6.
Remove the server from the rack.
7. Remove the access panel.
8. If installed,
remove the air bale.
9. Allow the existing heatsink to cool.
10. Remove the heatsink:
CAUTION: To prevent mechanical damage or depositing oil on your hands or other contaminant to the
heatsink contact surface, hold the heatsink only by the edge of its base plate. Do not touch the heatsink fins.
CAUTION: Heatsink screws must be tightened and loosened in alternating sequence. Do not overtighten the
screws as this might damage the system board or the processor socket.
Removal and replacement procedures 97
 Loading...
